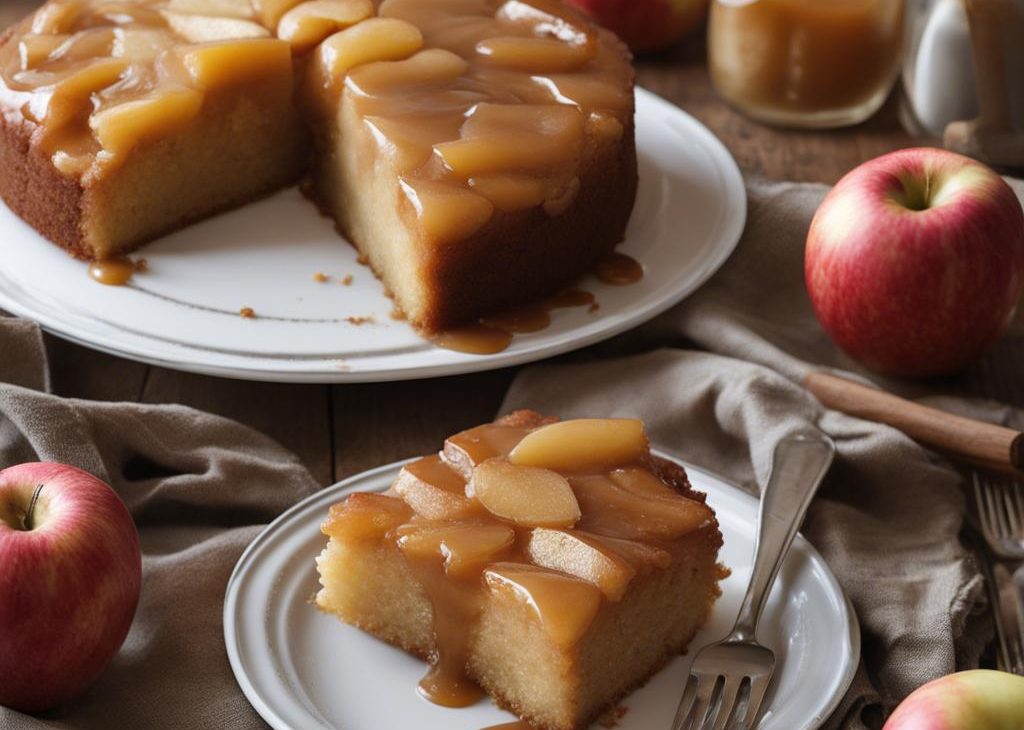
I make caramel apple upside down cake when I want something dependable, homemade, and worth repeating. I set out my ingredients before I start, keep the measurements practical, and write down the cues I actually watch while cooking.
I keep this version practical: I want the caramel apple upside down cake to taste right, look right, and be repeatable on a normal day. The timing is a guide, but I pay just as much attention to texture, aroma, color, and how the mixture moves in the pan or blender — those details save dinner more often than a timer does.
Why I make this recipe
- It gives me a reliable homemade version of caramel apple upside down cake without extra fuss or confusing shortcuts.
- The ingredient list is clear, so I am not guessing halfway through cooking.
- I can make it ahead or hold leftovers without losing the main texture.
- The method uses simple visual cues, which matters when ovens, pans, and produce behave differently.
Ingredients I pay attention to
- 6 Tablespoons unsalted butter.85g; for topping.
- 1/2 cup packed light or dark brown sugar.100g; for topping.
- 1/4 teaspoon ground cinnamon.for topping. moves smoothly.
- 1/4 teaspoon pure vanilla extract.for topping. moves smoothly.
- 2 medium apples, peeled and sliced into 1/4-inch slices.1.5-2 cups; 188-250g. I cut or prep it evenly so it cooks or blends at the same pace.
- 1 1/2 cups all-purpose flour.188g.
- 1 1/2 teaspoons baking powder.
- 1 1/2 teaspoons ground cinnamon.moves smoothly.
- 1/4 teaspoon ground nutmeg.moves smoothly. I toast them briefly in a dry skillet to deepen their flavor before adding.
- 1/2 teaspoon salt.moves smoothly. A small amount sharpens every other flavor in the recipe.
- 1/2 cup unsalted butter, softened.113g; for cake.
- 1/2 cup granulated sugar.100g.
- 1/2 cup packed light or dark brown sugar.100g; for cake.
- 2 large eggs, at room temperature.moves smoothly. It binds the wet and dry ingredients and adds a slight richness.
- 1 teaspoon pure vanilla extract.moves smoothly.
- 6 Tablespoons whole milk.90ml.
How I make it
Step 1 — Prep
I preheat oven to 350°F (177°C).
Step 2 — Build flavor
I combine butter and brown sugar together in a small saucepan over medium heat. Whisk occasionally until butter has melted. Cook, whisking constantly, for 1 minute as mixture thickens. Remove from heat and whisk in the cinnamon and vanilla extract. Pour into an ungreased 9x2 inch pie dish or round cake pan. (Make sure the pan is 2 inches deep. I recommend this pie dish, which is 1.8 inches deep but I never have an overflow issue.) Arrange the apple slices neatly on top, overlapping where necessary.. Place pan in the refrigerator for a few minutes...
Step 3 — Cook
I whisk the flour, baking powder, cinnamon, nutmeg, and salt together. Set aside.
Step 4 — Check the texture
Using a handheld or stand mixer fitted with a paddle or whisk attachment, beat the butter on high speed until smooth and creamy, about 1 minute. Add both sugars and beat on high speed until creamed together, about 1 minute. Scrape down the sides and up the bottom of the bowl with a rubber spatula as needed. On high speed, beat in the eggs and vanilla extract until combined. Scrape down the sides and up the bottom of the bowl as needed. Pour the dry ingredients into the wet ingredients. Turn the mixer onto low...
Step 5 — Finish
I bake for 40-46 minutes, tenting foil on top of the cake halfway through bake time to prevent the top from over-browning before the center has a chance to fully cook. The cake is done when a toothpick inserted into the center of the cake comes out mostly clean—a couple moist crumbs are OK. Don't be alarmed if your cake takes longer or if the cake rises up and sticks to the foil. (We serve the cake upside down anyway!) Remove cake from the oven and cool on a wire rack for just 15 minutes. Invert...
Step 6 — Serve and store
I keep going until it looks right.
Tips from my kitchen
- Measure flour and sugar carefully.
- Do not rush chilling or cooling when the recipe calls for it.
- Use parchment or a properly prepared pan for easy release.
- Let baked goods finish setting before slicing or moving.
Variations I have tried
- Add toasted nuts for crunch.
- Use dark chocolate or extra salt to balance sweetness.
- Make it a day ahead for cleaner slices.
- Serve with whipped cream, ice cream, or coffee.
- Freeze individual portions for later.
Storing and making ahead
I let the recipe cool completely before covering. Most baked desserts keep best tightly covered, and individual slices or cookies freeze more neatly than a whole decorated dessert.
Frequently asked questions
Can I make this ahead?
Yes. I prep the parts that benefit from resting, chilling, or slow cooling first. If texture matters, I wait to add crisp toppings, drizzles, ice, or fresh garnishes until serving.
What should I watch most closely?
I watch the cue that changes fastest: browning for baked recipes, thickness for sauces, tenderness for meats, and texture for drinks. A timer helps, but the food gives the final answer.
Can I change the heat or sweetness?
Yes. I adjust in small amounts, then taste again. It is easy to add more sugar, vinegar, salt, chile, or liquid; it is much harder to take it back out.
What if my result seems too thick?
I loosen it gradually. For sauces and soups I use water or stock; for drinks I use the main liquid; for batters and fillings I only adjust if the recipe already allows it.
How do I keep the best texture?
I do not rush cooling, chilling, or resting. Those quiet minutes are often when cookies firm up, pies set, cheesecakes smooth out, and sauces cling properly.
If you make this caramel apple upside down cake, I would love to hear what you changed. I keep notes every time I cook, because the small real-life adjustments — the pan size, the ripeness, the extra minute on the stove — are what make a recipe dependable.