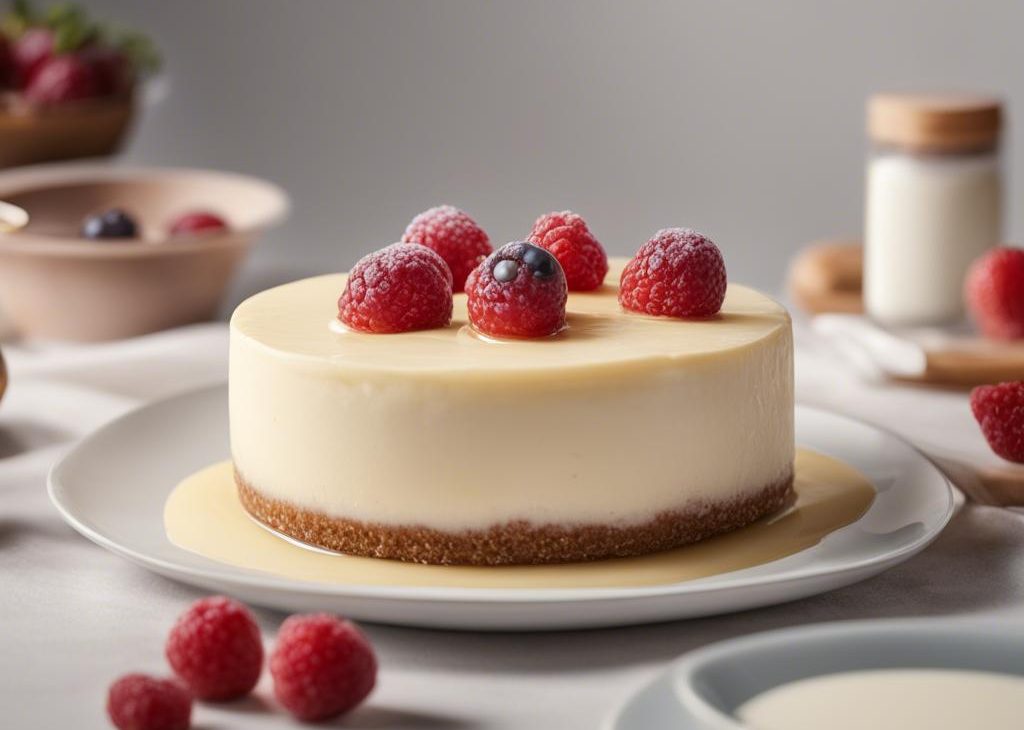


Whether you’re making a classic cheesecake, or a flavorful variation like lemon cheesecake, amaretto cheesecake, cinnamon swirl cheesecake, or pecan pie cheesecake, it’s helpful to know the what, why, and how of baking a cheesecake in a water bath...
Baking your cheesecake in a water bath is the best way to ensure cheesecake success. Don’t worry—you don’t have to buy any special equipment or a fancy bathtub-size baking appliance! It simply means placing the springform pan with the unbaked cheesecake in it inside a larger pan with hot water in it.
We’re essentially adding steam to the baking and cooling steps. Why do we do this? Is it because this is a high-maintenance dessert that demands a spa treatment? Well, actually, sort of!
Cheesecake loves a humid environment, and we want to give it the best chance of baking up smooth, creamy, tall, and crack-free. Here’s why:
. As you can see, taking a few extra minutes to prepare a water bath for your cheesecake is well worth it. Look at these differences, using the same exact cheesecake recipe.
I’m going to walk you through 2 different methods for baking a cheesecake in a water bath, and both work exceptionally well.
Here’s what you need:
And here’s how to do it:
Like I mentioned, you can either place the roasting pan (with the cheesecake in it) in the oven now, and then pour in the boiling water, OR you can pour the boiling water in the roasting pan and transfer it to the oven... Again, either way is fine.
If you don’t want to risk water leaking into your springform pan, I have an alternate water bath method that works wonderfully. You still need a large oven-safe pan, but it will go on a bottom rack of the oven, below the rack the cheesecake is on.
Here’s what you need:
And here’s how to do it:
This unique water bath adds steam to the oven without having the cheesecake sit inside the water itself. This method can also be used to add steam to baking artisan bread, for a crispier crust.
When your cheesecake is done baking (the edges are set but the center still jiggles slightly if you tap the pan), don’t take it out of the oven. Turn the oven off and crack open the oven door so that some steam can escape. Let the cheesecake cool down slowly in the oven with the door slightly ajar for at least an hour, with the water bath (either method you used) still in the oven as well, so it remains in that humid environment while it cools gradually.
After about an hour, remove the cheesecake from the oven. Then let it cool completely on a wire rack, before transferring it to the refrigerator to chill, per your recipe instructions.
If your cheesecake is still showing a few cracks, there’s a solution for that! Whipped cream or a sauce—like salted caramel, strawberry sauce, raspberry sauce, or blueberry sauce—can cover up even the craggiest cheesecake surface. Or spread on a layer of chocolate ganache or lemon curd, whatever flavor goes best with your cheesecake.
I cover this pumpkin swirl cheesecake with whipped cream:
Even if your cheesecake doesn’t crack at all, toppings are always a wonderful finishing touch to your cheesecake masterpiece. So many delightful options!
And if all this seems a little overwhelming, try a no-bake cheesecake or easy cheesecake pie instead.
Baking your cheesecake in a water bath is the best way to ensure cheesecake success. Follow these directions using your own cheesecake recipe. Here is my classic cheesecake, if you'd like to try it.