
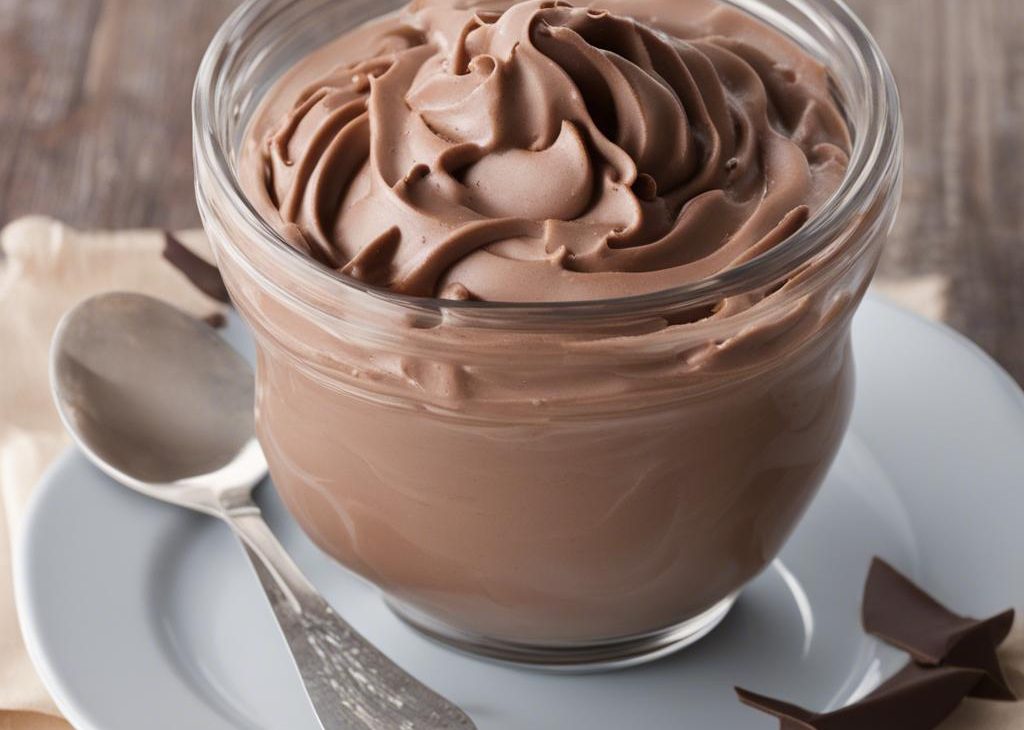
I keep Chocolate whip & chill in my notes for the days when I want a chilled dessert that feels homemade instead of rushed. I pay attention to the small details here because chocolate, sugar, dairy, and timing can swing from wonderful to merely fine very quickly.
I keep the measurements steady because small changes show up in the texture. My goal is not to fuss with Chocolate whip & chill; I want the mixing, chilling, baking, or finishing steps to land the way they should.
This batch gives 5 servings, with 10 min of prep and 10 min of cooking or baking time listed in the source. I read the whole recipe once before starting, then I set out the finishing ingredients so I am not hunting for them with sticky hands.
In a saucepan, heat the heavy cream or whole milk on low-medium heat for about 5 minutes or until it is hot. Do not let it boil!
Add chopped dark chocolate and stir continuously to melt the chocolate and combine with the cream.
Once combined, remove the saucepan from the heat and stir in vanilla essence and icing sugar.
Allow the mixture to cool slightly before adding in the whipped cream. Gently fold it into the chocolate mixture until everything is combined.
Once combined, pour the mixture into a bowl or container and place it in the refrigerator for at least 2-3 hours to chill and set.
Once ready, serve your Chocolate Whip & Chill with some freshly whipped cream on top, and enjoy! You can also add some fresh berries or other fruits to the dessert for extra flavor.
I keep chilled desserts covered in the refrigerator and serve them cold. If whipped cream is involved, I add the final topping close to serving so it stays airy.
For make-ahead work, I separate the recipe into dry, wet, and finishing parts. Dry ingredients can usually be measured early; chilled doughs and cooled cakes need covers that touch or seal well; crisp cookies need dry storage. I do not stack anything with a soft topping until I know it has set.
I serve this in modest portions because the flavors are rich. A small plate, a napkin, and something hot to drink are usually all I need.
I also think about temperature before serving. Some chocolate desserts taste deeper after a short rest at room temperature, while crisp cookies and meringues are best kept dry until the last minute. I would rather wait 10 minutes than serve a slice or cookie with the wrong texture.
Yes. I look at the chilling, cooling, and storage notes first, then make the part that holds best. Doughs, dry mixes, unfrosted cakes, and unfilled shells are usually the safest make-ahead pieces.
I use the recipe's visual cue before the clock. Set edges, a clean toothpick, glossy peaks, firm chocolate, or a chilled center tell me more than minutes alone.
Usually, yes, as long as I keep the same amount. Darker chocolate makes the dessert less sweet, while milk or white chocolate makes it sweeter and softer.
Most texture changes come from moisture or temperature. I cool completely, cover well, and avoid stacking anything sticky until the finish has set.
For many cookies and candies I can halve cleanly, but cakes, choux, and meringues are more sensitive. I prefer making the full batch and freezing extras when the method depends on structure.
If you make Chocolate whip & chill, leave a note with what worked in your kitchen. I always like hearing the little changes that made a batch easier.
Chocolate whip & chill with practical first-person notes for mixing, baking or chilling, storing, and variations. I include the texture cues I watch for and the small details that help the recipe turn out consistently.
Measure first. I set out ingredients before mixing so I do not rush a temperature-sensitive step.
Watch texture. I use the visual cues in the instructions, not only the timer.
Cool before finishing. Frosting, caramel, chocolate, and icing behave better on cooled bases.
Store thoughtfully. I separate sticky layers with parchment and keep crisp items away from moisture.


