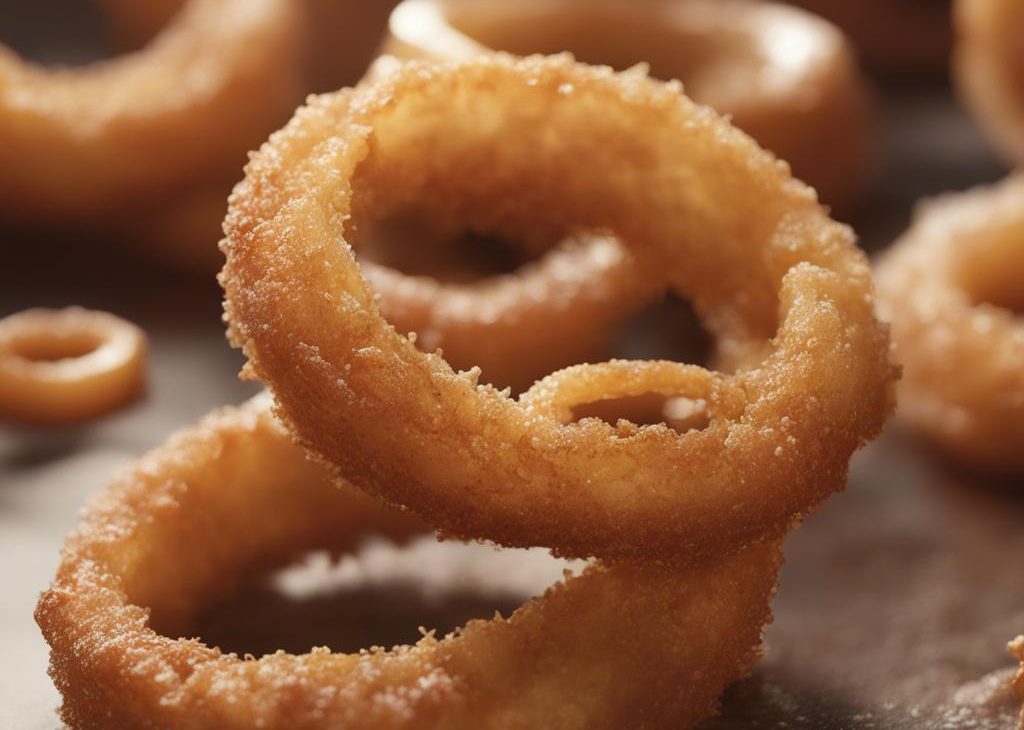
I make crispy baked onion rings when I want something that feels homemade without pretending the little details do not matter.
What keeps me coming back is how sweet onions, cut into 1/2-inch slices, buttermilk, egg whites carry the flavor. I measure first, clear space, and then work through the steps without trying to rush the part that needs patience.
Why I keep coming back to this
- I can taste the main ingredients clearly.
- The steps give me visual checkpoints instead of guesswork.
- The leftovers still feel like something I meant to make.
- I can measure everything before I start and then work calmly.
- Small swaps work without changing the whole personality of the recipe.
- It makes a regular meal feel more considered without a restaurant-size project.
What you need (and what each one is doing)
- 2 large sweet onions, cut into 1/2-inch slices.for it later. It builds the savory base that everything else sits on top of.
- 1 quart buttermilk (950ml).This brings tenderness and richness; the temperature matters more than it seems.
- 4 large egg whites.This is one of the structural ingredients, so I do not eyeball it.
- 2/3 cup whole wheat flour (85g).This gives structure, so I spoon and level instead of packing it down.
- 3/4 cup cornmeal (125g).for it later.
- 1 cup plain bread crumbs or panko (60g).for it later.
- 3/4 teaspoon salt.for it later. A small amount sharpens every other flavor in the recipe.
- 1/2 teaspoon freshly ground black pepper.for it later. A few cracks at the end wake up the other flavors.
- 1/2 teaspoon paprika.for it later.
- nonstick spray (PAM, olive oil spray, or coconut oil spray).for it later. It keeps things moist without adding dairy flavor.
How I make it
Step 1 — I follow this part carefully:
I follow this part carefully: At least 4 hours ahead of time, place the sliced onion rings into a large dish and pour buttermilk overtop. You don't have to drown the onions, just make sure they are somewhat submerged. Cover tightly and store in the refrigerator. In this step, you are soaking the onions, which will tenderize them. I strongly suggest soaking them for at least 12 hours for the best taste. I soaked mine overnight.
Step 2 — I follow this part carefully: Once
I follow this part carefully: Once the onions have soaked, remove from the refrigerator. Set aside.
Step 3 — I follow this part carefully: Preheat
I follow this part carefully: Preheat oven to 425°F (218°C). Line two large baking sheets with parchment paper or silicone baking mats. In a medium bowl, beat the egg whites. Set aside. In a large shallow dish (I used a pie dish), mix the whole wheat flour, cornmeal, bread crumbs, and the seasonings together until combined.
Step 4 — I follow this part carefully: Remove
I follow this part carefully: Remove each ring from the buttermilk and dip in egg whites. Immediately submerge in the bread crumb mixture, mixing around to coat the onion well. If the bread crumbs won't adhere, dip in egg whites and then the breading again. If you find you need more breading, make more.
Step 5 — I follow this part carefully: Lay
I follow this part carefully: Lay each breaded ring on the baking sheets in a single layer. You'll have two batches if your onions were quite large like mine. When all the rings are breaded, spray each with nonstick spray to "seal" the breading, which will prevent the breading from staying raw and allows it to bake onto the onion rings.
Step 6 — Cook to the visual cues
I follow this part carefully: Bake each batch for 15 minutes, remove from the oven and flip each ring using tongs. Spray the other side with nonstick spray. Then bake for 15 more minutes. A note about bake time: all ovens are different! And everyone likes a different level of crispiness. I baked my onion rings in my oven for 30 minutes, rotating and flipping once, and they were perfectly brown and crisp. Just bake the rings until they reach your desired level of brownness.
Step 7 — Keep the sequence moving
I follow this part carefully: Allow the onion rings to sit out for 10 minutes before digging in. Enjoy immediately.
Tips from my kitchen
- Prep before heat.I line up the ingredients so nothing overcooks while I search.
- Do not crowd the pan.Crowding traps steam and softens crisp edges.
- Taste near the end.Salt and heat read differently after cooking.
- Rest if asked.A short pause helps texture settle.
Variations I have actually tried
- Add chopped herbs at the end.
- Serve over rice, greens, or toast.
- Keep crisp toppings separate until serving.
- Add chile flakes for more heat.
- Change the garnish while keeping the base method the same.
Storing and reheating
I store leftovers in a shallow airtight container so they cool quickly and reheat evenly. If something should stay crisp, I reheat it uncovered.
What I serve it with
I keep the plate simple and let the main texture do the talking.
Frequently asked questions
Can I make this ahead?
Yes. I prep the parts the recipe allows ahead, then finish the final cook or garnish close to serving.
How do I know it is done?
I use the listed cook time of 30 minutes as a guide, then trust the visual cues in the steps.
Can I change the main ingredient?
Usually, but I change one thing at a time so I know what affected the texture.
Why did mine turn out too soft?
Most often it needed more time, more cooling, or a little less crowding in the pan.
Can I freeze leftovers?
Most baked items freeze well wrapped tightly. Crisp or sauced dishes are better refrigerated and reheated uncovered.
If you make this crispy baked onion rings, leave a comment with what you changed or what you served with it — I like hearing the practical kitchen notes.