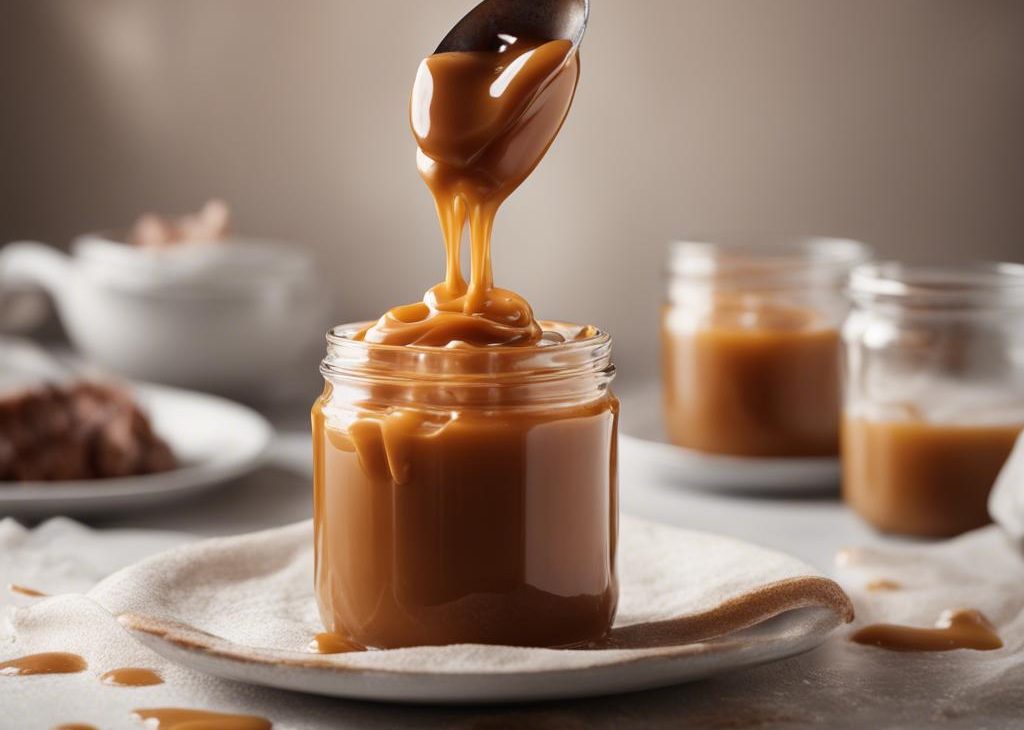


Make this simple 4-ingredient sweet salted caramel sauce at home with ease—no candy thermometer required! Ready in just 10 minutes, this rich homemade caramel is perfect for drizzling over cakes, cupcakes, cookies, pound cake, ice cream, cheesecake, scones, salted caramel apple pie, and more!
This salted caramel is a reader favorite recipe, consistently marking its spot in the top 10 most popular recipes on my website and published in 2 of my cookbooks. It’s sweet, buttery, and tastes phenomenal on anything it touches. (Though you really only need a spoon to enjoy.)
Trust me, after trying this 1 time, you’ll be hooked like the rest of us!
Use the written out instructions below, but here’s the basic process: The first step is to melt sugar, which is called caramelization. This requires 1 small (stainless steel, not nonstick) pot/saucepan and a silicone spatula or wooden spoon. Stir until melted and caramelized. Stir in butter, then stir in heavy cream and let it boil for 1 minute. Finally, add the salt.
That’s it, the caramel is done.
As always, use caution when cooking over the stove because the hot liquid, butter, and cream may splatter. If needed, kitchen gloves come in handy.
Unlike most caramel recipes, this salted caramel doesn’t require a candy thermometer. Instead, I encourage you to follow the recipe and use your eyes to determine when to add the next ingredient. If you’d like to be precise and use a candy thermometer, the temperature will rise to about 220°F (104°C), and that’s when the caramel is done on the stove.
The caramel thickens as it cools.
You will love homemade salted caramel with sweets like cinnamon rolls, cheesecake, and apple pie bars. Use it as a dip for apples, spoon over ice cream, or pour into decorated jars and gift it for the holidays.
The possibilities for salted caramel are endless:
The caramel is liquid as it comes off heat. As the caramel cools, it solidifies into a chewy texture. After refrigerating, the caramel is hard and you must heat it up to bring it back to a liquid consistency. Do you need a thinner caramel? Feel free to add 2 more Tablespoons of heavy cream to the recipe.
If you’re looking for a sweet caramel, rather than a salted caramel, you can still use this recipe. Do not cut out the salt completely because the caramel’s sweetness will be overpowering. Instead, reduce the salt to 1/2 teaspoon.
After the caramel cools down, pour it into a glass jar or container. Refrigerate for up to 1 month. The caramel solidifies as it cools, but you can reheat in the microwave or on the stove so it’s liquid again. You can freeze the salted caramel, too. Freeze in an airtight container for up to 3 months. Thaw in the refrigerator or at room temperature, then warm up before using.
Made from only 4 simple ingredients, this homemade caramel is salty, sweet, and irresistibly buttery. No candy thermometer required and the possibilities for serving are endless. (Though just a spoon is acceptable!) Use caution as the cooking caramel may splatter. Stand back and wear kitchen gloves if desired. Review recipe notes prior to beginning.