I make Macadamia Nut Okoshi when I want something dependable from real kitchen measurements, not a vague handful of this and that. I set the ingredients out first, get the pan ready, and work through the method in the same order I would on a busy afternoon.
This is the kind of bake recipe where small details matter. I pay attention to texture, cooling time, and how the mixture looks before it goes into the pan or onto the plate. That habit has saved me from more than one rushed batch.
The flavor leans on roasted macadamia nuts, rice flour, vegetable oil, sugar. I like that the recipe is flexible enough for a home kitchen, but still gives clear numbers to follow.
Why I keep coming back to this
- It uses a clear bake rhythm, so I can tell where I am in the recipe without rereading every line.
- The ingredients are familiar, but the finished dish tastes more considered than the effort suggests.
- I can prep most of the components before turning on heat, which keeps the counter calmer.
- The recipe gives useful visual cues, not just a timer to obey blindly.
- Leftovers hold up well when cooled and stored with a little care.
- It is easy to adjust the finish without upsetting the ratios that make the base work.
What you need (and what each one is doing)
- 2 cups roasted macadamia nuts.The nuts bring crunch and toastiness. I chop them evenly so every serving gets some.
- 2 cups rice flour.I measure it carefully because a heavy scoop makes the texture dense instead of tender.
- 6 cups vegetable oil.This carries flavor and keeps the texture from turning dry; I do not rush melting or softening it.
- 1/2 cup sugar.It sweetens, browns, and helps the mixture set, so I keep the amount close to the written amount.
- 1 teaspoon salt.
How I make it
Step 1 — Prep the base
In a large pan over medium heat, roast macadamia nuts until fragrant, stirring occasionally. Remove from heat, cool, and chop into small pieces.
Step 2 — Build the mixture
In a separate bowl, whisk rice flour, sugar, and salt. Add vegetable oil and mix until crumbly. Gradually add water, stirring until it forms dough.
Step 3 — Shape or fill
Grease or line a square/rectangular baking dish.Press dough evenly into the dish. Bake at 350°F for 20-25 mins, until edges are golden brown.
Step 4 — Cook it carefully
Let cool briefly, then cut into bite-sized pieces.
Tips from my kitchen
- Measure before starting.I set out every ingredient first, because this style of recipe moves better when I am not digging through a cabinet mid-step.
- Trust the visual cues.Timers are useful, but I also look for browned edges, a set center, a steady simmer, or the texture described in the step.
- Do not rush cooling.Warm food is fragile. I give it the rest time even when it smells ready, because the final texture usually sets as it cools.
- Write down the pan.If I change pan size, I note it, because thickness changes the timing more than most people expect.
Variations I have actually tried
- Salted finish:I add a small pinch of flaky salt on top when the recipe is very sweet.
- Citrus lift:Lemon or orange zest works when the base flavor needs brightness.
- Nut swap:Pecans, walnuts, almonds, or macadamias can trade places if the texture is similar.
- Chocolate version:A handful of chopped chocolate or a thin drizzle makes it feel more dessert-like.
- Smaller portions:I bake or portion smaller pieces when I want cleaner party servings.
Storing and reheating
I cool the batch completely before covering. Most cakes, pies, and breads keep well for a couple of days at room temperature or a little longer in the refrigerator. I bring slices back toward room temperature before serving because the flavor is better that way.
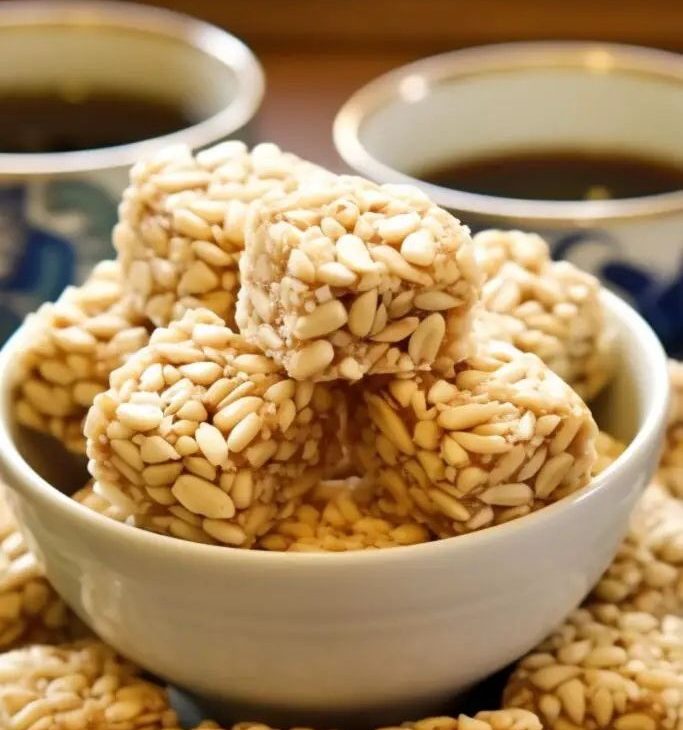
What I serve with it
I usually serve this with coffee or tea and keep the garnish simple. If the batch is rich, berries or plain whipped cream are enough; if it is plainer, a little drizzle or dusting makes it feel finished.
A few things I watch closely
I watch the edges before I trust the center. Edges usually show color, bubbling, or firmness first, while the center can lag behind. If the recipe rests after cooking, I let that rest do its job instead of cutting early.
I also keep notes the first time I make a recipe from written directions. If my pan is darker, if the oven runs hot, or if the mixture looks looser than expected, I write that down so the next batch starts with real information.
Frequently asked questions
Can I substitute rice flour with regular wheat flour?
Yes, you can substitute rice flour with wheat flour. However, keep in mind that this will change the texture of the dish. Rice flour gives the dish a distinctive, slightly gritty texture that's different from the smoother texture wheat flour provides. Also, rice flour is gluten-free, so if you're making this dish for someone with a gluten intolerance, it's better to stick with rice flour.
Can I use a different type of sugar in this recipe?
Yes, you can experiment with different types of sugar like brown sugar or coconut sugar. Each type of sugar will bring a unique flavor to the dish. However, the sweetness level may vary depending on the type of sugar used, so adjust accordingly.
Can I make Macadamia Nut Okoshi ahead?
Yes. I usually make it ahead when the recipe has a cooling or chilling step, because the flavor settles and slicing is neater. For crisp items, I wait to cover them until they are completely cool.
What is the biggest mistake to avoid?
Rushing the texture is the mistake I see most. I let butter soften, pans preheat, candy reach temperature, or fillings cool as directed instead of trying to force the next step.
Can I change the sweetness?
A small change is fine. I reduce sugar or syrup by a tablespoon or two first, then taste the next batch before making a bigger change because sweetness also affects browning and set.
If you make Macadamia Nut Okoshi, leave a note with the tweak that worked in your kitchen — I always like hearing the practical details.