
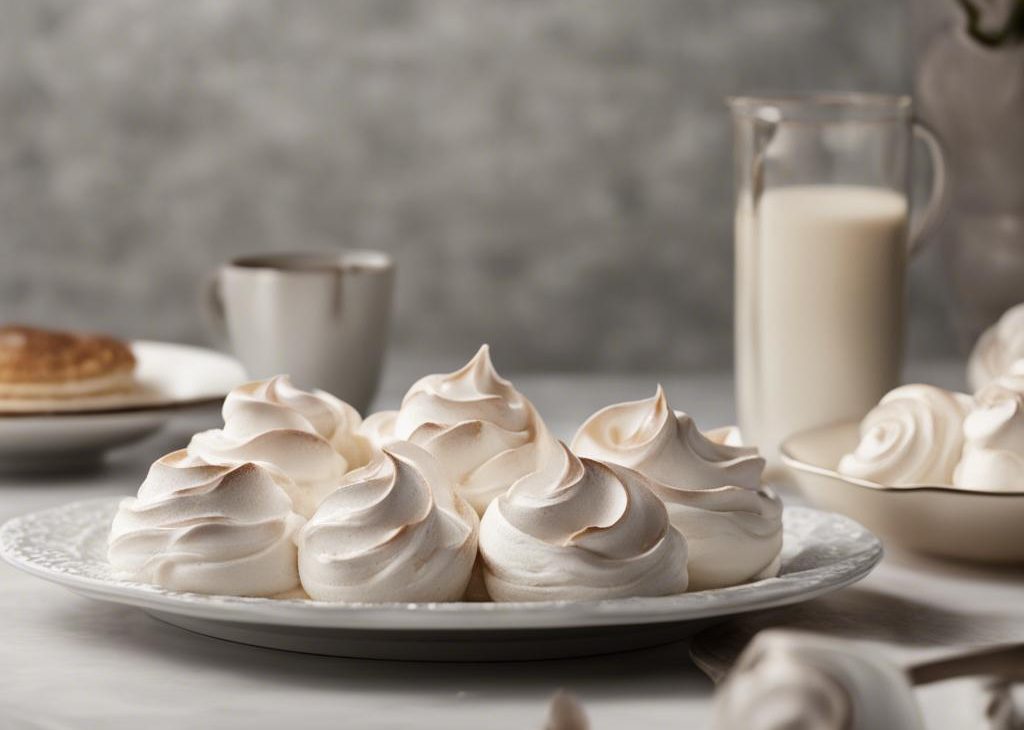
I make Mary Berry Meringue when I want something dependable from real kitchen measurements, not a vague handful of this and that. I set the ingredients out first, get the pan ready, and work through the method in the same order I would on a busy afternoon.
This is the kind of bake recipe where small details matter. I pay attention to texture, cooling time, and how the mixture looks before it goes into the pan or onto the plate. That habit has saved me from more than one rushed batch.
The flavor leans on Caster Sugar, Egg Whites. I like that the recipe is flexible enough for a home kitchen, but still gives clear numbers to follow.
Preheat the Oven: Preheat the oven to 120°C (approximately 100°C for a fan oven, or 250°F). Prepare the Baking Tray: Line a baking tray with parchment paper or a silicone baking mat. Ensure the surface is clean and dry. Whip Egg Whites: Place the egg whites in a clean, dry bowl. It's crucial that no yolk or any other fat comes into contact with the egg whites as it can prevent proper whipping.
Whisk Egg Whites: Using an electric mixer or a hand whisk, start whisking the egg whites at medium speed until they begin to form soft peaks. Add Sugar Gradually: Gradually add the caster sugar to the whipped egg whites, one tablespoon at a time, while continuing to whisk at high speed. Ensure each addition of sugar is well incorporated before adding more. Whisk until the meringue is glossy and forms stiff peaks. This process should take several minutes.
Check for Stiff Peaks: To check if the meringue is ready, stop the mixer and lift the beaters. The meringue should form stiff peaks that hold their shape without drooping. Pipe or Shape the Meringue: If desired, transfer the meringue mixture into a piping bag fitted with a nozzle, or simply spoon dollops of meringue onto the prepared baking tray. Create shapes or swirls as desired.
Bake the Meringue: Place the baking tray in the preheated oven. Bake the meringues for approximately 60-75 minutes, or until they are firm and dry to the touch. The meringues should not brown; they should remain a pale color. Cool the Meringues: Once baked, turn off the oven but leave the meringues inside to cool gradually for about an hour.
After an hour, remove the meringues from the oven and allow them to cool completely on a wire rack. Serve or Store: Serve the meringues as desired, either on their own, topped with whipped cream and fruits, or as a component in desserts. Store any leftover meringues in an airtight container at room temperature, keeping them dry to maintain their crispness.
Once fully cool, I store these in an airtight container at room temperature unless the filling is creamy. Humidity is the enemy of crisp edges and candy, so I do not cover the batch while it is still warm.
I usually serve this with coffee or tea and keep the garnish simple. If the batch is rich, berries or plain whipped cream are enough; if it is plainer, a little drizzle or dusting makes it feel finished.
A1. The meringue should be baked for about 30 minutes or until lightly golden.
A2. Yes, the meringue can be made ahead of time and stored in an airtight container at room temperature for up to 3 days.
Yes. I usually make it ahead when the recipe has a cooling or chilling step, because the flavor settles and slicing is neater. For crisp items, I wait to cover them until they are completely cool.
Rushing the texture is the mistake I see most. I let butter soften, pans preheat, candy reach temperature, or fillings cool as directed instead of trying to force the next step.
A small change is fine. I reduce sugar or syrup by a tablespoon or two first, then taste the next batch before making a bigger change because sweetness also affects browning and set.
If you make Mary Berry Meringue, leave a note with the tweak that worked in your kitchen — I always like hearing the practical details.
Mary Berry Meringue rewritten in a first-person kitchen voice with the measurements kept clear. I walk through the recipe with practical notes on Caster Sugar, Egg Whites, timing, storage, and the small cues I watch while cooking.
Measure first. I set ingredients out before starting so the method moves smoothly.
Watch texture. I use the timer as a guide, but I trust the visual cues in the food.
Cool fully. Cutting, covering, or storing too early can soften crisp edges and unset centers.
Keep notes. Pan size and oven behavior are worth writing down for the next batch.


