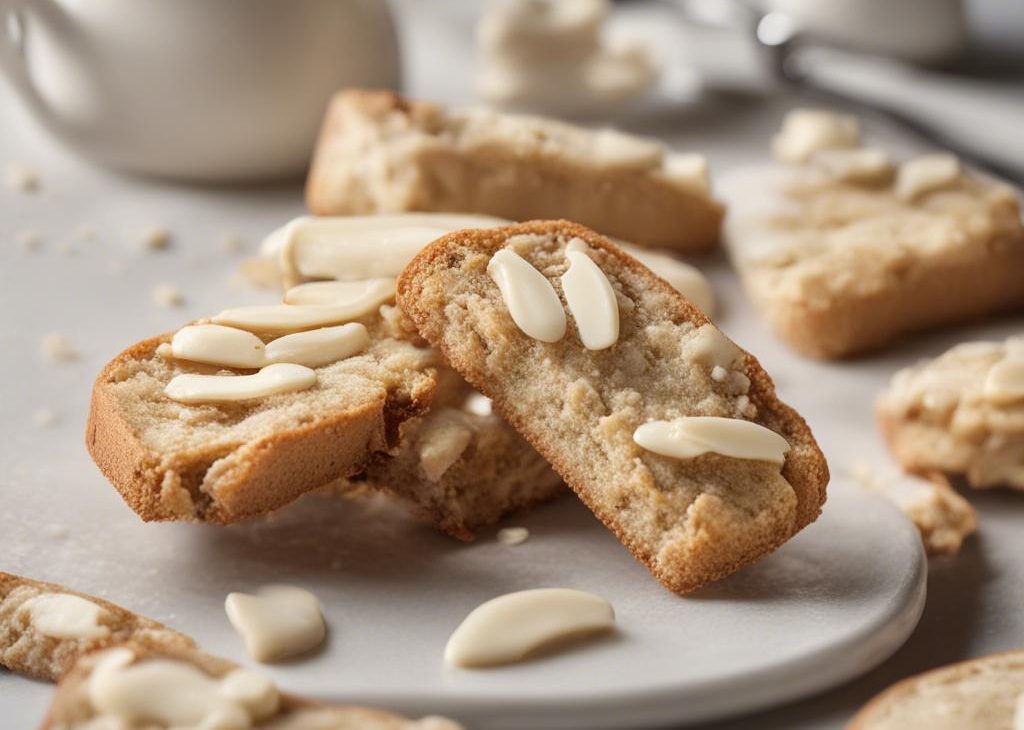
I make Sweet Vanilla Bean Biscotti when I want something that tastes cared for without turning the kitchen into a project. I keep the amounts steady and focus on the details that make the process smoother: when to taste, what to watch, and how long to let things rest before serving.
This is the version I would hand to a friend who asked for the recipe after dinner. I explain the little checks I use in my own kitchen, because a timer can only tell part of the story. Texture, aroma, and the way the edges look usually tell me more.
For Sweet Vanilla Bean Biscotti, I like having the ingredients lined up before I start. That one habit keeps me from rushing, and it makes the recipe feel much easier even when the ingredient list is a little long.
Why I keep coming back to this
- I can make it without fussy decoration.
- The recipe gives clear doneness cues.
- The flavor gets better after a rest.
- It slices or scoops cleanly once cooled.
- The ingredient list is familiar but still feels like baking.
- I can dress it up or keep it plain.
What you need (and what each ingredient is doing)
- 2 1/4 cups all-purpose flour. I use it because it gives the recipe its base and structure. 281g
- 1 cup vanilla sugar. I use it because it sweetens without hiding the main flavor. 200g
- 1 teaspoon baking powder.
- 1/2 teaspoon salt. A small amount sharpens every other flavor in the recipe.
- 1/4 cup unsalted butter, cold. 4 Tbsp; 56g
- 3 large eggs. I use it because it helps everything bind and set cleanly.
- 1 Tablespoon vegetable oil. 15ml
- 2 teaspoons pure vanilla extract.
- 1 large egg beaten with 1 Tablespoon milk. 15ml milk; egg wash
- 2 4-ounce bars white chocolate, chopped. 226g; optional
How I make it
Step 1 — Preheat oven to 350 degrees f
Preheat oven to 350°F (177°C). Line two large baking sheets with parchment paper or silicone baking mats. Set aside.
Step 2 — Whisk the flour, sugar, baking powder
Then I whisk the flour, sugar, baking powder, and salt together in a large bowl until combined. Using a pastry cutter or fork, cut in the butter until the mixture is crumbly. Set aside. In a medium bowl, whisk the 3 eggs, oil, and vanilla extract together. Pour into the flour/butter mixture and gently mix.
Step 3 — Turn dough out onto a lightly
Then I turn dough out onto a lightly floured surface and with floured hands, knead lightly until the dough is soft and slightly sticky, about 8-10 times. If it's sticking all over your hands, knead 1-2 more Tablespoon(s) of flour into the dough. Divide the dough in two and place each half onto a baking sheet.
Step 4 — Bake in batches (or together)
Then I bake in batches (or together) for 25-26 minutes, or until the top and sides of the biscotti slabs are lightly browned. Remove from the oven, but do not turn off the heat. Allow to cool for 10 minutes. Once the slabs are cool enough to handle, cut each into 1 inch wide slices. Set slices cut sides upright,.
Step 5 — Remove from the oven and cool
Then I remove from the oven and cool the biscotti for 5 minutes on the baking sheet. Transfer to a wire rack to cool completely before dipping in white chocolate. The biscotti becomes more and more crunchy as it cools. It's helpful to save the baking sheets for the next step.
Step 6 — Melt the chopped white chocolate
Then I melt the chopped white chocolate in a double boiler or carefully use the microwave. For the microwave, place the white chocolate in a medium heat-proof bowl. Melt in 15 second increments, stirring after each increment until completely melted and smooth. Dip each cookie in the melted chocolate and place.
Step 7 — Store
Biscotti stays fresh covered at room temperature or in the refrigerator for 1-2 weeks.
How I know it is on track
I watch the edges and center more than the clock. The edges should look set, the top should lose its wet shine, and the middle should not wobble loosely. If the top browns early, I tent it with foil and keep baking until the center catches up.
Tips from my kitchen
- Use room-temperature ingredients. I get a smoother batter when nothing is ice cold.
- Check early. Dark pans and small ovens brown faster than expected.
- Cool longer than you want. Clean slices are the reward.
- Watch the edges. I use the toothpick test as a clue, not the only rule.
Variations I have actually tried
- Nutty: I add toasted pecans, walnuts, or almonds.
- Spice-forward: I add a pinch more cinnamon or ginger.
- Citrus: I grate in lemon or orange zest.
- Chocolate: I add a small handful of chips.
- Plain: I skip extra toppings when I want the crumb or fruit to stand out.
Storing and reheating
I let Sweet Vanilla Bean Biscotti cool or settle before packing it away. For sauces, I use a clean jar and shake before serving. For cooked dishes and baked goods, I cover them tightly and reheat gently so the texture stays pleasant.
What I serve it with
I usually serve Sweet Vanilla Bean Biscotti with coffee, tea, cold milk, or a scoop of vanilla ice cream if the dessert leans warm and fruity. If there is frosting or a sweet topping, I keep the sides plain.
Frequently asked questions
Can I make it ahead?
Yes. I usually make Sweet Vanilla Bean Biscotti earlier in the day, then cover it once fully cool.
How do I know it is done?
I look for set edges, a lightly browned top, and a toothpick that comes out clean or with a few moist crumbs.
Can I freeze leftovers?
Most baked leftovers freeze well when wrapped tightly. I freeze individual portions.
Why did mine turn out dry?
Overbaking is the usual reason. I start checking early and remember that carryover heat keeps working.
Can I change the pan size?
I can use a similar-size pan, but deeper pans need more time and shallow pans bake faster.
If you make Sweet Vanilla Bean Biscotti, leave a note with the tweak you tried — I always like hearing which small changes worked in another kitchen.