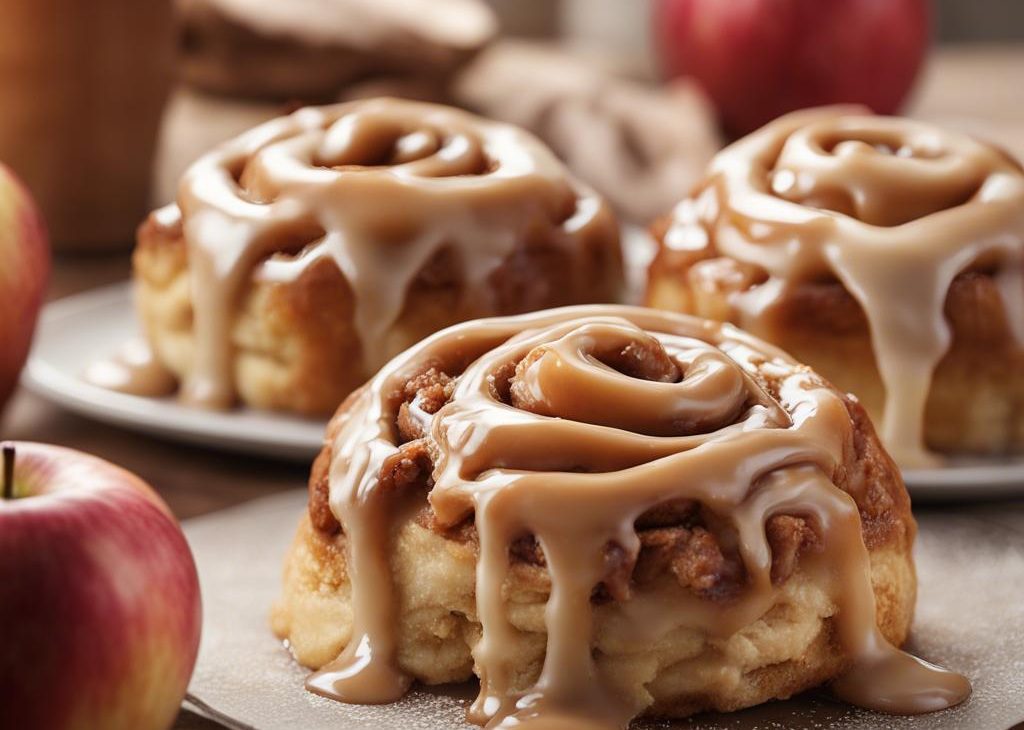

Homemade apple cinnamon rolls have warm and gooey centers, golden brown edges, and a generous drizzle of sweet caramel icing on top. Start the day with a treat that’s half apple pie and half homemade cinnamon rolls in one!
This recipe is brought to you in partnership with Red Star Yeast.
Greeting us all at the corner of comfort food and calorie-laden are APPLE CINNAMON ROLLS drowning in caramel icing. Each bite combines our favorite flavors of apple pie with the pure goodness of cinnamon rolls. Move over every other type of cinnamon roll out there… there’s a new boss in town. (We still love you, maple cinnamon rolls.)
There are 3 parts to love about today’s apple cinnamon rolls:
Let’s get down to basics, though. How many of you are nervous when it comes to yeast? Proofing it, working with it, kneading dough. Forget the haunted hay ride this year, yeast is terrifying enough, right?? Well, trust me, I used to fear working with yeast too. But once I started to use it, my fears quickly subsided.
Apple Cinnamon Rolls Ingredients
The dough we use to make apple cinnamon rolls is a rich dough, which means that it’s prepared with fat like milk, butter, and eggs. Rich doughs make soft breads such as Nutella babka, dinner rolls, and glazed doughnuts. It’s soft and supple, rises up beautifully, and has this crazy awesome buttery flavor. Lean doughs, on the other hand, are made without much fat and produce crusty bread such as focaccia, homemade bagels, and pizza dough.
You need 7 ingredients for apple cinnamon roll dough:
And just a few more ingredients for the filling + glaze:
- Filling: Butter, brown sugar, cinnamon, and apples
- Glaze: Confectioners’ sugar, vanilla extract, milk, and salted caramel
How to Make Apple Cinnamon Rolls
Nothing compares to the flavor of homemade and you’ll be surprised how quickly these cinnamon rolls come together. You can even get started on these rolls the night before!
The filling = brown sugar, cinnamon, butter, and apples. Music to our ears. (By the way, you could also add apples to the filling in these no yeast cinnamon rolls!)
Let the rolls rise once again until they are puffy.
You have the option of making them in the morning OR you can get started the night before. Whichever you choose, the rolls bake up into this gorgeous golden-brown color. And just WAIT until you smell them baking.
By the way, if you can’t get enough of apples and cinnamon for breakfast, try my apple cider French toast next!
Icing—You Have Options!
You have a couple options for icing—I’ll let you be the judge. Some of my suggestions:
- Cream cheese icing from big giant cinnamon rolls
- Maple icing from maple cinnamon rolls
- Vanilla icing
- Caramel icing = which is my vanilla icing with 2 spoonfuls of salted caramel stirred in. I highly recommend this version, for obvious reasons. This would also be fantastic drizzled on apple turnovers.
In short, we’re combating fears of yeast, satisfying our weekend cinnamon roll cravings, and embracing fall—all at the same time! Go ahead… let’s indulge.
Apple Cinnamon Rolls Recipe
Description
Warm and gooey apple cinnamon rolls with delicious caramel icing on top. Fall breakfast has never tasted so good!
Ingredients You’ll Need
Instructions
- Whisk the warm milk, 2 Tablespoons sugar, and the yeast together in the bowl of your stand mixer fitted with a dough hook or paddle attachment. Cover and allow mixture to sit for about 5 minutes or until foamy on top. *If you do not own a mixer, you can do this in a large mixing bowl and in the next step, mix the dough together with a large wooden spoon/silicone spatula. It will take a bit of arm muscle. A hand mixer works, but the sticky dough repeatedly gets stuck in the beaters. Mixing by hand with a wooden spoon or silicone spatula is a better choice.*
- On medium speed, beat in the remaining sugar (which should be 1/2 cup/100g) and the softened butter until it is slightly broken up. Add the eggs and salt and beat on medium speed until combined. The butter won’t really be mixing into the mixture, so don’t be alarmed if it stays in pieces. Switch the mixer down to low speed and with it running, add 1 cup of flour at a time, making sure it’s fully incorporated before adding the next. After 4 cups have been added, add the last 1/2 cup and beat until the dough comes together and pulls away from the sides of the bowl, about 3 minutes. Dough will be soft.
- Keep the dough in the mixer and beat for an additional 5 full minutes, or knead by hand on a lightly floured surface for 5 full minutes..) If the dough becomes too sticky during the kneading process, sprinkle 1 teaspoon of flour at a time on the dough or on the work surface/in the bowl to make a soft, slightly tacky dough. Do not add more flour than you need because you do not want a dry dough. After kneading, the dough should still feel a little soft. Poke it with your finger—if it slowly bounces back, your dough is ready to rise. You can also do a “windowpane test” to see if your dough has been kneaded long enough: tear off a small (roughly golfball-size) piece of dough and gently stretch it out until it’s thin enough for light to pass through it. Hold it up to a window or light. Does light pass through the stretched dough without the dough tearing first? If so, your dough has been kneaded long enough and is ready to rise. If not, keep kneading until it passes the windowpane test.
- Lightly grease a large bowl with oil or use nonstick spray. Place the dough in the bowl, turning it to coat all sides in the oil. Cover the bowl with aluminum foil, plastic wrap, or a clean kitchen towel. Allow the dough to rise in a relatively warm environment for 2 hours or until double in size. (I always let it rise on the counter and it takes about 2 hours. For a tiny reduction in rise time, see my answer to Where Should Dough Rise? in my Baking with Yeast Guide.)
- Grease the bottom and sides of a metal or glass 9×13-inch baking dish or line with parchment paper.
- Punch down the dough to release the air. Place dough on a lightly floured work surface and using a lightly floured rolling pin, roll dough into a 12×18-inch rectangle. Make sure the dough is smooth and evenly thick. If the dough keeps shrinking as you roll it out, stop what you’re doing, cover it lightly, and let it rest for 10 minutes to relax the gluten. When you return to the dough, it should stretch out much easier.
- Spread the softened butter all over the dough. In a small bowl, toss the brown sugar and cinnamon together until combined and then sprinkle evenly over the dough. Top evenly with chopped apples. Tightly roll up the dough to form an 18-inch-long log. Cut into 12 equal rolls. Arrange them in the prepared baking pan. Cover the rolls very tightly with aluminum foil.
- Cover the rolls tightly and allow to rise until puffy, about 45-60 minutes.(Or use the overnight option in the Notes below).
- Preheat the oven to 375°F (191°C).
- Bake for about 25 minutes or until they lightly browned on top. About halfway through baking time, tent a piece of aluminum foil over the pan to prevent the tops from browning too quickly. Remove pan from the oven and place pan on a wire rack for about 10 minutes as you make the icing.
- Whisk all of the icing ingredients together and drizzle over warm rolls. Serve warm.
- Cover leftover frosted or unfrosted rolls tightly and store at room temperature for up to 2 days or in the refrigerator for up to 5 days.