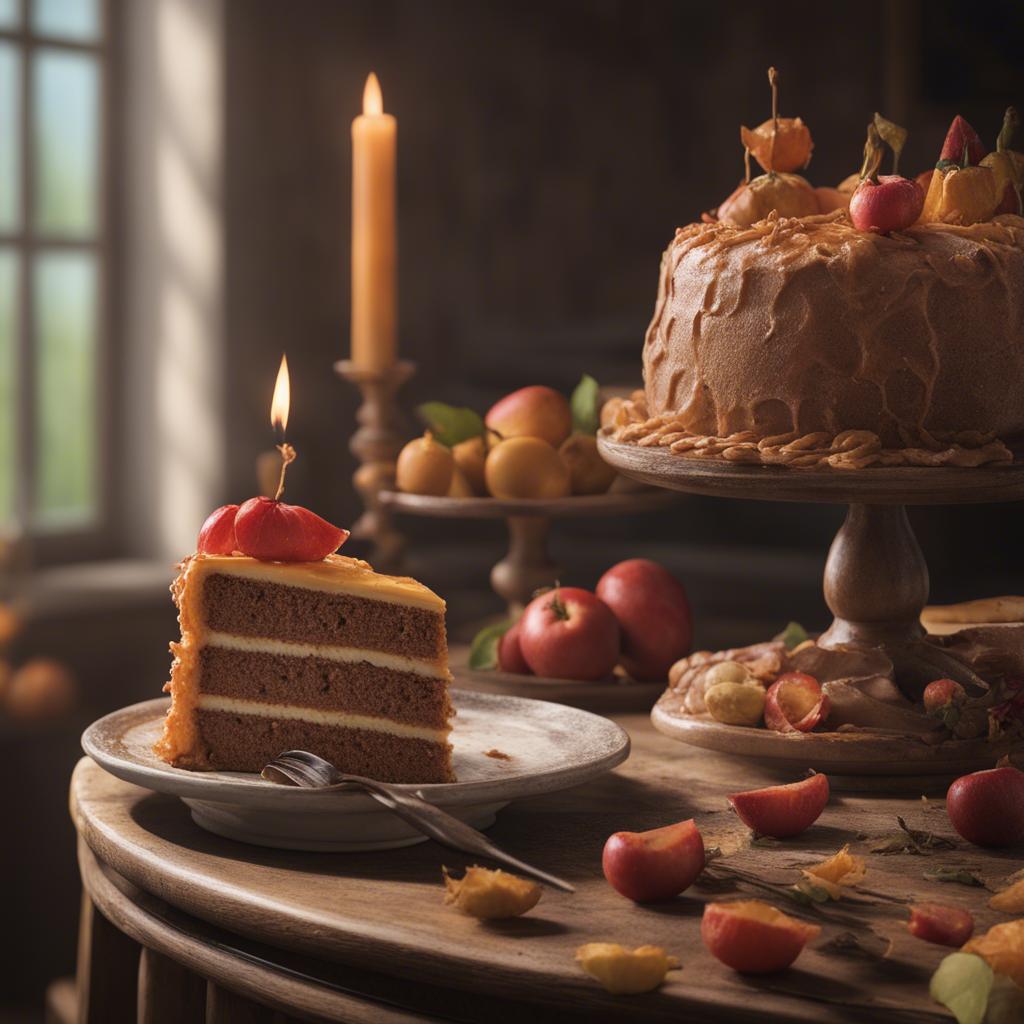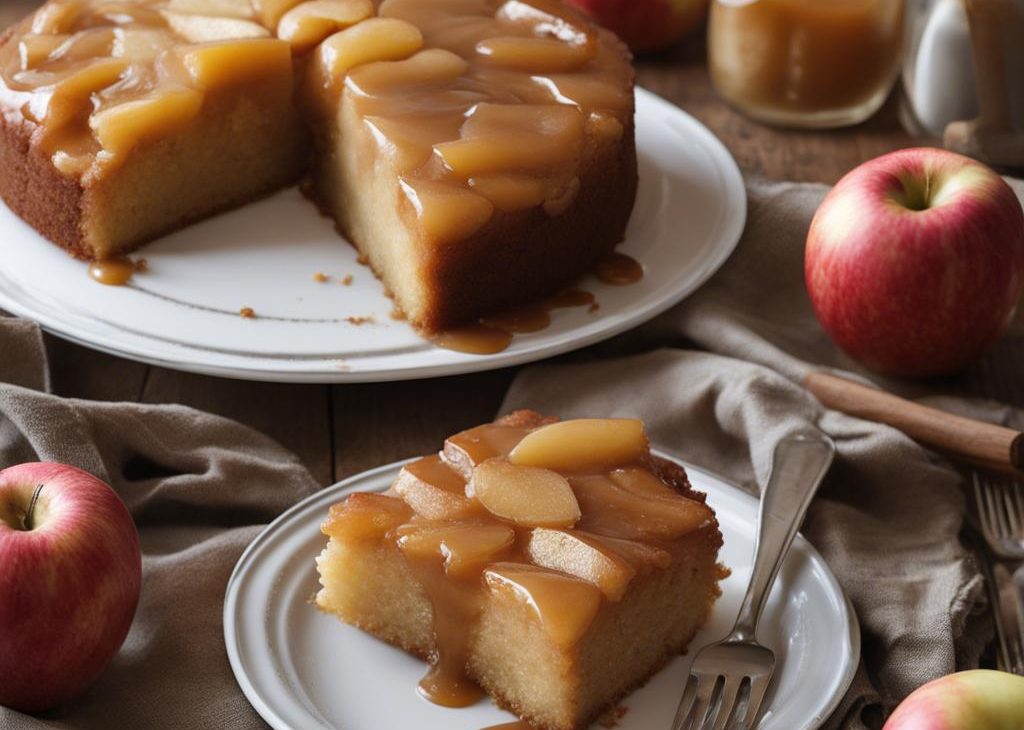

This caramel apple upside down cake is a fall must-make. Combining a soft cinnamon-spiced cake with buttery caramelized apples, we’re essentially getting two desserts in one. After inverting, the topping’s juices seep down into the cake and add unbeatable flavor and moisture. What you’ll love most, besides the flavors, is that there’s no fancy decoration required—the lovely garnish is literally baked into the cake!
. I’ve also made a few small changes to the recipe which are reflected in the printable recipe below.
One of the first dessert recipes I published was caramel apple upside down cake. It’s a forever favorite and totally deserving of that early spot in my archives. I bake this recipe at least once every fall season and have made a couple minor updates to the recipe over the years. The cake is better than ever. I figured you’d appreciate seeing what I’ve done!
This Caramel Apple Upside Down Cake Is:
- Melt-in-your-mouth soft & moist, like this apple cake but remixed a bit!
- Extra flavorful like my beloved apple cinnamon bread
- Easy—no crazy ingredients or techniques required
- Perfectly sized for a small family or gathering
- The best destination for your freshly picked apples 😉
Try it at least once. I guarantee it will be a repeat recipe in your kitchen. And if you are looking for even more inspiration, here is a list of 30+ fall cake recipes.
Apple Upside Down Cake Topping
The topping is baked underneath the cake. After the cake slightly cools we’ll invert it onto a serving plate, the same way we flip pear tarte tatin before serving. The caramel flavor comes from the butter and brown sugar. Combined with vanilla and apples, the topping alone makes this a recipe worth repeating. It’s downright GOOD.
I know you’ll appreciate this: I mention this above, but it’s worth repeating. Apple upside down cake is basically already frosted—once you invert the cake, the garnish is already there! Use apple slices, not chunks, just like I recommend for apple cobbler.
A few preliminary notes on the topping:
- The topping in my original recipe had a little too much butter. I also reduced the cinnamon and put more in the cake itself.
- Melt the butter and brown sugar together on the stove, then cook for 1 minute. The mixture will slightly thicken and take on a caramel-like flavor that intensifies as the cake bakes. Not a lot of recipes do this, but it makes a big flavor difference. In my pineapple upside down cake recipe, we simply add melted butter to the cake pan and sprinkle the brown sugar on top. As a result, you don’t really get the same caramel flavor. Perfectly fine for that recipe, but why not take an extra minute here?
- Arrange the apple slices on top of the butter/brown sugar mixture. Try to squeeze as many apple slices in the pan as you can. No one has ever complained about extra caramel-y apples!
Let’s Make the Cake Batter
The cake batter is pretty straightforward and similar to the original recipe. Like most cakes, the base is creamed butter and sugar. Regular sugar lightens up the crumb, while brown sugar adds flavor. We use both in this cake. The cake is super soft and cinnamon-spiced—similar in taste and texture to apple cupcakes.
The batter differs from my pineapple upside down cake. Pineapple rings are heavier than apple slices, so we use cake flour, egg whites, and sour cream in that recipe to help keep the crumb light. Here we can use whole eggs and all-purpose flour.
Two Baking Tips:
Expect a Dense Cake
I’ve made hundreds of upside down cakes, or so it seems, and I say with 100% certainty that this style of cake will always be on the denser side. (Unless you are using store-bought cake mix.) The cake is served upside down. The weight of the topping, which is the bottom of the cake as it bakes, weighs down the crumb beneath it. Upside down cake will never be as light and airy as white cake. If you were to make this exact cake batter and serve it right-side-up, the cake would taste much airier. Does that make sense?
While this apple upside down cake is mega soft and not nearly as dense as, say, pound cake, it’s not overly light either. I know you’ll love its unique texture, especially paired with the caramel apple topping. Let me know how you like it!
Caramel Apple Upside Down Cake Recipe
Description
This stunning apple upside down cake combines a soft cinnamon-spiced cake with a delicious buttery caramel topping. Pack those apples into the pan—this cake can hold a lot and you won't regret those extra slices!
Ingredients You’ll Need
Instructions
- Preheat oven to 350°F (177°C).
- Combine butter and brown sugar together in a small saucepan over medium heat. Whisk occasionally until butter has melted. Cook, whisking constantly, for 1 minute as mixture thickens. Remove from heat and whisk in the cinnamon and vanilla extract. Pour into an ungreased 9×2 inch pie dish or round cake pan. (Make sure the pan is 2 inches deep. I recommend this pie dish, which is 1.8 inches deep but I never have an overflow issue.) Arrange the apple slices neatly on top, overlapping where necessary.. Place pan in the refrigerator for a few minutes as you prepare the cake batter. This helps solidify or “set” the topping’s arrangement.
- Whisk the flour, baking powder, cinnamon, nutmeg, and salt together. Set aside.
- Using a handheld or stand mixer fitted with a paddle or whisk attachment, beat the butter on high speed until smooth and creamy, about 1 minute. Add both sugars and beat on high speed until creamed together, about 1 minute. Scrape down the sides and up the bottom of the bowl with a rubber spatula as needed. On high speed, beat in the eggs and vanilla extract until combined. Scrape down the sides and up the bottom of the bowl as needed. Pour the dry ingredients into the wet ingredients. Turn the mixer onto low speed and as the mixer runs, slowly pour in the milk. Beat on low speed just until all of the ingredients are combined. Do not over-mix. You may need to whisk it all by hand to make sure there are no lumps at the bottom of the bowl. The batter will be slightly thick.
- Remove topping from the refrigerator. Pour and spread cake batter evenly over topping.
- Bake for 40–46 minutes, tenting foil on top of the cake halfway through bake time to prevent the top from over-browning before the center has a chance to fully cook. The cake is done when a toothpick inserted into the center of the cake comes out mostly clean—a couple moist crumbs are OK. Don’t be alarmed if your cake takes longer or if the cake rises up and sticks to the foil. (We serve the cake upside down anyway!)
- Remove cake from the oven and cool on a wire rack for just 15 minutes. Invert the slightly cooled cake onto a cake stand or serving plate. Some of the juices from the topping will seep over the sides—that’s ok. You can slice and serve the cake warm, but the slices will be messy. I find it’s best to cool the cake completely at room temperature before slicing and serving. Do not refrigerate the cake to speed up the cooling process because it could end up tasting overly dense.
- Cover leftover slices and store for up to 3 days in the refrigerator or 3 months in the freezer. Thaw at room temperature. I don’t recommend freezing the cake as a whole because the topping arrangement doesn’t thaw very nicely. See make ahead instructions below.
You may also like...