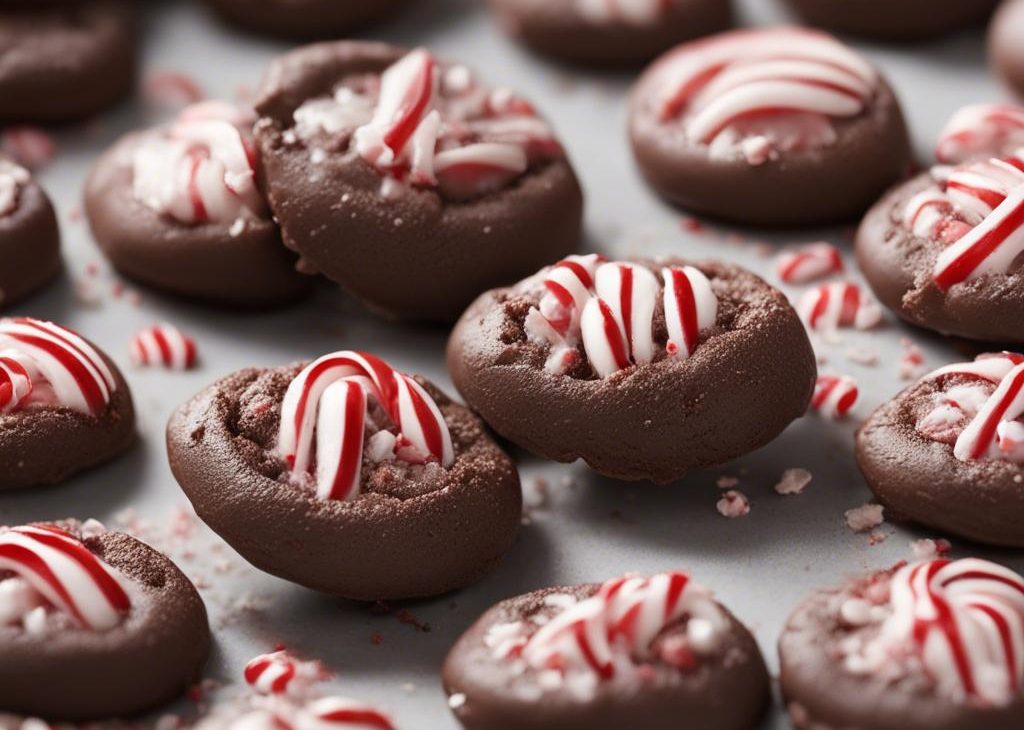


These soft and thick chocolate peppermint thumbprints are a new favorite Christmas cookie. Combining chocolate cookies, chocolate peppermint ganache, and crushed candy canes, they’re undoubtedly festive and bound to disappear off cookie platters.
These are Chocolate Peppermint Thumbprints.
These chocolate peppermint thumbprint cookies channel my peppermint bark cookies and Andes mint chocolate cookies with the same irresistible chocolate and peppermint flavor combination. They’re also:
We honestly COULD NOT STOP eating these. Besides the unbeatable texture and festive flavor, you’ll also appreciate that this Christmas cookie recipe comes together with basic kitchen ingredients like flour, cocoa powder, butter, and sugar. Love that.
I developed the base of this recipe from my chocolate crinkle cookies. The recipes are different because I needed a slightly sturdier cookie to hold the ganache inside. A higher ratio of brown sugar to white sugar keeps the cookies extra soft and cocoa powder lends all the chocolate flavor in the dough. Remember the difference between dutch-process vs. natural cocoa powder? Use natural cocoa powder here.
Baker’s Tip: Chill the cookie dough AFTER rolling the dough balls in sugar and making indents. Why? Chilling cookie dough at this stage is the most important step. In my recipe testing, I found that chilling the dough before indenting made it a little too firm and difficult to work with. Chilling the dough after indenting was much easier.. Place the whole cookie sheet in your refrigerator for 2 hours or freezer for 1 hour.
Arrange the cold dough 2-3 inches apart on baking sheets, then bake.
This is my #1 trick for indenting thumbprints: Instead of using your thumb, use the end of a wooden spoon or rubber spatula. This way you don’t dirty your thumbs or get dough under your nail AND you obtain a perfect uniform indent in each cookie. Are you a control freak/neat freak like I am? Then you’ll totally appreciate this hack.
I do the same thing with my caramel apple spice thumbprints and lemon thumbprint cookies.
Of course, you can still use your thumb if that’s easiest for you.
Unlike most thumbprint cookies where you bake the cookies WITH the filling inside, you actually bake today’s thumbprints WITHOUT the ganache filling inside. (Baked ganache is not a good idea!) Since the indented cookies are empty, they’re going to puff up in the oven and lose some of that thumbprint indentation..
Here’s what you do: When the cookies come out of the oven, grab the wooden spoon or rubber spatula again and press the center of the warm cookies down to make a deeper indent. You’re just reshaping the thumbprints here—very easy. Deeper indent = bigger pool of ganache..
Do you remember when I taught you how to make chocolate ganache? We’re doing the same exact thing here! Chocolate ganache requires two ingredients:
Chop chocolate into tiny pieces. Use chocolate labeled “baking chocolate” that’s sold as 4 ounce bars in the baking aisle right next to the chocolate chips. I prefer Ghirardelli or Bakers brands. TIP: The best tool for chopping hard chocolate is a large serrated knife. Pour warm cream over the chopped chocolate. Let it sit for a few minutes, then stir until thick and smooth. To make this ganache extra special, add a drop of peppermint extract. Start with only 1/8 teaspoon, then taste it. If you want more, add more. Peppermint extract is VERY potent and if you add too much, your ganache will taste like toothpaste.
The chocolate ganache will eventually set, making these chocolate peppermint thumbprints easy for packing, gifting, and traveling. It’s still creamy when you take that first bite, though—perfectly messy just like all the best Christmas cookies are. 🙂
If you can’t get enough peppermint cookies try these candy cane kiss cookies, peppermint snowball cookies, or peppermint mocha cookies next.
Combining chocolate cookies, chocolate peppermint ganache, and crushed candy canes, these chocolate peppermint thumbprints are extra festive and bound to disappear off cookie platters. Chill the shaped dough for at least 2 hours to help guarantee the cookies hold their shape.