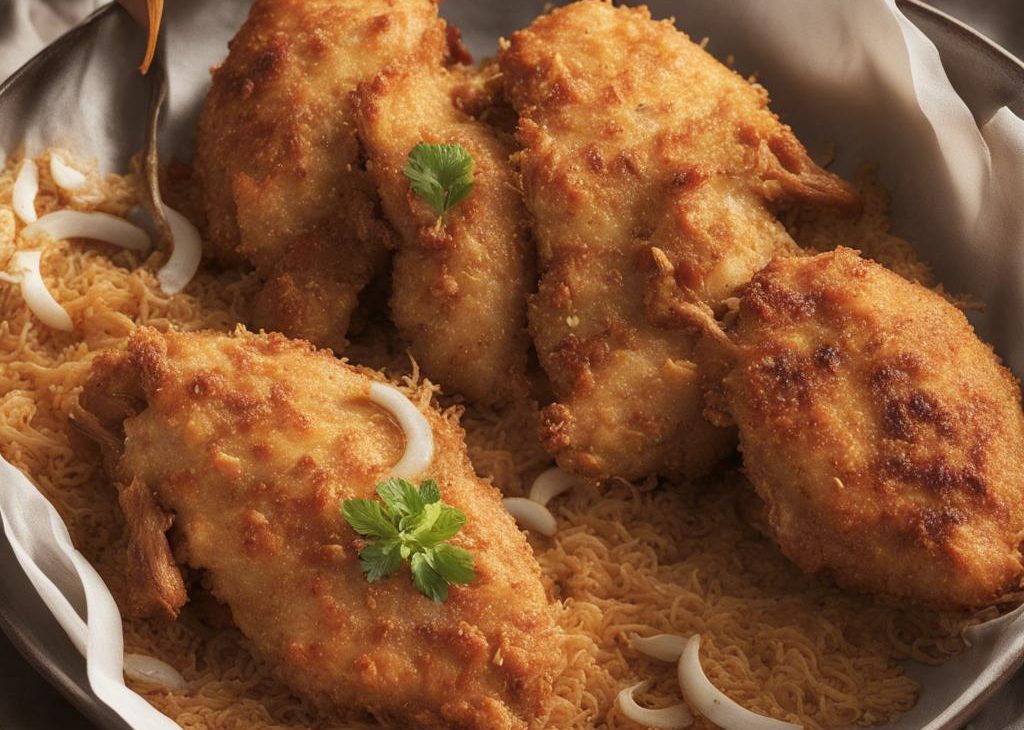

I make Crispy Coconut Chicken with Spicy Honey Orange Sauce when I want something that feels homemade without pretending the little details do not matter.
What keeps me coming back is how boneless skinless chicken tenders or breasts, cut into strips, sweetened shredded coconut, Panko bread crumbs carry the flavor. I measure first, clear space, and then work through the steps without trying to rush the part that needs patience.
Why I keep coming back to this
- I can taste the main ingredients clearly.
- The steps give me visual checkpoints instead of guesswork.
- The leftovers still feel like something I meant to make.
- I can measure everything before I start and then work calmly.
- Small swaps work without changing the whole personality of the recipe.
- It makes a regular meal feel more considered without a restaurant-size project.
What you need (and what each one is doing)
- 1 1/2 pounds boneless skinless chicken tenders or breasts, cut into strips (680g). for it later.
- 1 cup sweetened shredded coconut (80g). This gives texture; I chop large pieces so every bite gets a little.
- 3/4 cup Panko bread crumbs. for it later.
- 1/2 cup all-purpose flour (65g). This gives structure, so I spoon and level instead of packing it down.
- 1 teaspoon salt. for it later.
- 1/2 teaspoon ground black pepper. for it later.
- 2 large eggs. This is one of the structural ingredients, so I do not eyeball it.
- 1/4 cup coconut oil (56g). This brings tenderness and richness; the temperature matters more than it seems.
- chopped cilantro or parsley (optional garnish). for it later.
- 1/2 cup orange preserves or marmalade. for it later.
- 1/4 cup honey (85g). This sweetens and also helps with browning, chew, or body.
- 3 Tablespoons Dijon mustard. for it later.
- 1 teaspoon crushed red pepper flakes. for it later.
- salt (to taste). for it later.
How I make it
Step 1 — Set up the pan and oven
If using chicken breasts, pound down and cut into strips. If using boneless, skinless chicken tenders (chicken tenders are the lean strips of meat found attached to the underside of chicken breasts—they can also be purchased separately), cut in half lengthwise. Preheat oven to 400°F (204°C). Line a large baking sheet with parchment paper or a silicone baking mat. Set aside.
Step 2 — Whisk the dry ingredients
Pulse the shredded coconut in a food processor or blender to break it down into smaller pieces. Alternatively, you can chop it up. Mix it with the Panko in a medium bowl. Set aside. In a second medium bowl, whisk the flour, salt, and pepper together. In a third bowl, whisk the eggs together. Heat the coconut oil in a large skillet over medium-high heat.
Step 3 — Fry until golden
Coat each chicken strip in flour, shaking off any excess. Then, dip in egg and let any excess drip off. Then generously roll in the coconut mixture, shaking off any excess. Add more Panko to the dish if you are running low. Fry 4-6 chicken strips at a time in the coconut oil—only about 2 minutes per side until the crust is golden brown. Once each is done, place strips onto prepared baking pan.
Step 4 — Whisk together
Bake for 6-10 minutes or until chicken is completely baked through. Whisk all of the sauce ingredients together except for the salt. Taste. Add salt as needed.
Step 5 — Garnish and finish
Serve chicken warm with the dipping sauce. Add an optional garnish like a little chopped cilantro or parsley. Store any leftover chicken in the refrigerator for up to 5 days. Reheat in a 350°F (177°C) oven for 10 minutes or until warmed through.
Tips from my kitchen
- Use a heavy pan. Thin pans scorch sugar, dairy, and spices quickly.
- Whisk slowly at first. I get a smoother sauce when I let it come together gradually.
- Taste after cooling. Heat can make sweetness and spice read louder than they are.
- Use a clean jar. Sauce keeps better when I do not dip used spoons back in.
Variations I have actually tried
- Add more heat in pinches, not spoonfuls.
- Brighten with a little vinegar or citrus.
- Thin gently with warm cream, water, or pickle juice.
- Use it as a sandwich spread.
- Spoon leftovers over roasted vegetables or chicken.
Storing and reheating
I cool Crispy Coconut Chicken with Spicy Honey Orange Sauce before spooning it into a clean jar. If it thickens in the refrigerator, I warm it gently and stir until it loosens again.
What I serve it with
I use it as a dip, spread, drizzle, or quick finishing sauce.
Frequently asked questions
Can I make it ahead?
Yes. I like it after a short rest because the flavors taste more settled.
Can I make it less spicy?
Yes — cut the hottest ingredient in half, then add more after tasting.
Why did my sauce separate?
It was probably heated too hard. I bring it back over low heat and whisk slowly.
How long does it keep?
I keep it in a clean airtight jar in the refrigerator and use it within the recipe window.
Can I freeze it?
I usually do not freeze creamy sauces because the texture can turn grainy.
What I watch for after a few batches
The detail I pay attention to most is texture. I do not walk away during the moment when the recipe changes from mixed ingredients into something cooked, baked, set, or glossy. That is when a minute or two can matter more than a long list of instructions.
I also write down any change I make, even if it is only a different pan or a different brand of chocolate. The next batch is easier when I know exactly what caused a softer center, a darker edge, or a sauce that thickened faster than expected.
If you make this Crispy Coconut Chicken with Spicy Honey Orange Sauce, leave a comment with what you changed or what you served with it — I like hearing the practical kitchen notes.
Crispy Coconut Chicken with Spicy Honey Orange Sauce
Description
Crispy Coconut Chicken with Spicy Honey Orange Sauce made with boneless skinless chicken tenders or breasts, cut into strips, sweetened shredded coconut, Panko bread crumbs. I kept the source measurements and rewrote the method with practical notes for timing, storage, and variations.
Ingredients You’ll Need
Instructions
- If using chicken breasts, pound down and cut into strips. If using boneless, skinless chicken tenders (chicken tenders are the lean strips of meat found attached to the underside of chicken breasts—they can also be purchased separately), cut in half lengthwise.
- Preheat oven to 400°F (204°C). Line a large baking sheet with parchment paper or a silicone baking mat. Set aside.
- Pulse the shredded coconut in a food processor or blender to break it down into smaller pieces. Alternatively, you can chop it up. Mix it with the Panko in a medium bowl. Set aside. In a second medium bowl, whisk the flour, salt, and pepper together. In a third bowl, whisk the eggs together.
- Heat the coconut oil in a large skillet over medium-high heat.
- Coat each chicken strip in flour, shaking off any excess. Then, dip in egg and let any excess drip off. Then generously roll in the coconut mixture, shaking off any excess. Add more Panko to the dish if you are running low.
- Fry 4-6 chicken strips at a time in the coconut oil—only about 2 minutes per side until the crust is golden brown. Once each is done, place strips onto prepared baking pan.
- Bake for 6-10 minutes or until chicken is completely baked through.
- Whisk all of the sauce ingredients together except for the salt. Taste. Add salt as needed.
- Serve chicken warm with the dipping sauce. Add an optional garnish like a little chopped cilantro or parsley. Store any leftover chicken in the refrigerator for up to 5 days. Reheat in a 350°F (177°C) oven for 10 minutes or until warmed through.
Nutrition Facts
Servings 4
- Amount Per Serving
- Calories 299kcal
- % Daily Value *
- Total Fat 17g27%
- Saturated Fat 12g60%
- Trans Fat 0.0g
- Cholesterol 121mg41%
- Sodium 656mg28%
- Potassium 97mg3%
- Total Carbohydrate 31g11%
- Dietary Fiber 1g4%
- Sugars 18g
- Protein 6g12%
- Calcium 32 mg
- Iron 1.6 mg
* Percent Daily Values are based on a 2,000 calorie diet. Your daily value may be higher or lower depending on your calorie needs.
Note
Use a heavy pan. Thin pans scorch sugar, dairy, and spices quickly.
Whisk slowly at first. I get a smoother sauce when I let it come together gradually.
Taste after cooling. Heat can make sweetness and spice read louder than they are.
Use a clean jar. Sauce keeps better when I do not dip used spoons back in.
Frequently Asked Questions
Yes. I like it after a short rest because the flavors taste more settled.
Yes — cut the hottest ingredient in half, then add more after tasting.
It was probably heated too hard. I bring it back over low heat and whisk slowly.
I keep it in a clean airtight jar in the refrigerator and use it within the recipe window.
I usually do not freeze creamy sauces because the texture can turn grainy.