
Crimp & Flute Pie Crust
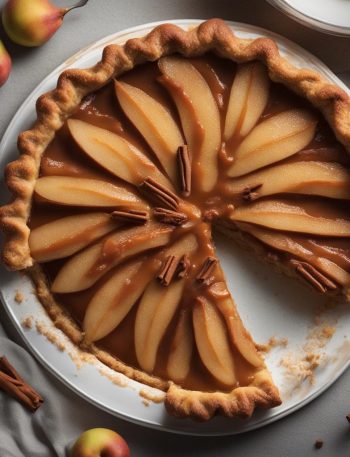
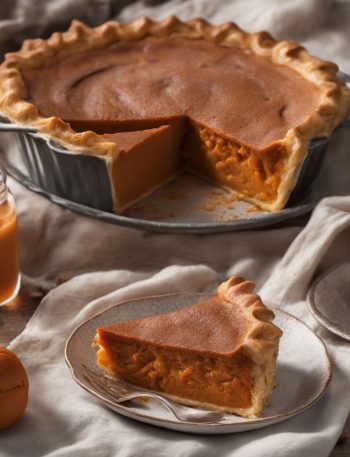
Whether you’re making a double-crust fruit pie like apple pie, cherry pie, strawberry rhubarb pie, caramel pear pie, peach pie, or blueberry pie; or a single-crust cream pie like pumpkin pie, banana cream pie, fudge brownie pie, coconut cream pie, lemon meringue pie, French silk pie, or even quiche, learning these easy crust-shaping techniques is essential for baking a homemade pie you’ll be proud to present.
After all, making a pie from scratch is a labor of love, and if you’re taking the time to make a homemade pie, you want it to look good.
But this step isn’t all about looks, either; crimping or fluting the edges of the pie crust also helps to seal in the filling of your pie—we’re adding both flair and function here!
Start With a Great Pie Crust Recipe
You can use these pie crust-shaping techniques with your favorite pie dough recipe or store-bought pie dough. I always use and recommend my favorite recipe for homemade pie crust. I also have an all-butter pie crust recipe you can try.
. Rolling the dough into a 12-inch circle is just the right size for fitting into a 9-inch pie dish.
Get the Edges Ready
After you fit the pie dough into the pie dish, you can trim the excess pie dough overhang. I like to keep around 1.5 inches of dough overhanging. Now you can do this before or after you add your pie filling; it really doesn’t make a difference. I use either a knife or kitchen shears for this step.
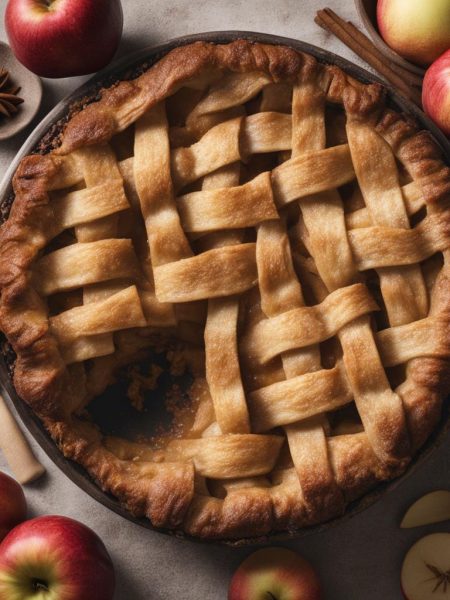
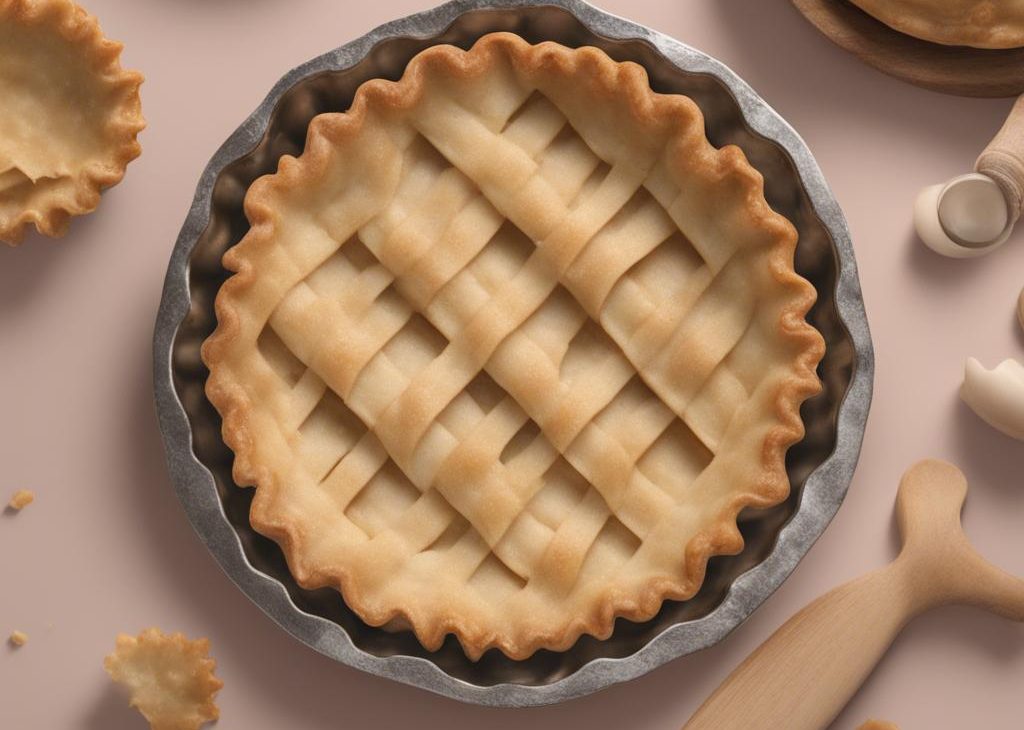
If you’re making a double-crust pie, you can do this after you add the filling and top pie crust. (Here’s my how to lattice pie crust tutorial.)
Fold the overhang back over and pinch it to make a nice, compact edge. If you’re working with a double-crust pie, roll and pinch the top and bottom crusts together.
Now you’re ready to create a pretty edge, by fluting or crimping.
*NOTE: If you’re making a pie that requires blind-baking the pie crust, such as pumpkin pie or banana cream pie, you’ll crimp or flute the edge of the pie crust and bake it before you add the filling.
How to Crimp Pie Crust
To crimp the edges of the pie, you just need a regular fork. Place your index finger on top of the fork, and press the tines down into the edges of the crust, continuing all the way around the pie crust. It’s that simple!
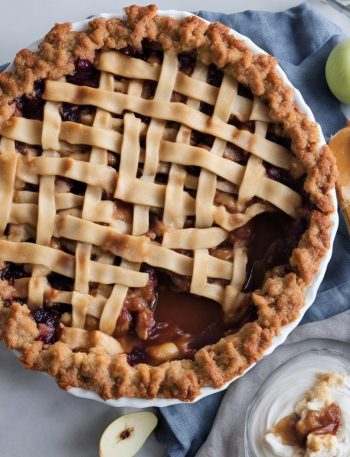
Crimping the edges is great for pies that have a top crust and a juicy filling, such as blueberry pie. It’s also how we seal the edges of hand pies, like these chocolate hand pies and apple hand pies. I use this method again for tightening up the edges of butternut squash tart, and for these homemade turnovers.
How to Flute Pie Crust
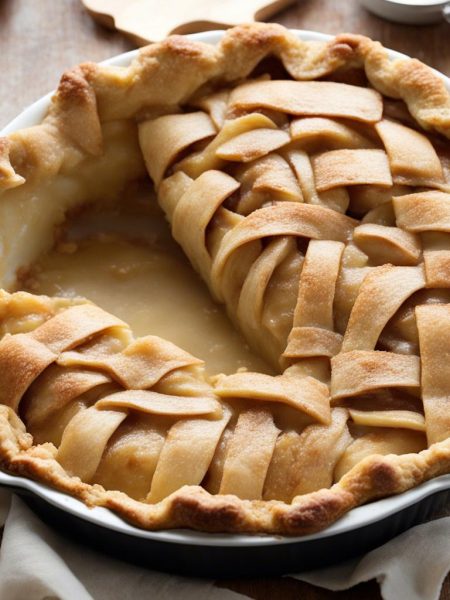
Fluting the edges means giving it that classic wavy, scalloped look that never goes out of style, just like my favorite apple pie.
You don’t need any special tools (though I’m not sure a fork really counts as a special tool, LOL), just your hands. Actually, you only need 3 fingers!
Use the knuckle of your index finger on your dominant hand, and your index finger and thumb of your non-dominant hand. With the non-dominant hand, pinch the edges of the dough around the knuckle of your dominant hand. Turn the pie dish as you go around the edges.
I especially love fluting the edges of a one-crust pie, like a coconut cream pie or a quiche, because it’s a way to add a little flair without a top crust design.
Don’t Forget the Egg Wash
Whichever edge you have, fluted or crimped, don’t forget to brush the top crust and edges with egg wash before baking. Egg wash is simply an egg mixed with a little milk or water, and it gives the crust a gorgeous glossy sheen, and helps to develop that rich golden-brown color you want.
You use an egg wash often in baking, and not only for pies. I add it to stromboli, bread bowls, and even these homemade breakfast danish pastries.
You can also add a sprinkling of coarse sugar for a little sparkle and a sweet crunch. Because who wouldn’t want their pies to sparkle and shine?!
Some Takeaway Tips for Fluting & Crimping Crust
- Keep the pie dough as COLD as possible and handle the dough with care; it can get very delicate the more you work with it, and the warmer it becomes. If it’s tearing, place it back in the refrigerator for a few minutes and then try again.
- Have a little dish of flour nearby; if the dough starts to get a little sticky, flour your fingers as needed.
- Use kitchen shears to trim a little bit of the overhanging excess pie crust, just to even it up. But leave as much as you can, so you have more to work with when making that nice thick edge to your crust.
- Rather than discard any scraps of pie dough, try using a pie punch or cookie cutter to add decorative shapes on top of your pie. See this pie crust designs tutorial for more ideas.
Recommended Tools
- Pie Dish
- Rolling Pin
- Kitchen Shears
- Pastry Brush
- Sparkling Sugar
How to Crimp & Flute Pie Crust Recipe
Description
Making a pie from scratch is a labor of love, and if you're taking the time to make a homemade pie, you want it to be a success. Crimping or fluting the edges of the pie crust creates a beautiful edge, helps to seal in the filling of your pie, and also helps prevent the edge from sinking down into the pie dish. We're adding both flair and function here!
Ingredients You’ll Need
Instructions
- Prepare and chill your pie dough for at least 2 hours. If using the linked recipe, prepare pie crust through step 5.
- On a floured work surface, roll out one of the discs of chilled dough (if you’re making a double-crust pie, keep the other one in the refrigerator until you need it). Turn the dough about a quarter turn after every few rolls until you have a circle 12 inches in diameter. Carefully place the dough into a 9-inch pie dish. Tuck it in with your fingers, making sure it is completely smooth.
- After you fit the pie dough into the pie dish, use a sharp knife or kitchen shears to trim the excess pie dough overhang. I like to keep around 1.5 inches of dough overhanging. You can do this before or after you add your pie filling; it really doesn’t make a difference. If you’re making a double-crust pie, you can do this after you add the filling and top pie crust. (Here’s my how to lattice pie crust tutorial if you’re interested.)
- Fold the overhang back over and pinch it to make a nice, compact edge. If you’re working with a double-crust pie, roll and pinch the top and bottom crusts together. Now, decide if you want to crimp or flute the edges, and proceed with either step next.
- To crimp the edges of the pie, you just need a regular fork. Place your index finger on top of the fork, and press the tines down into the edges of the crust, continuing all the way around the pie crust.
- Use the knuckle of your index finger on your dominant hand, and your index finger and thumb of your non-dominant hand. With the non-dominant hand, pinch the edges of the dough around the knuckle of your dominant hand. Turn the pie dish as you go around the edges. Lightly flour your fingers if the pie dough becomes sticky.
- Brush the edges, as well as the top (if using a double-crust pie) with egg wash. If making a sweet pie, and to add a little sparkle and crunch, you can sprinkle the dough with a little coarse sugar.
- Proceed with your pie recipe, such as a double-crust pie like apple pie, chicken pot pie, cherry pie, strawberry rhubarb pie, peach pie, or blueberry pie; or a single-crust pie like pumpkin pie, banana cream pie, coconut cream pie, lemon meringue pie, French silk pie, or quiche.
You may also like...