
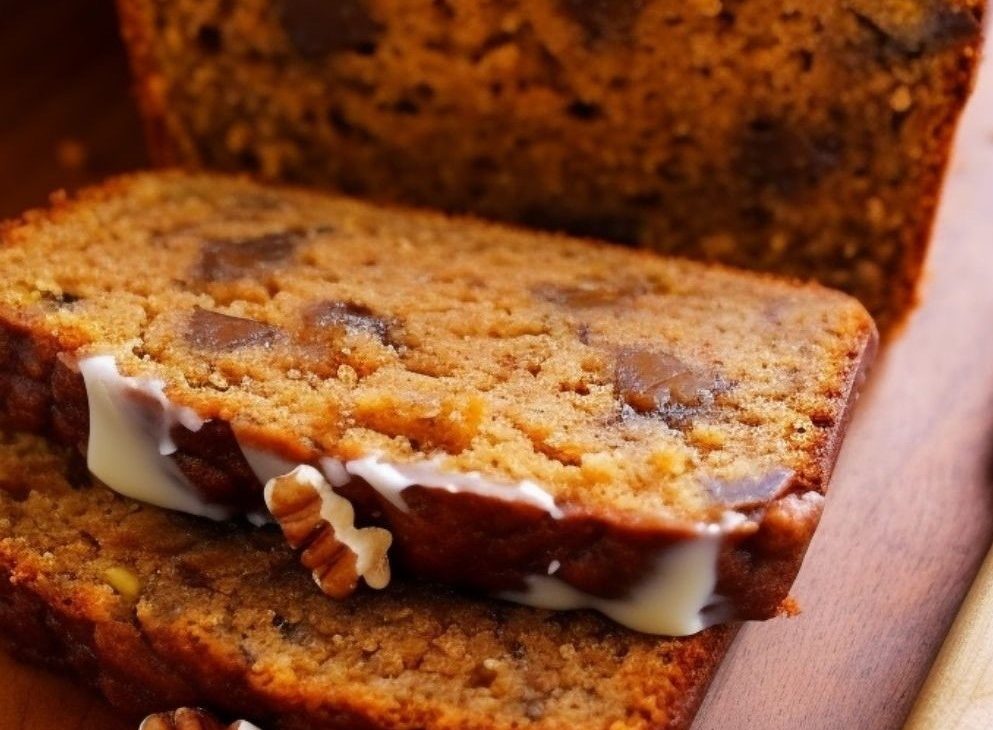
I make Date Nut Bread when I want quick bread that tastes cared for without turning the kitchen into a project. The ingredient list is straightforward, but the small cues matter: I pay attention to the oven at 325°F and the visual cues in the pan, and I stop before the texture goes past where I like it.
This version keeps the source measurements intact and gives them a cleaner, more useful rhythm. I have written the method the way I actually cook it, with 30 minutes of prep and 45 minutes of cooking or baking and enough rest time for the flavors or crumb to settle.
My favorite thing about this recipe is how clearly the main ingredients show up. I want dates, walnuts, and a simple loaf batter to taste like themselves, not like a pile of filler. If I am making it for guests, I do the measuring first so the cooking part feels calm.
I measure the ingredients before I start because Date Nut Bread moves more smoothly when everything is ready. Here is how I think about each one in the bowl, pan, or pot.
I heat the oven to 325°F. Grease a 9x5-inch loaf pan and set aside. Combine dates, walnuts, boiling water, sugar, baking soda, and salt in a medium bowl and stir until well combined.
I set aside for 10 minutes. In a large bowl, beat shortening and eggs until light and fluffy. Gradually add flour, beating until just combined.
Then add the date mixture to the flour mixture, stirring until just combined. Pour batter into the prepared pan and bake for 45 minutes or until a toothpick inserted in the center comes out clean.
I cool in a pan on a wire rack for 15 minutes before removing from the pan. Slice and serve. I give it a short pause before serving whenever the recipe allows; that rest makes slicing, spooning, or coating much cleaner.
I cool Date Nut Bread completely before storing, because trapped steam makes the texture soft in the wrong way. For short storage, I use an airtight container at room temperature; if the kitchen is warm or the recipe includes dairy, I move it to the refrigerator.
For reheating, I use gentle heat. A few seconds in the microwave softens a slice or piece, while a low oven brings back better edges. If I freeze portions, I wrap them individually so I can thaw only what I need.
I usually serve Date Nut Bread with coffee, tea, cold milk, or something tart on the side. If the recipe is rich, a small portion is enough; if it is bread or a simple cookie, I like it with fruit so the plate does not feel heavy.
Yes. I do the measuring and any chopping ahead, then keep the components covered until I am ready to cook. If Date Nut Bread needs chilling or setting, I use that time on purpose instead of treating it as dead time.
I look for the recipe's physical cues first: set edges, bubbling sauce, opaque protein, a clean tester, or a texture that holds its shape. The clock gets me close, but my pan and oven decide the last few minutes.
I make small swaps before big ones. Ingredients similar to dates, walnuts, and a simple loaf batter usually behave best. If a swap brings more moisture, sweetness, salt, or fat, I adjust slowly and keep notes for the next batch.
Rushing is the mistake I see most. Not preheating, skipping a rest, overcrowding a pan, or cutting too early can make a solid recipe seem off. I slow down at the points where texture changes.
Usually, yes, but I prefer two pans or batches instead of one very deep pan. Doubling changes how heat reaches the center, so I keep the same temperature and add time only as needed.
If you make Date Nut Bread, leave a comment with what you changed or what worked in your kitchen; I always like reading the practical details.
My Date Nut Bread keeps the focus on dates, walnuts, and a simple loaf batter. I include practical prep cues, 30 minutes prep and 45 minutes cook, storage notes, and variations I would actually make again.
Measure before starting. I set up date nut bread completely before heat or mixing begins.
Watch texture. I use the listed time as a guide, then trust color, thickness, and firmness.
Rest when possible. A short pause makes slices cleaner and flavors calmer.
Season at the end. For savory recipes, I taste after simmering or baking because salt concentrates as moisture cooks away.


