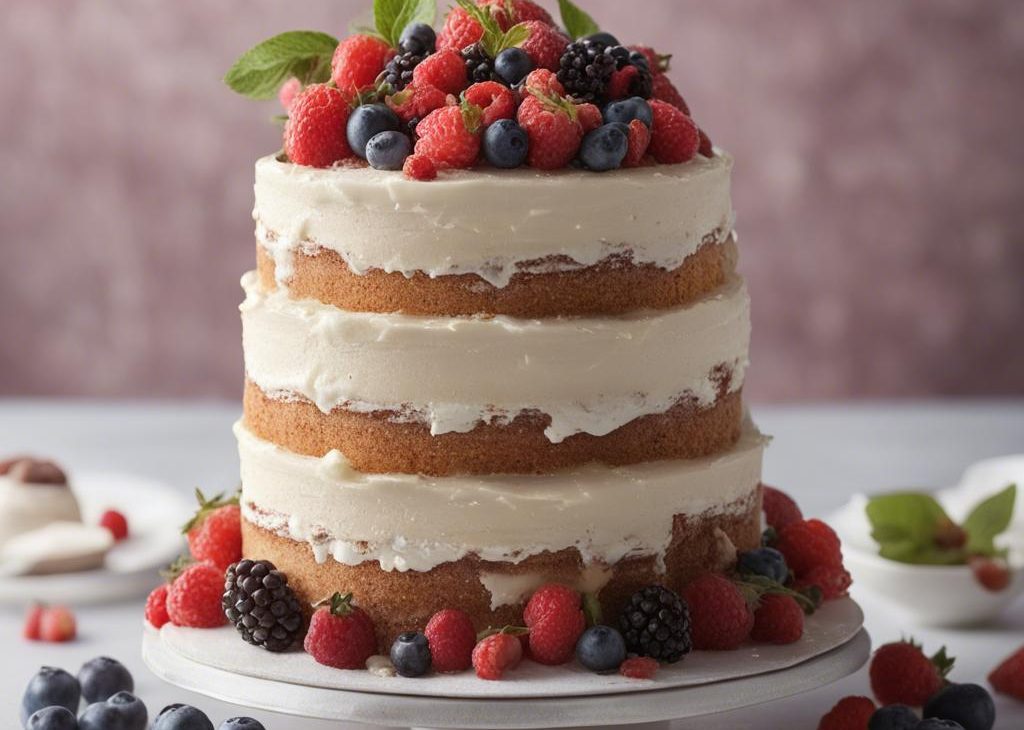

Learn how to make a beautiful naked cake with fresh berries and vanilla buttercream. This chic cake decorating style is much simpler than it looks..
Today we’re baking, designing, and styling naked cakes.. There’s a lot of ground to cover, so let’s get right to it!
What Is a Naked Cake?
Naked cakes, with zero to minimal frosting on the outside, expose the cake layers and filling. This rustic-chic cake presentation has been popping up everywhere on the wedding, baby shower, bridal shower, and party scenes. Milk Bar owner Christina Tosi is credited with starting the trend back in 2013 when she began highlighting the cake layers, instead of just the frosting. Now naked cakes are a bakery staple!
A stunning addition to any celebration, naked cakes are perfect for Easter, Mother’s Day, small weddings, showers, and birthdays. What I love about the style is that you have creative control. You can decorate the naked cake in your own unique way, which makes this recipe 100x more fun. If interested in making a tiered cake, try my simple homemade wedding cake!
Two Types of Naked Cakes
There are 2 types of naked cakes.. There’s a minimal amount of frosting swiped around the sides. So in other words, a semi-naked cake is a crumb-coated cake. Or you can simplify the design even further with a true naked cake. This means the sides of the cake are bare like my fresh berry cream cake. Both styles are simple, approachable, and beautiful.
Overview: How to Make a Vanilla Semi-Naked Cake
5 Tips for Homemade Naked Cakes
3 Helpful Tools for Decorating
Here are a few tools I find especially helpful for decorating a semi-naked cake.
Mix and Match Cake and Frosting Recipes
Mix and match the below cake flavors and frostings to create your own unique naked cake.
Cake Flavors
These cakes are all pretty moist, so I wouldn’t worry about them drying out—especially if you choose the semi-naked/crumb coat look.
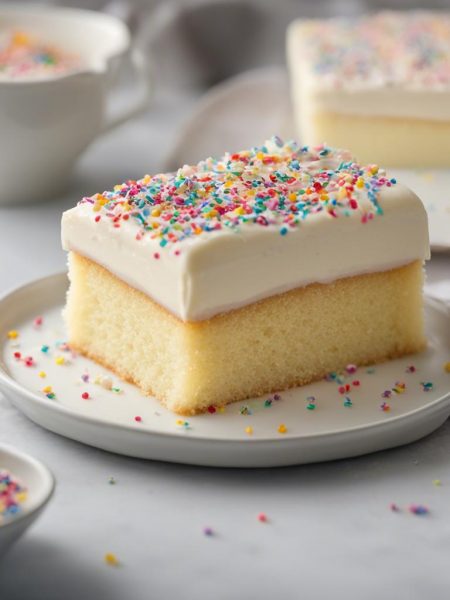
- Vanilla cake (below)
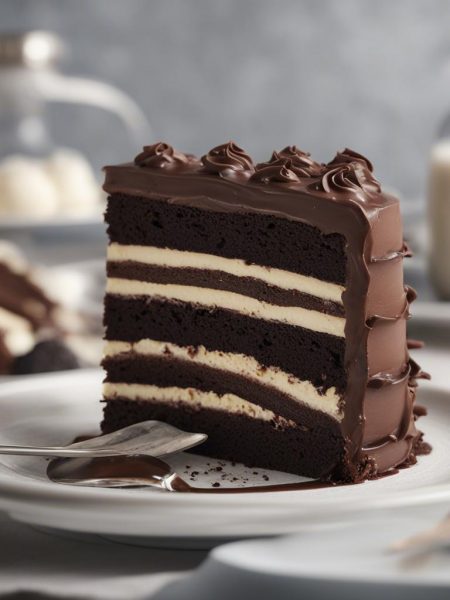
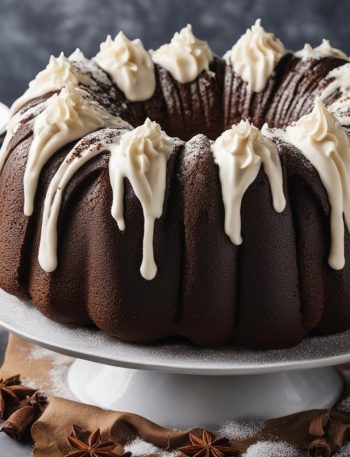
- Chocolate cake
- German chocolate cake
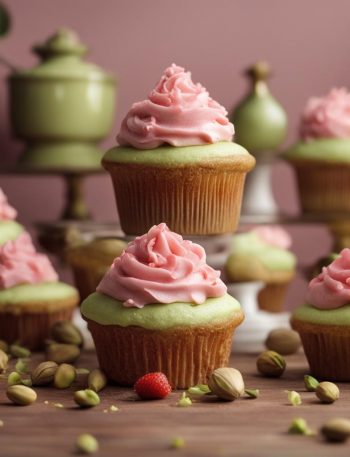
- Strawberry cake
- Banana layer cake
- Lemon cake
- Carrot cake
- Red velvet cake
- Spice cake (see recipe note for layer cake)
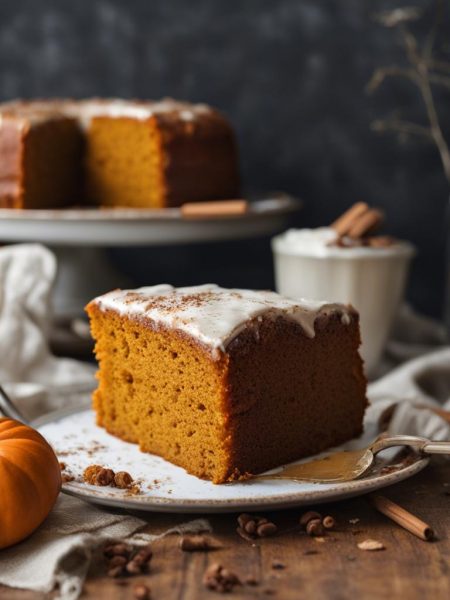
- Pumpkin cake (see recipe note for layer cake)
Frosting Flavors
- Vanilla buttercream (below)
- Cream cheese frosting
- Chocolate buttercream
- Strawberry buttercream
- Lemon buttercream
- Peanut butter frosting
- Rainbow chip frosting
Helpful tip: Freeze any leftover frosting for up to 3 months and thaw in the refrigerator for next time.
Naked Cake Decoration Ideas
I recommend starting simple, then adding from there. The possibilities are endless! Here are some of my favorite decorations to use:
- Fresh flowers. Use flowers that haven’t been sprayed with pesticides. Avoid strong-smelling flowers as the smell may linger on the cake. And if you can find edible flowers, that’s even better.
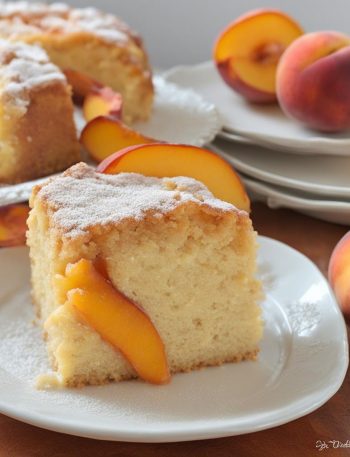
- Fresh berries or any fruit.
- Smaller sweet treats like candies, cookies, meringues, and chocolates
- Candied citrus
- Nuts or seeds
- Fresh herbs
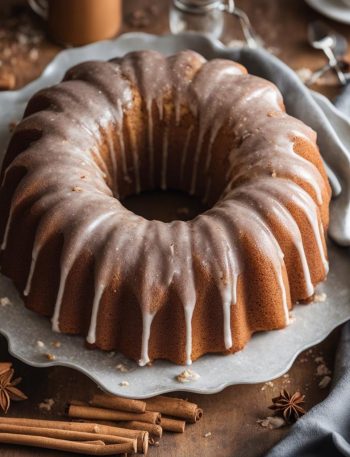
- Cinnamon sticks
- Sprinkles
Of course you’ll need a cake stand to show off your stunning masterpiece! Here are a few I love: wood slice cake stand (similar to what I have), white cake stand, and marble cake stand.
Get creative, let your inner cake artist shine, and most of all… have fun!
See Your Vanilla Naked Cakes!
Vanilla Naked Cake Recipe
Description
This naked cake is simply stunning with fresh berries, vanilla cake, and vanilla buttercream.
Ingredients You’ll Need
Instructions
- Preheat oven to 350°F (177°C). Grease three 9-inch round cake pans, line with parchment paper rounds, then grease the parchment paper. Parchment paper helps the cakes seamlessly release from the pans..)
- Whisk the flour, baking powder, baking soda, and salt together in a large bowl. Set aside. Using a handheld or stand mixer fitted with a paddle or whisk attachment, beat the butter and sugar together on high speed until smooth and creamy, about 3 minutes. Scrape down the sides and up the bottom of the bowl with a silicone spatula as needed. On medium-high speed, add 1 egg at a time, beating well after each addition. Beat in the vanilla extract. Scrape down the sides and up the bottom of the bowl with a rubber spatula as needed. Scrape down the sides and up the bottom of the bowl with a rubber spatula as needed.
- With the mixer on low speed, add the dry ingredients in three additions alternating with the buttermilk, beginning and ending with the dry ingredients, and mixing each addition just until incorporated. Do not overmix this batter. The batter will be smooth, velvety, and slightly thick.
- There is about 8 cups of batter total, so each layer will be 2 and 2/3 cups. Pour/spread batter evenly into prepared cake pans. If you’re worried about uneven cake layers, you can use a kitchen scale and weigh the cake pans for accuracy. (The weight of just the batter in my cake pans was about 1 lb 6 ounces.)
- Bake for around 25-26 minutes or until the cakes are baked through. To test for doneness, insert a toothpick into the center of the cake. If it comes out clean, it is done. Allow cakes to cool completely in the pans set on a wire rack. The cakes must be completely cool before frosting and assembling.
- In a large bowl using a handheld mixer or stand mixer fitted with a whisk or paddle attachment, beat the butter on medium speed until creamy—about 2 minutes. Add 5 and 1/2 cups confectioners’ sugar, 5 Tablespoons heavy cream, the vanilla extract, and salt with the mixer running on low. Increase to high speed and beat for 3 full minutes. Add 1/2 cup more confectioners’ sugar if frosting is too thin, 1 more Tablespoon cream if frosting is too thick, or a pinch more of salt if frosting is way too sweet. Yields about 4.5 cups of frosting.
- . First, using a large serrated knife, slice a thin layer off the tops of the cakes to create a flat surface. Discard (or crumble over ice cream!). Place 1 cake layer on your cake stand, cake turntable, or serving plate. Spread 1 and 1/2 cups of frosting evenly on top. If using, dot half of the raspberries around the rim. Flatten them down into the frosting as best you can so the cake layer on top is sturdy. Top with 2nd cake layer and evenly cover the top with another 1 and 1/2 cups of frosting and more (flattened!) raspberries around the rim. You can sprinkle a few leftover raspberries in the center, too..) Top with the third cake layer. Spread the remaining frosting on top and all around the sides using an icing spatula. Use a bench scraper to smooth out the frosting on the sides of the cake. If you’re making a full naked cake, just spread the remaining frosting on top of the cake. If you have leftover frosting, you can freeze it for up to 3 months and thaw in the refrigerator for next time.
- Decorate the cake with garnishes.
- Refrigerate the cake for 2-3 hours or up to 1 day before slicing and serving. If chilling for more than a few hours, loosely cover with plastic wrap after 1 hour of refrigeration. (The frosting will “set” after about 1 hour and the plastic wrap won’t really ruin your frosting at that point.) And if you’re chilling for more than a few hours, I suggest decorating with garnishes right before serving (so as not to wilt the flowers, etc).
- Cover and store leftover cake at room temperature for 1-2 days or in the refrigerator for up to 1 week.
You may also like...