
Store-bought lemon curd doesn’t even deserve to share the same name as homemade. This from-scratch lemon curd is deliciously tangy, creamy, and sweet. You only need 5 ingredients and it comes together on the stove in 10 minutes! Lemon curd is perfect for scones, crepes, angel food cake, quick breads, pound cake, and so much more.
- Are lemon bars your main squeeze?
- Is lemon blueberry cake your favorite dessert?
- Are you head-over-heels for lemon meringue pie?
If your answer is YES to all of the above, you’re going to flip for this creamy, dense, intensely flavorful spread. Homemade lemon curd is 1 million times tastier than store-bought, which is filled with ingredients we can’t pronounce and has likely been sitting on the shelf for too long. Spread the blissful homemade version on scones, biscuits, homemade English muffins, and so much more. This is the recipe you never realized you needed!
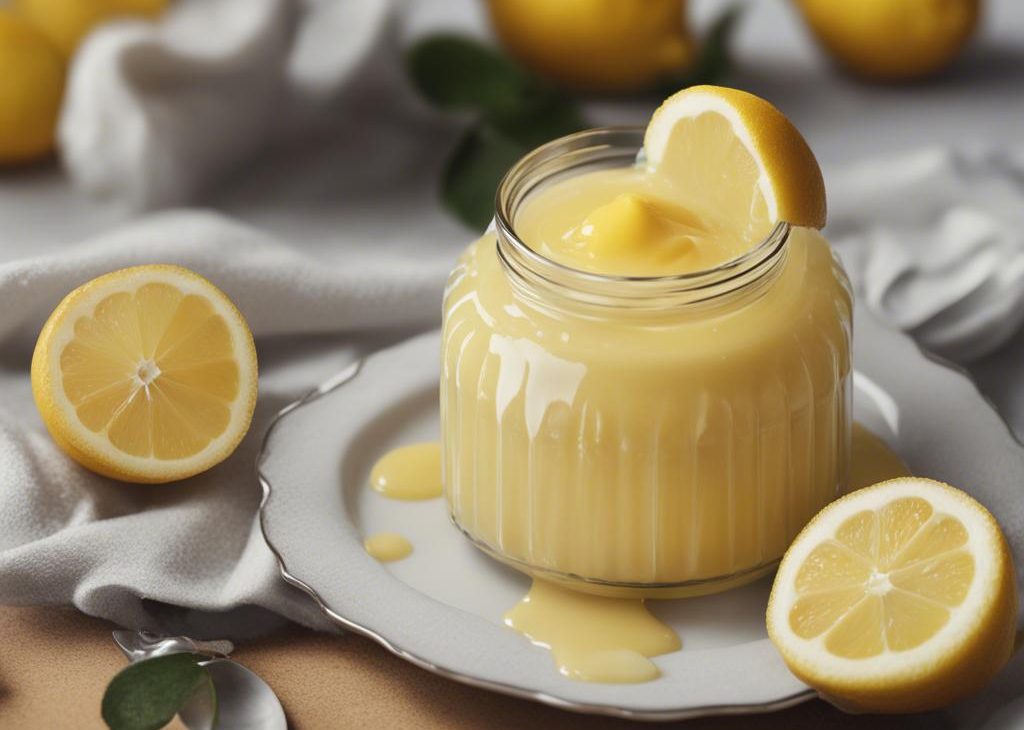
What Is Lemon Curd?
Lemon curd is a very rich dessert topping or spread. It’s buttery and sweet with intense tart lemon flavor—like a creamy lemon version of jam. Lemon curd is made from simple ingredients and comes together quickly on the stove. Lemon lovers, this is your jam.
How to Make Lemon Curd
Here’s how we make DIY lemon curd. The full recipe and instructions are below.
You need 5 ingredients for lemon curd recipe: egg yolks, fresh lemons, sugar, salt, and butter. Each ingredient serves a critical purpose for thickening and flavoring. The egg yolks thicken the curd, just as they do in creme brûlée, pastry cream, or butterscotch pudding. Use real lemons; you need both the zest and juice. The sugar supplies sweetness and structure, while the salt balances out the flavor. Add the butter after the curd finishes on the stove. Butter makes it super creamy.
Make lemon curd on the stove. Make sure you are constantly whisking as the mixture thickens—we’re talking about 10 minutes of whisking. The good news? That’s the only step in this recipe: whisking!
Use a Double Boiler
I strongly recommend cooking the lemon curd in a double boiler because mixing these ingredients over direct heat quickly leads to burning. Don’t fret! If you don’t have a double boiler, craft a makeshift double boiler by placing a heatproof glass bowl on top of a larger pot.. It’s worth repeating: lemon curd should never be cooked on direct heat.
Why Does My Lemon Curd Taste Metallic?
Lemon curd may have a metallic aftertaste if you cook it in a metal double boiler. It’s a result of the eggs and lemon reacting with the pan, but is easily avoidable! Use a non-metal double boiler (this one has a porcelain insert) or the glass bowl option I mention above (but make sure it’s heatproof glass, like Pyrex). While you’re at it, use a silicone whisk too!
FAQ: Can I Make This With Other Citrus Fruits?
Absolutely! You can use this same recipe for lemon curd and swap the lemons for limes, grapefruits, or oranges. You can even use pineapple juice, just like we do for the layers of pineapple curd filling in this pineapple coconut cake!
Uses for Lemon Curd
There are so many ways to enjoy lemon curd. Here are a few suggestions:
Lemon Curd Recipe
Description
You only need 5 simple ingredients for homemade lemon curd—and the recipe comes together on the stove in 10 minutes! If you know how to whisk, you can make this delicious spread.
Ingredients You’ll Need
Instructions
- Fill the bottom pot of your double boiler with 1–2 inches of water. (Or use the DIY double boiler method listed in the notes.) Place on high heat. Once the water begins to boil, reduce to low heat to keep the water at a simmer.
- Place egg yolks, granulated sugar, lemon zest, lemon juice, and salt into the top pot of your double boiler. Using a silicone whisk, whisk until completely blended, then continue to whisk as the curd cooks. Constant whisking prevents the egg yolks from curdling. Whisk and cook until the mixture becomes thick, resembling the texture of hollandaise sauce, about 10 minutes. If you’d like to be precise and use a candy or instant-read thermometer, the temperature will rise to about 170°F (77°C). If curd isn’t thickening, turn up the heat and constantly whisk.
- Remove pan from heat. Whisk the sliced butter into the curd. The butter will melt from the heat of the curd as you whisk. Pour curd into a jar or bowl and place a piece of plastic wrap directly on top so it is touching the top of the curd. (This prevents a skin from forming on top.) The curd will continue to thicken as it cools. Once cool, the plastic wrap can be removed.
- Refrigerate the curd for up to about 10 days.