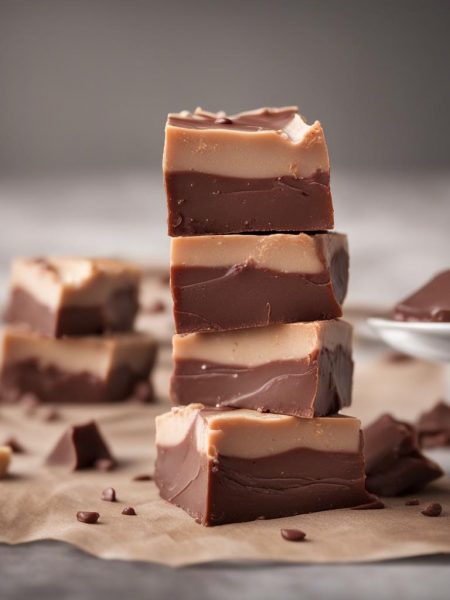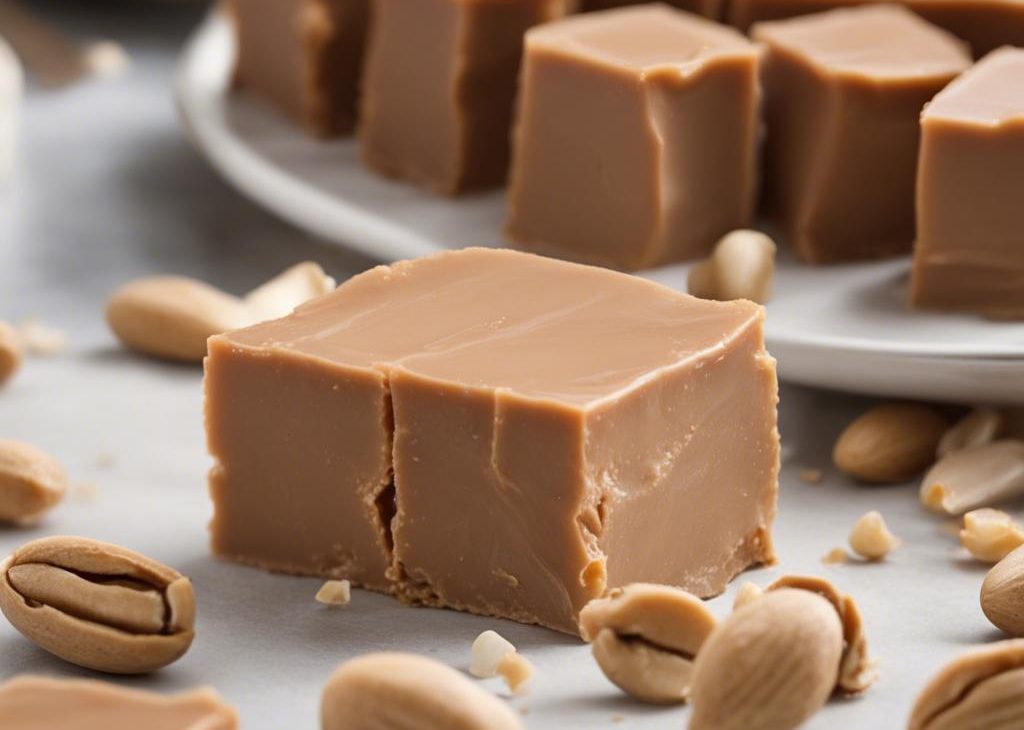

This peanut butter fudge is the kind of no-stove candy I make when I want a full tray of sweets without pulling out a thermometer. Peanut butter and butter melt together in the microwave, vanilla goes in, and confectioners’ sugar turns the whole thing into a thick dough that chills into sliceable fudge.
I have made fussy fudge before, and I respect it, but this is the pan I make when I need something reliable. The texture is creamy and dense, with that slightly crumbly edge old-fashioned peanut butter fudge should have.
The mixture gets very thick after the sugar goes in. That is normal. I switch to a sturdy spatula, press it firmly into the pan, and ignore the slightly oily top because it settles after chilling.
Why I keep coming back to this
- No candy thermometer, stovetop boiling, or softball-stage guessing.
- The 4 main ingredients are pantry staples in my kitchen.
- It makes 48 small pieces, which is useful for cookie trays.
- The fudge is naturally gluten free when all labels check out.
- A little salt can push it toward salty-sweet if that is what I want.
- Add-ins are easy because the warm mixture holds them well.
What you need (and what each one is doing)
- Creamy peanut butter, 1 cup (250g).I use standard shelf-stable creamy peanut butter for the smoothest set. Natural peanut butter can separate and make the fudge oily.
- Unsalted butter, 1 cup (2 sticks or 230g).Slicing the butter before melting helps it blend with the peanut butter evenly.
- Pure vanilla extract, 1 teaspoon.A small amount rounds out the peanut flavor and keeps the fudge from tasting like straight powdered sugar.
- Confectioners’ sugar, 4 cups (460g).I sift it when it looks lumpy. It thickens and sweetens the fudge at the same time.
- Salt, 1/4 teaspoon, optional.I add it when using unsalted peanut butter or when I want more contrast.
- Add-ins, 3/4 cup, optional.Chocolate chips, peanuts, or chopped peanut butter cups all work. I fold them in while the fudge is still warm.
How I make it
Step 1 — Line the pan
Line an 8-inch or 9-inch square baking pan with aluminum foil, leaving overhang on the sides. I smooth the foil into the corners so the fudge slab lifts out cleanly.
Step 2 — Melt peanut butter and butter
Place the peanut butter and sliced butter in a large microwave-safe bowl. Microwave in 1-minute bursts, stirring after each, until completely melted and smooth.
Step 3 — Add vanilla and sugar
Stir in the vanilla with a sturdy spatula or wooden spoon. Add the optional salt if using, then add the sifted confectioners’ sugar and stir until no dry pockets remain.
Step 4 — Fold in extras
If I am using chocolate chips, peanuts, or chopped peanut butter cups, I fold in up to 3/4 cup while the mixture is still warm and pliable.
Step 5 — Press and chill
Press the thick fudge mixture into the lined pan and smooth the top. Cover tightly with foil and chill at least 4 hours, or until firm enough to cut.
Step 6 — Slice
Lift the fudge out by the foil overhang and cut into 48 pieces. I use a long sharp knife and wipe it if the edges start dragging.
Timing notes I rely on
The 4-hour chill is not optional for clean slices. At 1 hour the fudge looks set on top but smears under the knife. I usually make it the night before, then cut it cold. If the block is too firm straight from the refrigerator, I let it sit on the counter for 5 minutes before slicing.
Tips from my kitchen
- Use conventional creamy peanut butter.Natural styles can make greasy or crumbly fudge because the oil separates.
- Sift lumpy sugar.Once confectioners’ sugar hits the warm peanut butter, lumps are hard to chase down.
- Choose a big bowl.The mixture becomes stiff, and a crowded bowl makes stirring messy.
- Press firmly.Air pockets leave crumbly holes in the finished pieces.
- Cut small.This fudge is rich, so 48 pieces makes sense.
Variations I have actually tried
- Chocolate chip:I fold in mini chocolate chips after the sugar is mostly mixed.
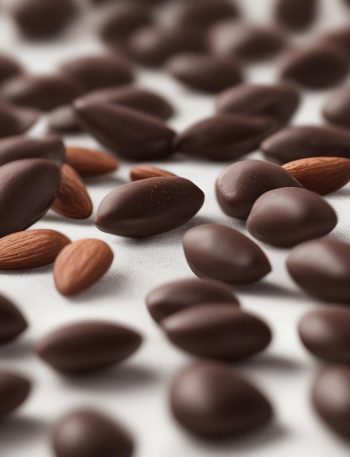
- Crunchy peanut:Chopped roasted peanuts add texture without changing the set.
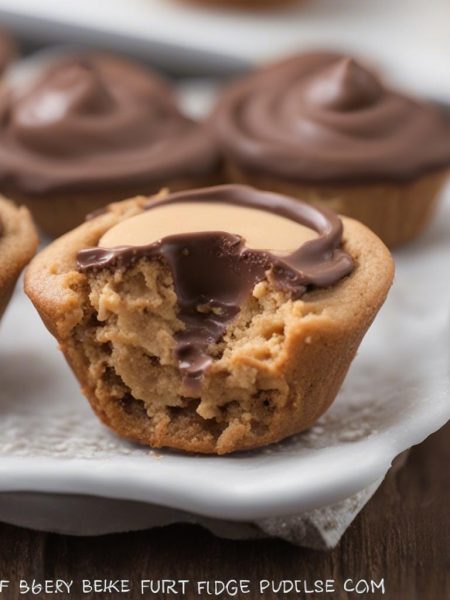
- Peanut butter cup:Chopped cups make the sweetest version, so I cut those pieces even smaller.
- Salted top:A tiny pinch of flaky salt on top works if I skip the 1/4 teaspoon in the mixture.
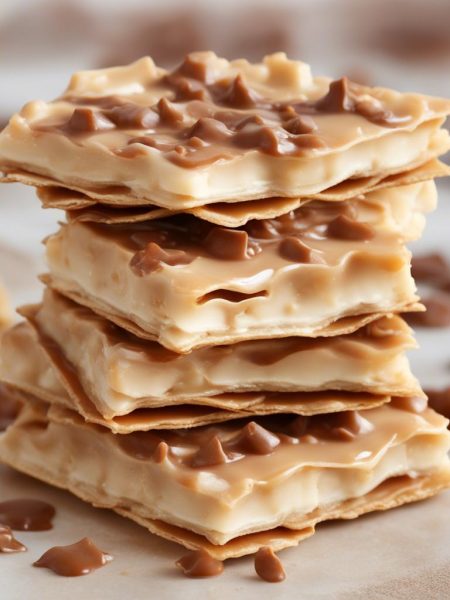
- Chocolate drizzle:Melted chocolate across the cold slab dresses it up for a tray.
Storing and reheating
Store the fudge in an airtight container in the refrigerator for up to 1 week. I place parchment between layers so the pieces do not stick together.
For longer storage, I freeze the pieces in a single layer until firm, then move them to a freezer bag for up to 2 months. I thaw them in the refrigerator so condensation does not make the surface sticky.
What I serve with it
I serve small squares with coffee, pack them into holiday boxes, or chop a few pieces over vanilla ice cream. The salty-sweet version is especially good next to something plain like shortbread.
Small details that make it work
The fudge mixture should look almost too thick to press. If it pours like frosting, it needs more stirring or the sugar was measured light. I use the back of a spatula to press the mixture all the way into the corners, then smooth the surface. A firm press gives the finished pieces a clean, dense bite instead of a crumbly middle.
When I am cutting for a tray, I trim the very edges first and save those scraps for the cook. Then I cut the square into even strips and rotate the slab for the cross-cuts. Cold fudge gives the sharpest lines, but if it cracks under the knife, 5 minutes at room temperature usually fixes it.
I keep the portions small because this fudge is rich in the best way. A 48-piece cut may look tiny on the board, but those little squares are easier to serve and easier to pack into boxes. If I am bringing the fudge somewhere, I keep it chilled until the last practical minute. It softens at room temperature but holds its shape better when it starts cold.
If the fudge is for a gift box, I cut it cold and place the pieces in mini paper cups. That keeps the edges tidy and stops peanut butter from marking the other cookies. The cups also make it clear that each small square is meant to be one serving, not a mistake from cutting too small.
Frequently asked questions
Can I use natural peanut butter?
I do not recommend it. Natural peanut butter separates and can make the fudge oily or crumbly.
Do I need a candy thermometer?
No. This microwave fudge sets from confectioners’ sugar and chilling, not cooked sugar temperature.
Why is the top oily?
A slightly oily top is normal right after pressing. It settles as the fudge chills.
Can I make it ahead?
Yes. It keeps 1 week in the refrigerator and freezes well for up to 2 months.
Can I use salted butter?
Yes. I skip the optional 1/4 teaspoon salt if the butter or peanut butter is already salty.
If you make a batch with add-ins, tell me which one you used — I am partial to chopped peanut butter cups.
4-Ingredient Peanut Butter Fudge
Description
A no-stove peanut butter fudge made with creamy peanut butter, butter, vanilla, and confectioners' sugar. It chills firm in 4 hours, cuts into 48 small pieces, and needs no candy thermometer.
Ingredients You’ll Need
Instructions
- Line an 8-inch or 9-inch square baking pan with aluminum foil, leaving overhang on the sides.
- Melt the peanut butter and sliced butter together in a large microwave-safe bowl, stopping to stir every minute, until smooth.
- Stir in the vanilla with a sturdy spatula or wooden spoon. Add the optional salt, then add the sifted confectioners' sugar and stir until completely combined. The mixture will be very thick, like cookie dough.
- Fold in up to 3/4 cup add-ins while the fudge is still warm, if using.
- Press the fudge into the prepared pan and smooth the top. Cover tightly with foil and chill for at least 4 hours or until firm.
- Lift out by the foil overhang and cut into 48 pieces. Store in an airtight container in the refrigerator for up to 1 week.
Nutrition Facts
Servings 48
- Amount Per Serving
- Calories 66kcal
- % Daily Value *
- Total Fat 7g11%
- Saturated Fat 3g15%
- Trans Fat 0.2g
- Cholesterol 10mg4%
- Sodium 11mg1%
- Potassium 36mg2%
- Total Carbohydrate 1g1%
- Sugars 1g
- Protein 1g2%
- Calcium 3 mg
- Iron 0.1 mg
* Percent Daily Values are based on a 2,000 calorie diet. Your daily value may be higher or lower depending on your calorie needs.
Note
Use creamy shelf-stable peanut butter. Natural peanut butter can separate and change the set.
Sift the sugar. Lumps are hard to smooth out once the mixture thickens.
Chill fully. Four hours gives cleaner slices.
Cut small pieces. The fudge is rich, and 48 pieces is the right size for sharing.
Frequently Asked Questions
I do not recommend it because the oil can separate and make the fudge greasy or crumbly.
No. The fudge sets because of the confectioners' sugar and chilling time.
Yes. Fold in up to 3/4 cup while the fudge mixture is still warm.
At least 4 hours, or until firm enough to cut cleanly.
Keep it in an airtight container in the refrigerator for up to 1 week.
You may also like...