
I make Candy cane kiss cookies when I want soft peppermint sugar cookies rolled in sprinkles and topped with candy cane kisses. I have learned that this recipe behaves best when I set out the ingredients first, keep the measurements close to the source, and pay attention to the one or two steps that can change the texture.
The version below is written the way I cook it in my own kitchen: practical, specific, and not overly polished. I mention where I slow down, where I do not fuss, and what I watch for before I call the dish done.
I also keep the serving style in mind. I tuck these cookies into holiday boxes once the candy centers have set. That small detail shapes how I season, cool, slice, or scoop the finished recipe.
Why I keep coming back to this
- It uses familiar ingredients but still tastes like°Candy cane kiss cookies rather than a generic shortcut.
- Most of the work is measuring, mixing, shaping, or gentle cooking, so I can focus on timing.
- The recipe is easy to scale as long as I keep the same ratios and pan space.
- There is a clear texture cue: browned edges, a set center, tender pieces, or a crisp shell.
- Leftovers are useful, and I include the way I store them so the texture does not suffer.
- It has enough flexibility for small swaps without losing the point of the dish.
What you need (and what each one is doing)
- 2 cups + 1 Tablespoon all-purpose flour (260g). This gives structure, crunch, or body, and I keep it evenly mixed so the texture is consistent.
- 1 1/2 teaspoons baking powder.
- 1/4 teaspoon salt.
- 10 Tablespoons unsalted butter, softened (142g).
- 1 cup granulated sugar (200g). This is the sweet part, and careful measuring keeps the finish balanced rather than sticky-sweet.
- 1 large egg, at room temperature.
- 1 teaspoon vanilla extract. This seasoning works in the background, and I add it early enough to spread through the batch.
- 1/4 teaspoon peppermint extract*. I use it for a controlled bit of heat and taste again before serving.
- 1/2 cup sprinkles (about 90g).
- 32 candy cane flavor Hershey’s Kisses, unwrapped. This is the playful part, but I still place or chop it carefully so every serving gets some.
How I make it
Step 1 — Whisk the dry ingredients
Whisk the flour, baking powder, and salt together in a medium bowl until combined. Set aside.
Step 2 — Combine the ingredients
In a large bowl using a hand-held or stand mixer fitted with a paddle attachment, beat the butter and sugar together on high speed until creamy and combined, about 2 minutes. Add the egg, vanilla extract, and peppermint extract and beat until combined, about 1 minute. Scrape down the sides and up the bottom of the bowl and beat again as needed to combine.
Step 3 — Add the remaining ingredients
Add the flour mixture to the wet ingredients and mix on low speed until fully combined. The dough will be very thick.
Step 4 — Beat until smooth
Roll dough into balls, 1 scant Tablespoon of dough each (each dough ball should weigh about 20g). The dough may seem dry, but the warmth of your hands will allow it to come together in a ball. Roll each dough ball generously in the sprinkles. If the sprinkles are not sticking to the dough balls, the dough may be too firm. Try pouring the sprinkles onto a plate and pressing the dough balls into the sprinkles. Or continue rolling the dough balls, as the warmth from your hands can help get the sprinkles to stick. If this still isn’t helping, beat 1 teaspoon of water into the dough to help make it a bit stickier, and then try again.
Step 5 — Chill and prepare
Place sprinkled dough balls on a baking sheet or plate (whatever will fit in your refrigerator). Chill them in the refrigerator for 20 minutes, and up to 1 day. If chilling for longer than 1 hour, cover them.
Step 6 — Preheat the oven
While the cookie dough balls are chilling, preheat oven to 350°F (177°C).
Step 7 — Bake
Place the chilled dough balls about 2 inches apart on the lined baking sheets. Bake for 12 minutes or until edges appear set. The cookies may look under-baked in the centers; that’s ok—do not over-bake. Remove cookies from the oven and allow to cool on the baking sheets for 5 minutes.
Step 8 — Transfer
Press a kiss candy into the center of each, then, using a thin spatula, immediately transfer the cookies to a large plate or a few smaller plates (gently—they’re soft). Place the plate(s) of cookies in the freezer for 10 minutes to quickly set the candy in the cookie.
Step 9 — Serve
Remove from the freezer and serve.
Step 10 — Store leftovers
Cookies stay fresh covered at room temperature for up to 1 week.
Tips from my kitchen
- Read the method once before starting. I catch timing details that are easy to miss when a pan is already hot.
- Measure the strong flavors. Salt, extracts, spice, glaze, and citrus can take over quickly.
- Give pieces room.°Crowded pans steam, crowded trays bake unevenly, and crowded oil drops in temperature.
- Use the visual cues. I trust browning, bubbling, firmness, and tenderness more than the clock alone.
- Let hot food rest when needed. A short rest makes cutting, scooping, or biting much cleaner.
Variations I have actually tried
- Brighter finish: I add a little lemon, lime, fresh herb, or flaky salt if the candy tastes heavy.
- More heat: I use a pinch of red pepper, a hotter sauce, or pepper Jack when the base can handle spice.
- Crunchy top: I add toasted nuts, crisp crumbs, crushed crackers, or extra chopped candy depending on the recipe.
- Lighter plate: I serve a smaller portion with salad, fruit, or vegetables instead of changing the whole recipe.
- Make-ahead style: I prepare the components early and wait to fry, bake, dip, or garnish until close to serving.
Make-ahead, storing, and reheating
For make-ahead cooking, I separate the fragile parts from the sturdy parts. Sauces, chopped mix-ins, shaped dough, patties, or casserole bases can often wait in the refrigerator, but crisp toppings, candy coatings, fried shells, and fresh herbs are better close to serving.
Leftovers go into shallow airtight containers once they are cool enough to store safely. I reheat gently when the recipe contains seafood, chicken, cheese, or caramel, and I use an oven, skillet, or air fryer when I want crisp edges back.
What I serve with it
I tuck these cookies into holiday boxes once the candy centers have set. I usually choose a side or drink that balances the strongest flavor in the recipe: something crisp for creamy dishes, something bright for sweet dishes, and something mild for spicy or salty dishes.
Frequently asked questions
Can I make this ahead?
Usually, yes. I prepare the sturdy parts ahead and save the final cooking, coating, crisping, or garnish for the day I serve it. That keeps the texture closer to fresh.
Can I change the main ingredient?
I can make small swaps, but I keep the same total amount and watch moisture. A wetter swap may need more thickener, more chilling, or a longer cook time.
How do I know it is done?
I look for the cue in the method: tender vegetables, cooked chicken, bubbling sauce, golden edges, set cookies, crisp wrappers, or coating that has fully firmed.
What is the most common mistake?
Rushing is the mistake I see most. If I skip chilling, crowd the pan, overheat the coating, or cut too soon, the flavor may be fine but the texture suffers.
How should I store leftovers?
I cool leftovers, cover them tightly, and refrigerate when the ingredients are perishable. Crisp or crunchy toppings stay separate whenever possible.
If you make this, I would love to hear what small change made it fit your kitchen.
Candy cane kiss cookies
Description
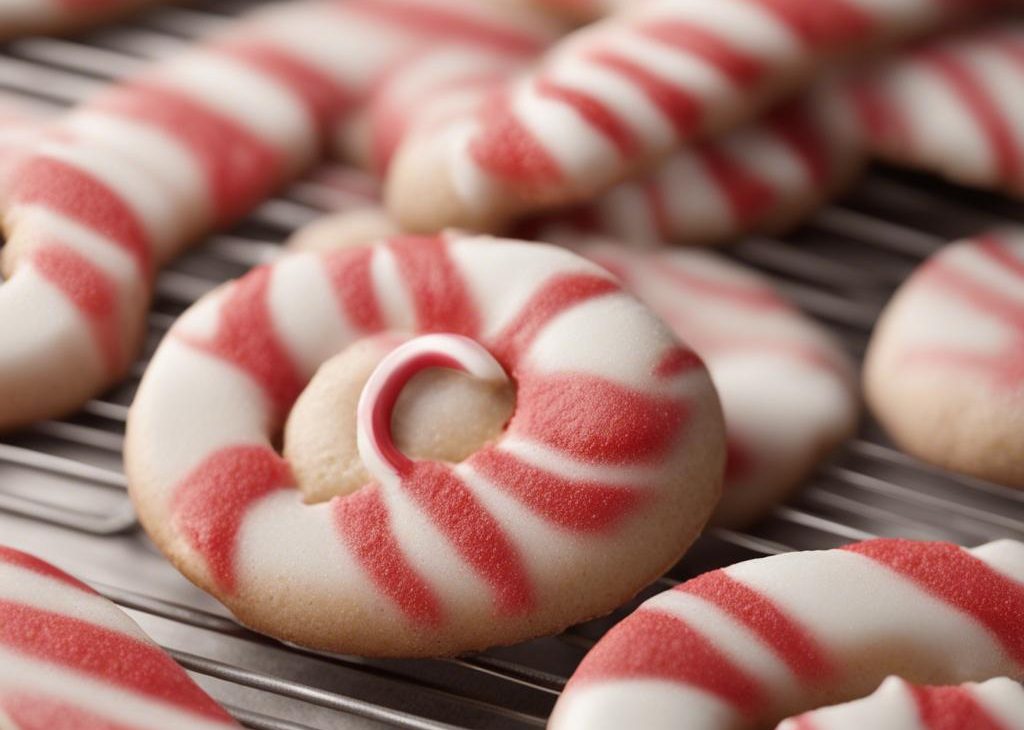
This candy cane kiss cookies is soft peppermint sugar cookies rolled in sprinkles and topped with candy cane kisses. I rewrote the method in first person with practical cues for timing, texture, storing, and serving.
Ingredients You’ll Need
Instructions
- Whisk the flour, baking powder, and salt together in a medium bowl until combined. Set aside.
- In a large bowl using a hand-held or stand mixer fitted with a paddle attachment, beat the butter and sugar together on high speed until creamy and combined, about 2 minutes. Add the egg, vanilla extract, and peppermint extract and beat until combined, about 1 minute. Scrape down the sides and up the bottom of the bowl and beat again as needed to combine.
- Add the flour mixture to the wet ingredients and mix on low speed until fully combined. The dough will be very thick.
- Roll dough into balls, 1 scant Tablespoon of dough each (each dough ball should weigh about 20g). The dough may seem dry, but the warmth of your hands will allow it to come together in a ball. Roll each dough ball generously in the sprinkles. If the sprinkles are not sticking to the dough balls, the dough may be too firm. Try pouring the sprinkles onto a plate and pressing the dough balls into the sprinkles. Or continue rolling the dough balls, as the warmth from your hands can help get the sprinkles to stick. If this still isn’t helping, beat 1 teaspoon of water into the dough to help make it a bit stickier, and then try again.
- Place sprinkled dough balls on a baking sheet or plate (whatever will fit in your refrigerator). Chill them in the refrigerator for 20 minutes, and up to 1 day. If chilling for longer than 1 hour, cover them.
- While the cookie dough balls are chilling, preheat oven to 350°F (177°C).
- Place the chilled dough balls about 2 inches apart on the lined baking sheets. Bake for 12 minutes or until edges appear set. The cookies may look under-baked in the centers; that’s ok—do not over-bake. Remove cookies from the oven and allow to cool on the baking sheets for 5 minutes.
- Press a kiss candy into the center of each, then, using a thin spatula, immediately transfer the cookies to a large plate or a few smaller plates (gently—they’re soft). Place the plate(s) of cookies in the freezer for 10 minutes to quickly set the candy in the cookie.
- Remove from the freezer and serve.
- Cookies stay fresh covered at room temperature for up to 1 week.
Nutrition Facts
Servings 32
- Amount Per Serving
- Calories 68kcal
- % Daily Value *
- Total Fat 4g7%
- Saturated Fat 2g10%
- Trans Fat 0.1g
- Cholesterol 9mg3%
- Sodium 42mg2%
- Potassium 2mg1%
- Total Carbohydrate 9g3%
- Sugars 9g
- Calcium 15 mg
- Iron 0.0 mg
* Percent Daily Values are based on a 2,000 calorie diet. Your daily value may be higher or lower depending on your calorie needs.
Note
Read the method once before starting. I catch timing details that are easy to miss when a pan is already hot.
Measure strong flavors carefully. Salt, extract, spice, glaze, and citrus can take over quickly.
Give pieces room so they brown, bake, chill, or fry evenly.
Let the finished food rest when the method calls for it; texture improves in those few minutes.
Frequently Asked Questions
Yes, I prepare sturdy components ahead and save final cooking, crisping, coating, or garnishing for serving time.
Yes. I start with the listed amounts, then adjust salt, spice, citrus, or sweetness at the end when the texture is set.
I cool leftovers, cover them tightly, and refrigerate when perishable. Crisp toppings stay separate whenever possible.
Rushing. Skipping chill time, crowding the pan, overheating coating, or cutting too soon can all change the texture.
Usually, as long as I use enough pan space and keep the same doneness cues instead of relying only on the clock.
You may also like...