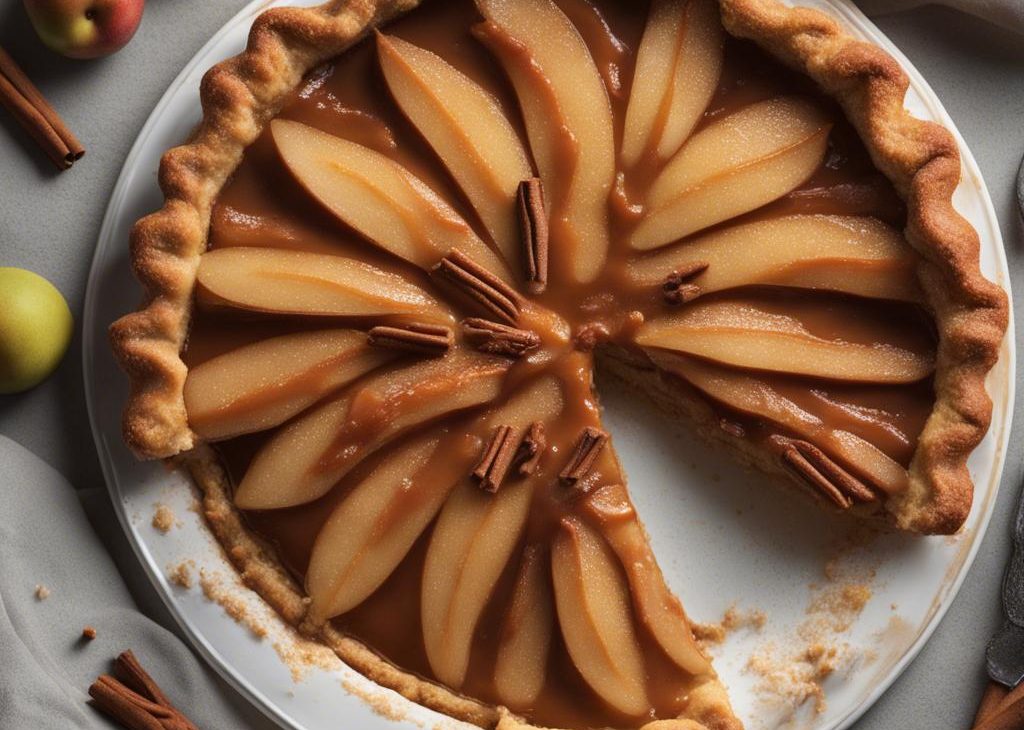

I make Caramel Pear Pie when I want something dependable, homemade, and worth repeating. I set out my ingredients before I start, keep the measurements practical, and write down the cues I actually watch while cooking.
I keep this version practical: I want the Caramel Pear Pie to taste right, look right, and be repeatable on a normal day. The timing is a guide, but I pay just as much attention to texture, aroma, color, and how the mixture moves in the pan or blender — those details save dinner more often than a timer does.
Why I make this recipe
- It gives me a reliable homemade version of Caramel Pear Pie without extra fuss or confusing shortcuts.
- The ingredient list is clear, so I am not guessing halfway through cooking.
- I can make it ahead or hold leftovers without losing the main texture.
- The method uses simple visual cues, which matters when ovens, pans, and produce behave differently.
Ingredients I pay attention to
- 1 double recipe homemade pie crust. 2 crusts.
- 6 cups peeled sliced pears. 1020g. I cut or prep it evenly so it cooks or blends at the same pace.
- 1/2 cup granulated sugar. 100g.
- 1/4 cup all-purpose flour. 31g.
- 1 teaspoon ground cinnamon. It adds warmth that complements the sweetness without overpowering.
- 1/4 teaspoon ground ginger.
- 1 Tablespoon lemon juice. 15ml. The acidity brightens the entire dish and keeps it from tasting heavy.
- 1 cup salted caramel sauce. 290g; divided. A small amount sharpens every other flavor in the recipe.
- 1 large egg beaten with 1 Tablespoon milk. egg wash. I bring it to the right temperature when needed, because dairy texture changes the final result.
- coarse sugar. optional.
How I make it
Step 1 — Prepare the ingredients
I prepare my pie crust recipe through step 5.
Step 2 — Stir the pears granulated
I stir the pears, granulated sugar, flour, cinnamon, ginger, and lemon juice together in a large bowl. Set filling in the refrigerator as the oven preheats.
Step 3 — Preheat the oven
I preheat oven to 400°F (204°C).
Step 4 — Roll out the dough
On a floured work surface, roll out one of the discs of chilled dough (keep the other one in the refrigerator). Turn the dough about a quarter turn after every few rolls until you have a circle 12 inches in diameter. Carefully place the dough into a 9-inch pie dish. Tuck it in with your fingers, making sure it is smooth. Spoon the filling into the crust, leaving any excess liquid in the bowl (you don’t want that in the filling—discard it). Drizzle 1/2 cup (145g) of salted caramel evenly on top. Place the pie.
Step 5 — Roll out the dough
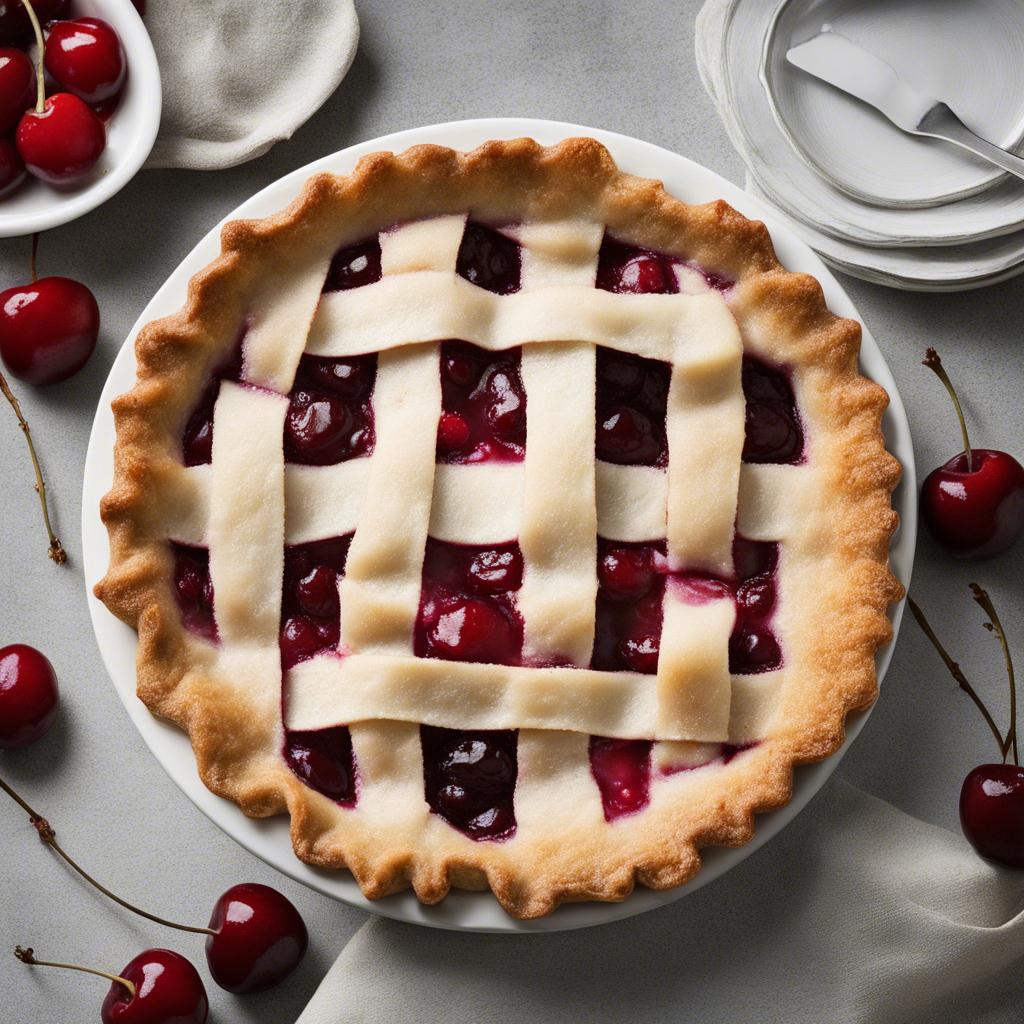
I remove the other disc of chilled pie dough from the refrigerator. Roll the dough into a circle that is 12 inches diameter. Using a sharp knife or pizza cutter, cut ten 1-inch strips. (I cut four of the strips in half, as you can see above. Press the edges of the strips into the bottom pie crust edges to seal. Use a small knife to trim off excess dough. Flute the edges or crimp with a fork. (Alternatively, you can simply cover the filling with the 12-inch pie dough circle. Cut slits in the top.
Step 6 — Store leftovers
I allow the pie to cool for 3 full hours at room temperature before serving. This time allows the filling to thicken up. Before serving, drizzle extra caramel on top of pie or on each slice. Cover leftovers tightly and store in the refrigerator for up to 5 days.
Tips from my kitchen
- Measure flour and sugar carefully.
- Do not rush chilling or cooling when the recipe calls for it.
- Use parchment or a properly prepared pan for easy release.
- Let baked goods finish setting before slicing or moving.
Variations I have tried
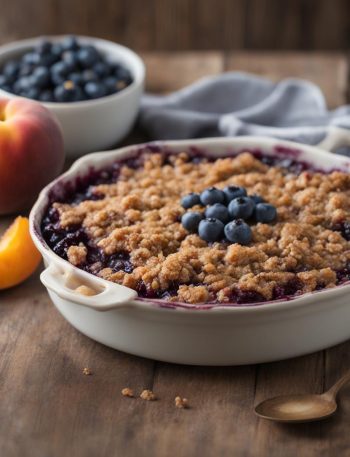
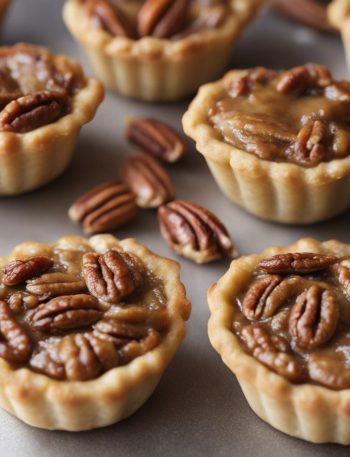
- Add toasted nuts for crunch.
- Use dark chocolate or extra salt to balance sweetness.
- Make it a day ahead for cleaner slices.
- Serve with whipped cream, ice cream, or coffee.
- Freeze individual portions for later.
Storing and making ahead
I let the recipe cool completely before covering. Most baked desserts keep best tightly covered, and individual slices or cookies freeze more neatly than a whole decorated dessert.
Frequently asked questions
Can I make this ahead?
Yes. I prep the parts that benefit from resting, chilling, or slow cooling first. If texture matters, I wait to add crisp toppings, drizzles, ice, or fresh garnishes until serving.
What should I watch most closely?
I watch the cue that changes fastest: browning for baked recipes, thickness for sauces, tenderness for meats, and texture for drinks. A timer helps, but the food gives the final answer.
Can I change the heat or sweetness?
Yes. I adjust in small amounts, then taste again. It is easy to add more sugar, vinegar, salt, chile, or liquid; it is much harder to take it back out.
What if my result seems too thick?
I loosen it gradually. For sauces and soups I use water or stock; for drinks I use the main liquid; for batters and fillings I only adjust if the recipe already allows it.
How do I keep the best texture?
I do not rush cooling, chilling, or resting. Those quiet minutes are often when cookies firm up, pies set, cheesecakes smooth out, and sauces cling properly.
If you make this Caramel Pear Pie, I would love to hear what you changed. I keep notes every time I cook, because the small real-life adjustments — the pan size, the ripeness, the extra minute on the stove — are what make a recipe dependable.
One more practical note from my kitchen: I set out every ingredient before I start, especially for recipes with caramel, hot sauce, or fast blender steps. That little bit of order keeps me from overcooking one part while searching for the next, and it makes the whole recipe feel calmer.
I also write the cooling time on a sticky note, because this is the kind of recipe that rewards patience.
Caramel Pear Pie
Description
I make caramel pear pie when I want something dependable, homemade, and worth repeating. I set out my ingredients before I start, keep the measurements practical, and write down the cues I actually watch while cooking.
Ingredients You’ll Need
Instructions
- Prepare my pie crust recipe through step 5.
- Stir the pears, granulated sugar, flour, cinnamon, ginger, and lemon juice together in a large bowl. Set filling in the refrigerator as the oven preheats.
- Preheat oven to 400°F (204°C).
- On a floured work surface, roll out one of the discs of chilled dough (keep the other one in the refrigerator). Turn the dough about a quarter turn after every few rolls until you have a circle 12 inches in diameter. Carefully place the dough into a 9-inch pie dish. Tuck it in with your fingers, making sure it is smooth.
- Spoon the filling into the crust, leaving any excess liquid in the bowl (you don't want that in the filling—discard it). Drizzle 1/2 cup (145g) of salted caramel evenly on top. Place the pie in the refrigerator as you work on the top crust.
- Remove the other disc of chilled pie dough from the refrigerator. Roll the dough into a circle that is 12 inches diameter. Using a sharp knife or pizza cutter, cut ten 1-inch strips. (I cut four of the strips in half, as you can see above. Press the edges of the strips into the bottom pie crust edges to seal. Use a small knife to trim off excess dough. Flute the edges or crimp with a fork. (Alternatively, you can simply cover the filling with the 12-inch pie dough circle. Cut slits in the top to form steam vents. Trim and crimp the edges. See my how to crimp and flute pie crust tutorial for extra help with this step.).
- Lightly brush the top of the pie crust with the egg wash mixture and sprinkle with coarse sugar, if desired.
- Place the pie onto a large baking sheet and bake for 20 minutes. Keeping the pie in the oven, turn the temperature down to 350°F (177°C) and bake for an additional 30-35 minutes. After the first 20 minutes of bake time, I place a pie crust shield on top of the pie to prevent the edges from browning too quickly.
- Allow the pie to cool for 3 full hours at room temperature before serving. This time allows the filling to thicken up. Before serving, drizzle extra caramel on top of pie or on each slice. Cover leftovers tightly and store in the refrigerator for up to 5 days.
Nutrition Facts
Servings 8
- Amount Per Serving
- Calories 65kcal
- % Daily Value *
- Potassium 10mg1%
- Total Carbohydrate 16g6%
- Sugars 13g
- Calcium 7 mg
- Iron 0.2 mg
* Percent Daily Values are based on a 2,000 calorie diet. Your daily value may be higher or lower depending on your calorie needs.
Note
Measure before starting.
Use the visual cues, not only the clock.
Cool or rest fully when directed.
Taste and adjust at the end.
Frequently Asked Questions
Yes. I prep components ahead and finish any crisp, fresh, chilled, or drizzled parts close to serving for the best texture.
Yes — adjust salt, sweetness, acid, or heat in small amounts and taste between additions.
Cool completely, cover well, and refrigerate. Reheat gently or serve chilled depending on the recipe.
Follow the visual cues as closely as the time. Texture, browning, thickness, and doneness matter most.
Many portions freeze well, especially baked goods, sauces, soups, and cooked meats. Wrap tightly and thaw gently.
You may also like...