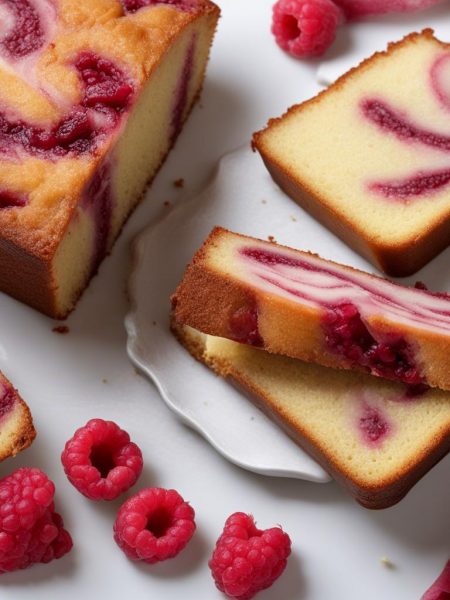

DeFazio’s Hangover Cake is the one I make when I want a dependable batch without fussing over extra dishes. My usual timing is 25 minutes of prep, 55 minutes of cooking, and 8 servings. That lets me cook by the clock at first, then finish by what I can see and smell.
The first batch taught me where this recipe needs attention. It is not difficult, but it does reward patience: scraping the bowl, watching the heat, and letting the finished dessert settle before I serve it. Those little pauses make it taste deliberate instead of rushed.
I wrote the method below the way I actually use it, with the small signs I watch for along the way. I keep the measurements steady and focus on the small cues that make the batch come out the same way twice.
Why I keep coming back to this
- I can get the active work done in about 25 minutes, which matters on a normal day.
- The ingredient list stays practical; I do not need a specialty run before I start.
- The texture gives me clear signs as it cooks, so I am not guessing at the finish line.
- It holds up after resting, which is how I know the method is doing its job.
- Small changes work without rebuilding the whole recipe.
- The leftovers are still worth eating, not just tolerated.
What you need (and what each one is doing)
- 2 cups all-purpose flour. I use it because it gives the base enough structure.
- 1/2 teaspoon salt. I use it because it makes the rest of the flavors clearer.
- 1/2 cup margarine. I use it because it rounds out the recipe.
- 2 cups evaporated milk. I use it because it adds moisture and softens the texture.
- 1 cup granulated sugar. I use it because it sweetens and helps with browning.
- 4 teaspoons baking powder. I use it because it handles the lift.
- 1 tablespoon vanilla extract. I use it because it rounds out the recipe.
- 1 teaspoon baking soda. I use it because it handles the lift.
- 4 eggs. I use it because it binds everything so it slices or scoops cleanly. I keep it room-temperature.
How I make it
Step 1 — Prepare the pan
Preheat the oven to 350°F and lightly grease an 8×8-inch baking pan with butter or margarine.
Step 2 — Whisk the dry ingredients
In a medium-sized bowl, sift together flour, sugar, salt, baking powder, and baking soda. Add in margarine and mix until crumbly.
Step 3 — Whisk together
In a separate bowl, whisk together eggs, evaporated milk, and vanilla extract until well combined.
Step 4 — Pour and combine
Add wet ingredients to the dry ingredients and mix just until combined (don’t over-mix). Pour the batter into the prepared baking pan and bake for 25 minutes or until a toothpick inserted comes out clean. I stop as soon as the mixture looks even because the texture gets heavier when I keep working it.
Tips from my kitchen
- Cool before cutting. I give the pan time to settle so the crumb does not tear.
- Watch the edges. The middle can still look a touch soft when the edges are set.
- Grease the pan well. Sweet batters cling fast, especially around the corners.
- Use room-temperature dairy. It blends smoother and keeps the batter from looking split.
- Taste for salt. A tiny pinch keeps sweet desserts from tasting one-note.
Variations I have actually tried
- Add. Add a little citrus zest to brighten the sweetness.
- Serve. Serve with unsweetened whipped cream instead of a sweeter topping.
- Toast. Toast the nuts before using them for a stronger flavor.
- Use. Use half brown sugar for a deeper caramel note.
- Bake. Bake in smaller dishes and start checking earlier.
Storing and reheating
I let the pan or loaf cool before covering it. Most sweet bakes keep 2-3 days at room temperature if the kitchen is cool, or about 1 week in the refrigerator. I wrap individual portions before freezing so I can thaw only what I need.
What I serve with it
I keep the serving simple. For sweet recipes, I like coffee, milk, yogurt, fruit, or a not-too-sweet whipped cream. For savory recipes, I reach for something fresh or acidic on the side so the plate does not feel heavy. The goal is balance, not a crowded plate.
Frequently asked questions
Can I make this ahead?
Yes. I usually make it ahead when I can because the flavor settles after resting. Keep it covered, and if it is baked, cool it fully before storing so condensation does not soften the edges.
Does it need to cool before serving?
I give it at least a short rest. Hot sugar, starch, or sauce can seem loose at first, and a few minutes makes the serving cleaner.
How do I know it is done?
I start checking near the listed 55-minute cook time. The center should look set for baked dishes, and a tester should come out clean or with only a few moist crumbs.
Can I change the pan size?
I try not to unless I have to. A wider pan cooks faster and a deeper pan needs more time, so I watch the center and edges rather than trusting the timer alone.
Can I reduce the sugar?
Usually a small reduction works, but I avoid cutting it too much because sugar affects moisture and browning, not just sweetness.
How long do leftovers keep?
Most batches keep 3-5 days covered in the refrigerator, though cookies and some cakes can stay at room temperature if the kitchen is cool. I freeze extras when I know I will not finish them quickly.
If you make this DeFazio’s Hangover Cake, leave a comment with what you changed. I always want to know which little swaps work in another kitchen.
The small checks that matter most
For DeFazio’s Hangover Cake, I pay attention to smell, thickness, and how the mixture moves when I stir. Those signs tell me more than the clock by itself. If it smells sharp, I give it another minute. If it looks loose, I let it reduce gently. If it looks tight, I loosen it one spoonful at a time. I learned to make those changes slowly because big corrections at the end are harder to fix.
- I keep the heat one notch lower than my impatient side wants.
- I taste before serving because salt and sweetness change after cooking.
- I write down the pan or brand I used when a batch turns out especially well.
- I let the finished dish rest long enough that the texture stops shifting.
How I know the batch is on track
With DeFazio’s Hangover Cake, I do not wait for one dramatic sign that everything is finished. I watch a few small things at the same time: the smell, the way the mixture moves, and whether the edges look more set than the center. That habit has saved me from both undercooking and overcooking more times than I can count.
I also taste or check texture before the final serving step whenever the recipe allows it. If it needs salt, sweetness, acid, or another minute of heat, I would rather find out while I can still fix it. That is the kind of practical note I wish more recipe cards included.
- I keep the original time in mind, but I start checking early.
- I scrape the corners of the bowl or pan because that is where unmixed bits hide.
- I let the finished food rest before judging the final texture.
- I write down the one change I made so I know whether to repeat it.
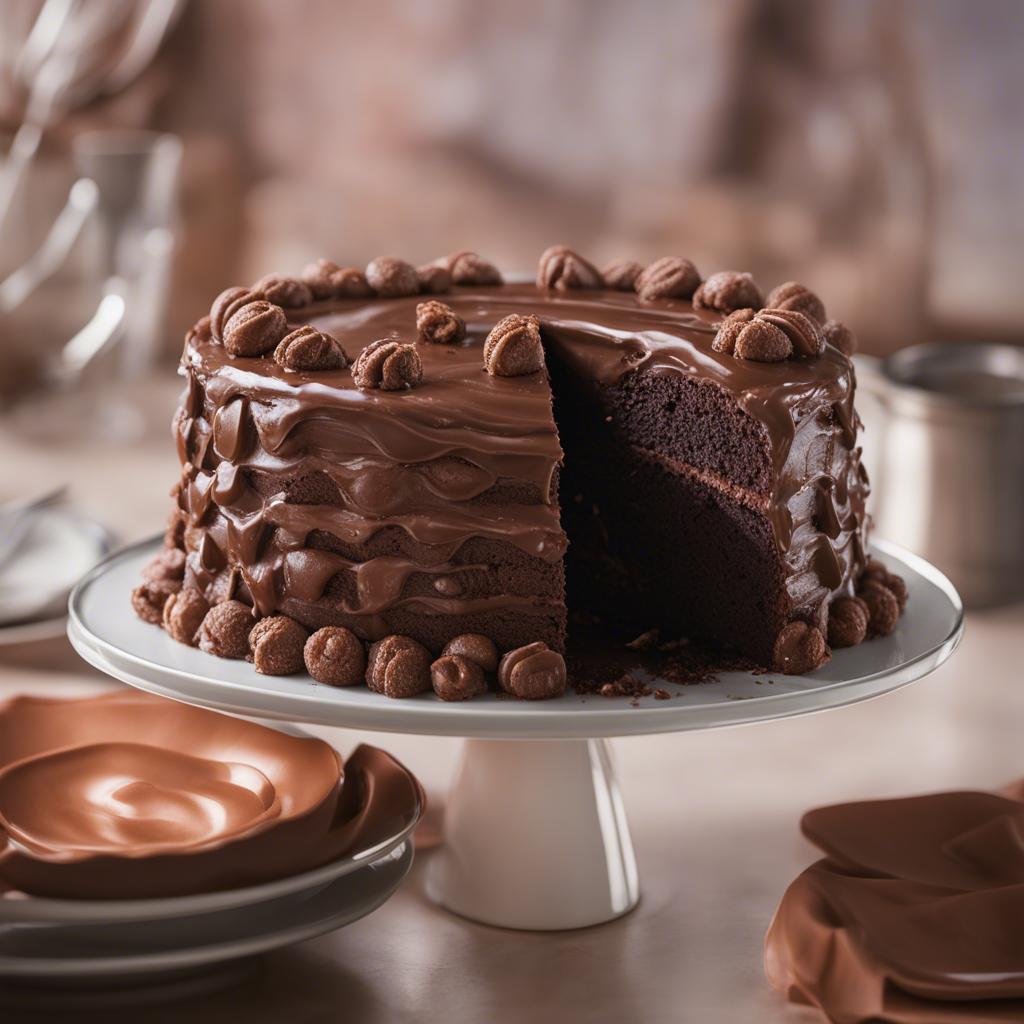
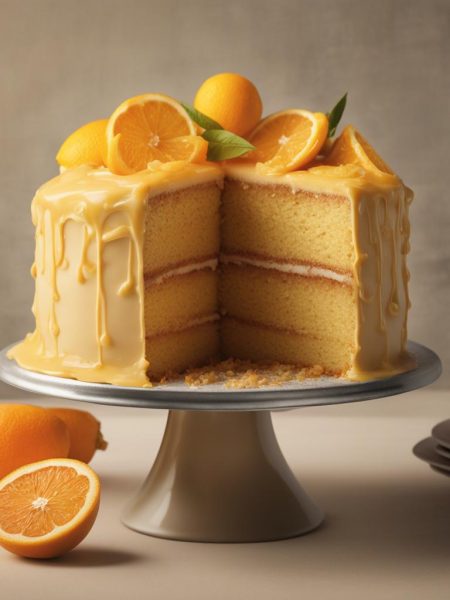
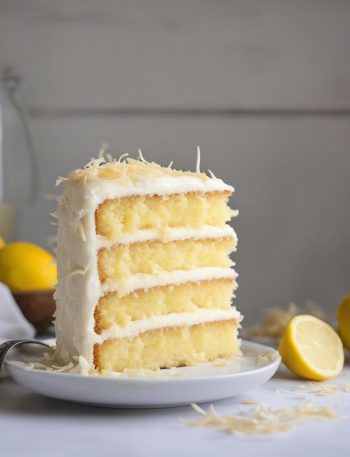
DeFazio’s Hangover Cake
Description
DeFazio's Hangover Cake is the version I make when I want a dependable homemade batch. It uses all-purpose flour, salt, margarine, evaporated milk, keeps the timing straightforward, and gives me clear cues for mixing, cooking, and resting.
Ingredients You’ll Need
Instructions
- Preheat the oven to 350°F and lightly grease an 8×8-inch baking pan with butter or margarine.
- In a medium-sized bowl, sift together flour, sugar, salt, baking powder, and baking soda. Add in margarine and mix until crumbly.
- In a separate bowl, whisk together eggs, evaporated milk, and vanilla extract until well combined.
- Add wet ingredients to the dry ingredients and mix just until combined (don't over-mix). Pour the batter into the prepared baking pan and bake for 25 minutes or until a toothpick inserted comes out clean. I stop as soon as the mixture looks even because the texture gets heavier when I keep working it.
Note
Cool before cutting. I give the pan time to settle so the crumb does not tear.
Watch the edges. The middle can still look a touch soft when the edges are set.
Grease the pan well. Sweet batters cling fast, especially around the corners.
Use room-temperature dairy. It blends smoother and keeps the batter from looking split.
Frequently Asked Questions
Yes. I usually make it ahead when I can because the flavor settles after resting. Keep it covered, and if it is baked, cool it fully before storing so condensation does not soften the edges.
I give it at least a short rest. Hot sugar, starch, or sauce can seem loose at first, and a few minutes makes the serving cleaner.
I start checking near the listed 55-minute cook time. The center should look set for baked dishes, and a tester should come out clean or with only a few moist crumbs.
I try not to unless I have to. A wider pan cooks faster and a deeper pan needs more time, so I watch the center and edges rather than trusting the timer alone.
Usually a small reduction works, but I avoid cutting it too much because sugar affects moisture and browning, not just sweetness.
You may also like...