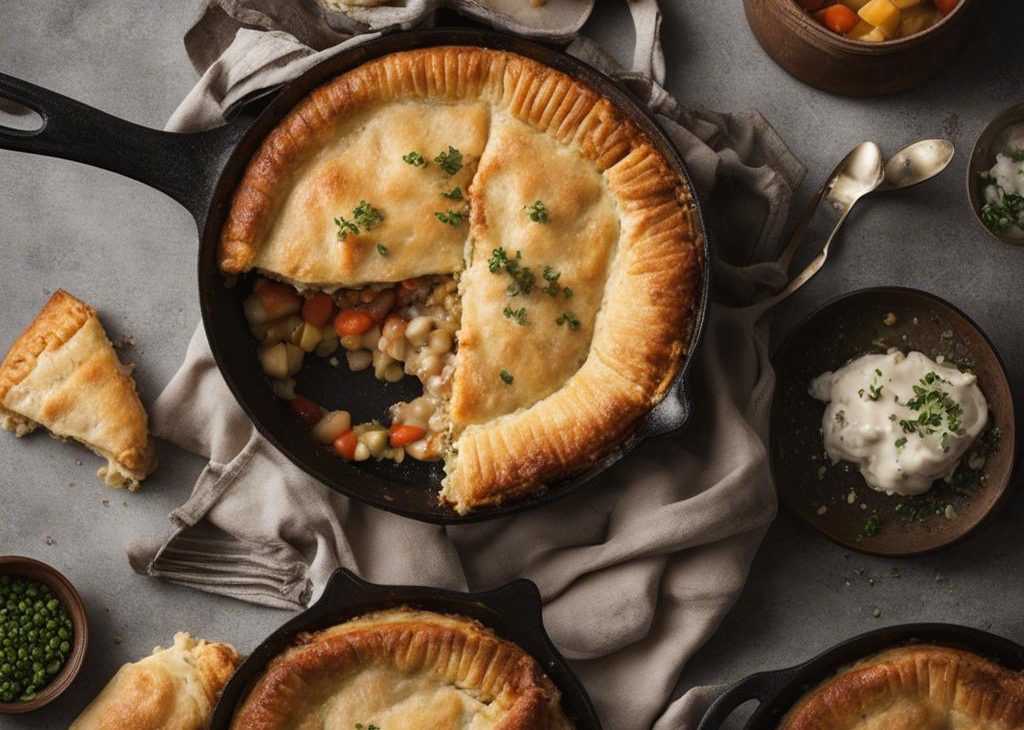

I make this skillet pot pie when I want something that tastes like I paid attention, even if the day has been a little scattered. The ingredient list is straightforward, but the result has enough character that I still feel proud setting it on the table.
The first time I tested my way through this style of recipe, I learned that the small details matter: the right heat, the right rest, and not rushing the finish. That is still how I handle it.
This version uses Store-bought or homemade pie crust, unsalted butter, chopped onion, minced garlic and serves 8. Prep is 3 minutes and cook time is 55 minutes, so I can plan it without hovering over the clock all afternoon.
Why I keep coming back to this
- I can get the main work done in 3 minutes, which keeps this from feeling like a project.
- The flavor is built from Store-bought or homemade pie crust, unsalted butter, chopped onion, not from fussy extras.
- The method has a clear doneness point, so I am not guessing at the finish line.
- Leftovers are useful, which is the first thing I ask of any recipe I make on a busy week.
- It is flexible enough for small swaps, but the original amounts still matter.
- I can serve it without explaining it, and that usually means the recipe is doing its job.
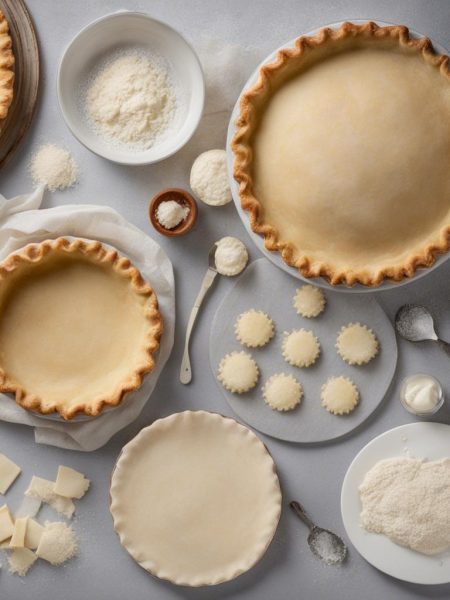
What you need and what each one is doing
- Store-bought or homemade pie crust (my recipe makes 2 crusts; you can halve the crust recipe or freeze the 2nd half).
- 2 Tablespoons unsalted butter (28g).
- 1/3 cup chopped onion. feels balanced. It builds the savory base that everything else sits on top of.
- 2 teaspoons minced garlic. I mince it fine so it distributes evenly through the dish.
- 1 cup sliced carrots (about 2 carrots). feels balanced.
- 3/4 cup sliced celery (about 1-2 stalks). feels balanced.
- 1/4 cup all-purpose flour (31g). I count on it for structure, so I measure it instead of scooping wildly.
- 1 1/2 teaspoons dried thyme leaves.
- 1 teaspoon salt. A small amount sharpens every other flavor in the recipe.
- 1/2 teaspoon black pepper. A few cracks at the end wake up the other flavors.
- 2 cups regular or reduced sodium chicken broth.
- 1/2 cup whole milk*.
- 2 cups vegetables*.
- 2 cups cooked shredded or cubed chicken or turkey (2-3 cooked pieces).
- 1 large egg beaten with 1 Tablespoon milk (15ml milk).
How I make it
Step 1 — Add the remaining ingredients
Prepare my pie crust recipe through step 5. Do this in advance to save time! Heat the butter in a 10-12-inch oven-safe skillet over medium heat. Add the onion, garlic, carrots, and celery. Cook for 5 minutes or until vegetables have softened and released some liquid. Add flour, thyme, salt, and pepper. Stir and cook for 2 minutes as the flour soaks up the liquid.
Step 2 — Bring to a boil
Pour in the chicken broth and milk. Bring to a boil, reduce heat to low and allow to simmer for 5 minutes. Gravy will thicken. Stir in the vegetables and chicken/turkey. Cook for 1 more minute. Remove from heat and allow to slightly cool for 10 minutes (and up to 1 day—cover and store in the refrigerator).
Step 3 — Preheat the oven
Preheat oven to 375°F (191°C). On a floured work surface, roll out one of the discs of chilled dough (you can freeze the 2nd for later use, see note). Turn the dough about a quarter turn after every few rolls until you have a circle 12 inches in diameter. If the skillet is 12 inches, roll out the pie dough to about 13 inches so it fits. Carefully lay the dough over the filling. Cut slits in the top to form steam vents.
Step 4 — Bake until set
Bake for 35-40 minutes or until the top of the crust is golden brown. After the first 20 minutes of bake time, I place a pie crust shield on top of the skillet to prevent the edges of crust from burning.
Step 5 — Cool and finish
Remove from the oven and allow to cool for 5 minutes before serving. Leftovers keep well in the refrigerator in an airtight container for up to 5 days. Reheat as desired.
Tips from my kitchen
- Read the whole method once. I do this before I turn on heat because a few steps move quickly.
- Use the pan size in the recipe. A different pan changes thickness, timing, and browning.
- Trust the visual cues. I watch color, texture, and smell more than the timer alone.
- Let it rest when the recipe says to. That short pause usually fixes texture better than extra cooking.
- Cool before slicing or frosting. Warm baked goods tear, slump, or melt the finish.
Variations I have actually tried
- Brown butter. I brown the butter first when the recipe can handle melted butter and I want nuttier flavor.
- Citrus lift. I rub zest into the sugar before mixing for a brighter bite.
- Nutty crunch. I add toasted pecans, walnuts, or almonds when the texture can use contrast.
- Chocolate version. I fold in mini chips or drizzle melted chocolate after cooling.
- Fruit swap. I use the same amount of another fruit or jam with similar moisture.
How I store and reheat it
I let this skillet pot pie cool before I cover it. If it is a cake, bread, muffin, cookie, or bar, trapping steam too early softens the edges and can make frosting slide. Once cool, I use an airtight container and keep it at room temperature if the filling is stable, or in the refrigerator when dairy frosting, fruit, or custard is involved.
For reheating, I use short bursts rather than blasting it. Ten to twenty seconds in the microwave is plenty for a slice or roll; cookies and crackers come back better in a low oven. If I freeze a batch, I wrap portions individually so I can pull out only what I need.
What I serve with it
I like this skillet pot pie with coffee, cold milk, or a scoop of plain yogurt if it is breakfast-leaning. For dessert, I keep the plate simple so the crumb, filling, frosting, or topping gets the attention.
The little checks I do before serving
Before I call this skillet pot pie done, I pause for one last look. I check whether the edges are the color I want, whether the center has settled, and whether the aroma matches the ingredients I put in. That sounds simple, but it has saved me from underbaked centers, thin sauces, and flat seasoning more than once.
I also taste or test a small piece when the recipe allows it. If it needs salt, acid, more cooling time, or a cleaner cut, I would rather know in the kitchen than at the table. That habit is what makes a home-cooked recipe feel steady instead of lucky.
Frequently asked questions
Can I make this skillet pot pie ahead?
Yes. I usually make it ahead when the schedule is tight, then store it covered. For the best texture, I keep crunchy toppings, fresh herbs, or final drizzles separate until serving.
How do I know it is done?
I look for the cue in the method first: set center, thickened sauce, golden edges, or fully cooked protein. If I am unsure, I give it a few more minutes and check again instead of rushing it.
Can I change the sweetness or spice?
I do, but in small steps. Sweetness and heat are easier to add than remove, so I start with a tablespoon or a pinch, taste, and adjust from there.
What is the most common mistake?
For me, it is usually hurrying the rest time or using ingredients that are too cold. A short pause and properly softened butter, cream cheese, or eggs make a bigger difference than people expect.
How should I store leftovers?
I cool leftovers first, then cover them tightly. Most baked items and cooked dishes keep well in the refrigerator for several days; sauces and frostings need airtight containers so they do not pick up fridge smells.
If you make this skillet pot pie, leave a comment with what worked for you. I always like hearing the small tweaks that happen in real kitchens.
Easy Skillet Pot Pie
Description
I make this skillet pot pie with Store-bought or homemade pie crust, unsalted butter, chopped onion, minced garlic and practical timing I can trust. This rewrite keeps the source amounts while adding the kitchen notes I wish I had the first time through.
Ingredients You’ll Need
Instructions
- Prepare my pie crust recipe through step 5. Do this in advance to save time!
- Heat the butter in a 10-12-inch oven-safe skillet over medium heat. Add the onion, garlic, carrots, and celery. Cook for 5 minutes or until vegetables have softened and released some liquid. Add flour, thyme, salt, and pepper. Stir and cook for 2 minutes as the flour soaks up the liquid.
- Pour in the chicken broth and milk. Bring to a boil, reduce heat to low and allow to simmer for 5 minutes. Gravy will thicken. Stir in the vegetables and chicken/turkey. Cook for 1 more minute. Remove from heat and allow to slightly cool for 10 minutes (and up to 1 day—cover and store in the refrigerator).
- Preheat oven to 375°F (191°C).
- On a floured work surface, roll out one of the discs of chilled dough (you can freeze the 2nd for later use, see note). Turn the dough about a quarter turn after every few rolls until you have a circle 12 inches in diameter. If the skillet is 12 inches, roll out the pie dough to about 13 inches so it fits. Carefully lay the dough over the filling. Cut slits in the top to form steam vents. Crimp or flute the edges to seal. Lightly brush the top of the pie crust with the egg wash.
- Bake for 35-40 minutes or until the top of the crust is golden brown. After the first 20 minutes of bake time, I place a pie crust shield on top of the skillet to prevent the edges of crust from burning.
- Remove from the oven and allow to cool for 5 minutes before serving. Leftovers keep well in the refrigerator in an airtight container for up to 5 days. Reheat as desired.
Nutrition Facts
Servings 8
- Amount Per Serving
- Calories 45kcal
- % Daily Value *
- Total Fat 3g5%
- Saturated Fat 2g10%
- Trans Fat 0.1g
- Cholesterol 8mg3%
- Sodium 247mg11%
- Potassium 46mg2%
- Total Carbohydrate 4g2%
- Protein 1g2%
- Calcium 10 mg
- Iron 0.3 mg
* Percent Daily Values are based on a 2,000 calorie diet. Your daily value may be higher or lower depending on your calorie needs.
Note
Read the whole method once. I do this before I turn on heat because a few steps move quickly.
Use the pan size in the recipe. A different pan changes thickness, timing, and browning.
Trust the visual cues. I watch color, texture, and smell more than the timer alone.
Let it rest when the recipe says to. That short pause usually fixes texture better than extra cooking.
Frequently Asked Questions
Yes. I usually make it ahead when the schedule is tight, then store it covered. For the best texture, I keep crunchy toppings, fresh herbs, or final drizzles separate until serving.
I look for the cue in the method first: set center, thickened sauce, golden edges, or fully cooked protein. If I am unsure, I give it a few more minutes and check again instead of rushing it.
I do, but in small steps. Sweetness and heat are easier to add than remove, so I start with a tablespoon or a pinch, taste, and adjust from there.
For me, it is usually hurrying the rest time or using ingredients that are too cold. A short pause and properly softened butter, cream cheese, or eggs make a bigger difference than people expect.
I cool leftovers first, then cover them tightly. Most baked items and cooked dishes keep well in the refrigerator for several days; sauces and frostings need airtight containers so they do not pick up fridge smells.
You may also like...