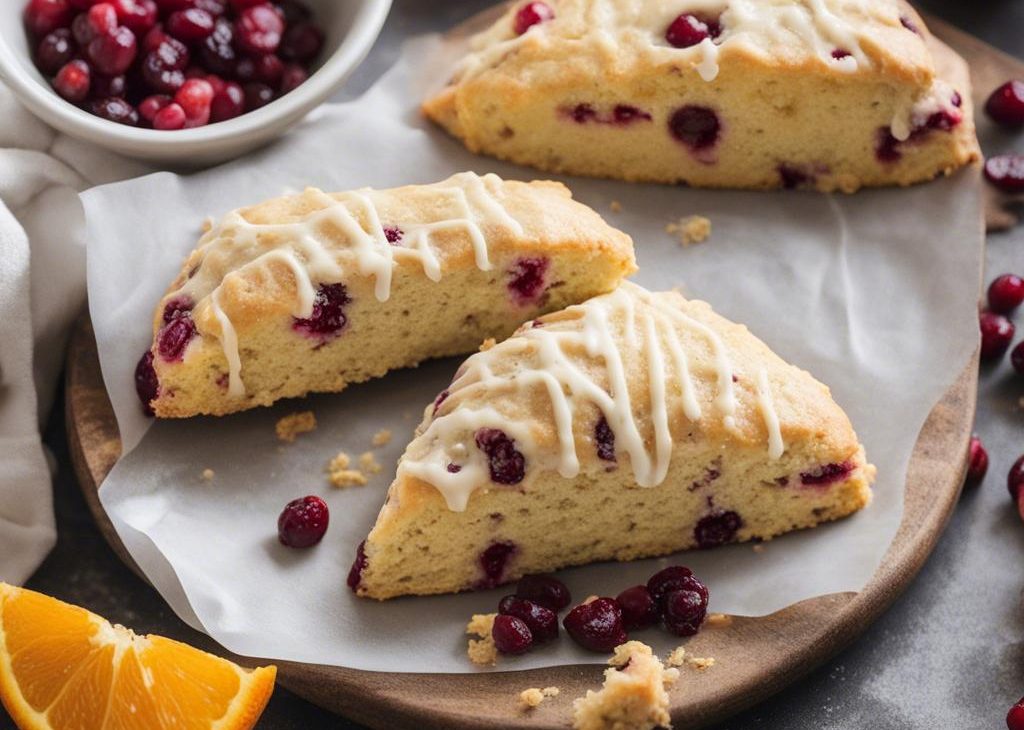

Homemade cranberry orange scones are deliciously flaky and tender with bright orange flavor and pops of juicy cranberries. Crunchy coarse sugar and orange glaze are the perfect finishing touches!
Scones. They can taste REALLY good or they can taste REALLY bad. It all depends on the recipe and mixing method.
I learned how to make absolutely delicious scones a few years ago when I attended a cooking event in the Panera Bread test kitchen. Turns out that I had been making all the wrong scones up until that point! Since that fateful afternoon, I’ve mastered chocolate chip scones, cinnamon scones, apple cinnamon scones, and blueberry scones. I use the same basic scone recipe for each flavor. By the way, I wrote an entire post devoted to my favorite base recipe for scones.
Today we’re making cranberry orange scones, flavors perfect for fall.
Why You’ll Love These Cranberry Orange Scones
- Sweet crumbly edges
- Soft, moist centers
- Crunchy golden brown exterior
- Bright flavor from orange zest and orange juice (a tasty addition we use to make the best cranberry sauce, too!)
- Pops of juicy cranberries (just like biting into a piece of cranberry cake!)
- Drizzle of orange glaze on top
Cranberry Orange Scone Ingredients
Before baking, brush the scones with heavy cream and sprinkle with coarse sugar. These extras add a bakery-style crunch and lovely golden sheen.
Frozen Grated Butter
I’ve learned that frozen grated butter is key to scone success.
Like when we make pie crust, work the cold butter into the dry ingredients. The cold butter coats the flour. When the buttery flour crumbs melt as the scones bake, they release steam which creates pockets of air. These pockets add a flaky center, while keeping the edges crumbly and crisp. Refrigerated butter might melt in the dough as you work it, but frozen butter will hold out until the oven. Timing is KEY! And the finer the pieces of cold butter, the less the scones spread and the quicker the butter mixes into the dry ingredients. Remember, you don’t want to over-work scone dough.
I recommend grating the frozen butter with a box grater.
How to Make Cranberry Orange Scones
Since there’s no yeast, these cranberry orange scones go from the mixing bowl to the oven relatively quickly. First, mix the dry ingredients together. Second, cut cold butter into the dry ingredients. You can use a pastry cutter, 2 forks, or your hands for this step. A food processor works too, but it often overworks the scone dough. To avoid overly dense scones, work the dough as little as possible. I always use a pastry cutter.
Next, whisk the wet ingredients together. Pour the wet ingredients into the dry ingredients, add the cranberries, then gently mix together. Form the dough into a disc on the counter, then cut into 8 wedges.
One of my recent tricks! To obtain a flaky center and a crumbly exterior, scone dough must remain cold. Cold dough won’t over-spread either. Therefore, I highly recommend you chill the shaped scones for at least 15 minutes prior to baking. You can even refrigerate overnight for a quick breakfast in the morning.
After that, bake the scones until golden brown.
Here I’m making blueberry scones, but for the cranberry orange variety add orange zest and cranberries.
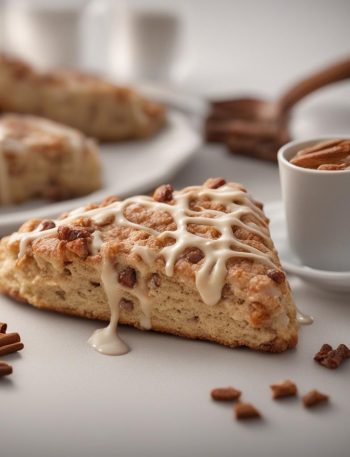
The scones are WONDERFUL right out of the oven, but taste even better with an orange glaze on top—a must on cranberry scones. 🙂 Or try a swipe of homemade honey butter. You can’t go wrong!
Glazed Cranberry Orange Scones Recipe
Description
These cranberry orange scones are buttery and moist with crisp crumbly edges and soft flaky centers. Crunchy coarse sugar and an orange glaze are the perfect finishing touches! Read through the recipe before beginning. You can skip the chilling for 15 minutes prior to baking, but I highly recommend it to prevent the scones from over-spreading.
Ingredients You’ll Need
Instructions
- Whisk flour, sugar, baking powder, salt, and orange zest together in a large bowl. Grate the frozen butter using a box grater. Add it to the flour mixture and combine with a pastry cutter, two forks, or your fingers until the mixture comes together in pea-sized crumbs.. Place in the refrigerator or freezer as you mix the wet ingredients together.
- Whisk 1/2 cup heavy cream, the egg, and vanilla extract together in a small bowl. Drizzle over the flour mixture, add the cranberries, then mix together until everything appears moistened.
- Pour onto the counter and, with floured hands, work dough into a ball as best you can. Dough will be sticky. If it’s too sticky, add a little more flour. If it seems too dry, add 1-2 more Tablespoons heavy cream. Press into an 8-inch disc and, with a sharp knife or bench scraper, cut into 8 wedges.
- Brush scones with remaining heavy cream and for extra crunch, sprinkle with coarse sugar. (You can do this before or after refrigerating in the next step.)
- Place scones on a plate or lined baking sheet (if your fridge has space!) and refrigerate for at least 15 minutes.
- Meanwhile, preheat oven to 400°F (204°C).
- Line a large baking sheet with parchment paper or silicone baking mat. After refrigerating, arrange scones 2-3 inches apart on the prepared baking sheet(s).
- Bake for 22-25 minutes or until golden brown around the edges and lightly browned on top. Remove from the oven and allow to cool for a few minutes as you make the glaze.
- Whisk the confectioners’ sugar and orange juice together. Add a little more confectioners’ sugar to thicken or more juice to thin. Drizzle over scones.
- Leftover iced or un-glazed scones keep well at room temperature for 2 days or in the refrigerator for 5 days.
You may also like...