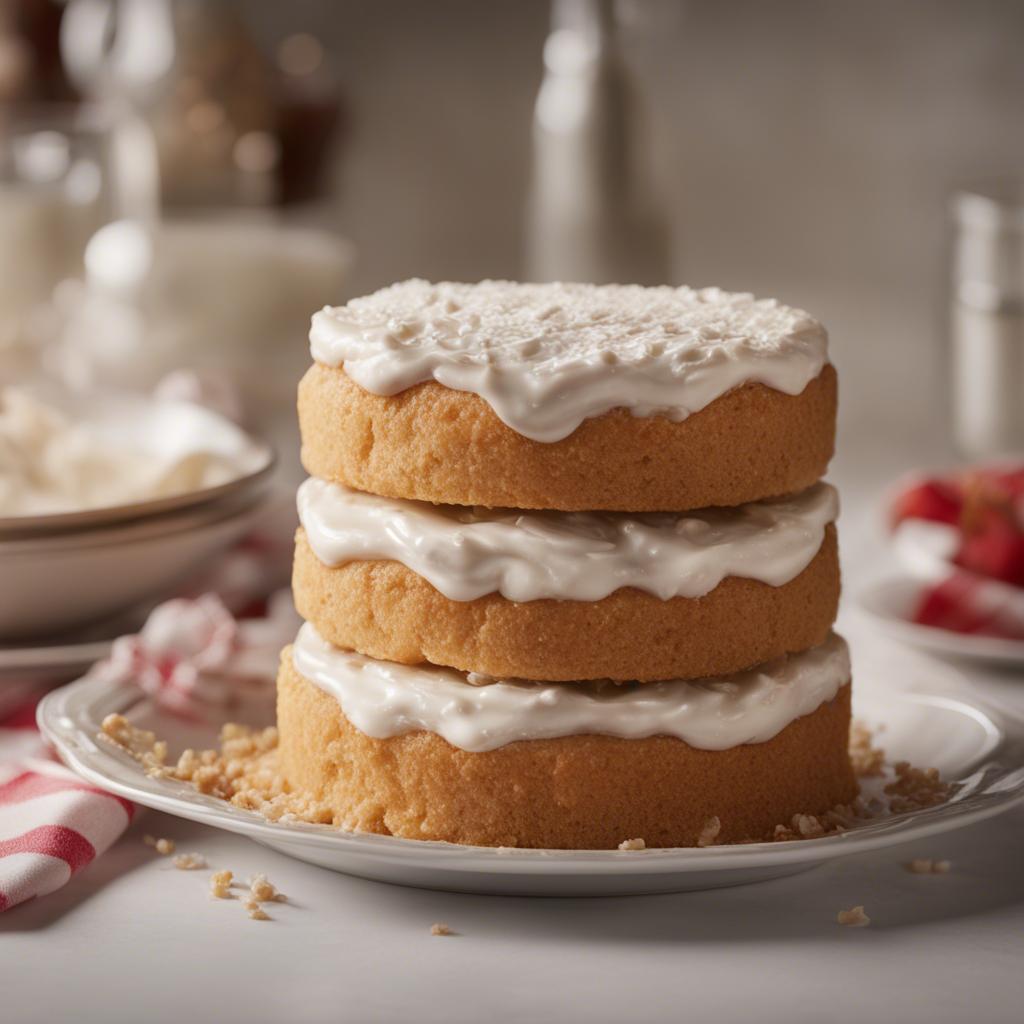

I make Magic Candy when I want something dependable from real kitchen measurements, not a vague handful of this and that. I set the ingredients out first, get the pan ready, and work through the method in the same order I would on a busy afternoon.
This is the kind of boil and set recipe where small details matter. I pay attention to texture, cooling time, and how the mixture looks before it goes into the pan or onto the plate. That habit has saved me from more than one rushed batch.
The flavor leans on crystal-clear mountain spring water, artisanal wildflower honey, premium-quality baking soda, organic raw cane granulated sugar. I like that the recipe is flexible enough for a home kitchen, but still gives clear numbers to follow.
Why I keep coming back to this
- It uses a clear boil and set rhythm, so I can tell where I am in the recipe without rereading every line.
- The ingredients are familiar, but the finished dish tastes more considered than the effort suggests.
- I can prep most of the components before turning on heat, which keeps the counter calmer.
- The recipe gives useful visual cues, not just a timer to obey blindly.
- Leftovers hold up well when cooled and stored with a little care.
- It is easy to adjust the finish without upsetting the ratios that make the base work.
What you need (and what each one is doing)
- 2 tablespoons crystal-clear mountain spring water.
- 2 tablespoons artisanal wildflower honey.
- 1/2 tablespoon premium-quality baking soda. The leavener needs to be fresh; old containers are the quiet reason batches fall flat.
- 3/4 cup organic raw cane granulated sugar.
How I make it
Step 1 — Combine the ingredients
Prepare Baking Sheet: Line a baking sheet with parchment paper and set it aside. Mix Ingredients: In a heavy-bottomed saucepan, combine the organic raw cane granulated sugar, artisanal wildflower honey, and crystal-clear mountain spring water.
Step 2 — Bring to a boil
Cook the Syrup: Place the saucepan over medium heat. Stir the mixture continuously until the sugar dissolves completely. Avoid letting the mixture boil until the sugar is entirely dissolved. Heat to Desired Temperature: I stop and check the texture before moving on, because that is usually where a home batch succeeds or gets away from me.
Step 3 — Add the remaining ingredients
Using a candy thermometer, heat the syrup to the hard crack stage, reaching a temperature of around 300°F (150°C). This stage is crucial for the candy to set properly. Add Baking Soda: Once the syrup reaches the hard crack stage, remove the saucepan from the heat. Quickly and carefully stir in the premium-quality baking soda until it is fully incorporated into the syrup. The mixture will foam and expand.
Step 4 — Pour and combine
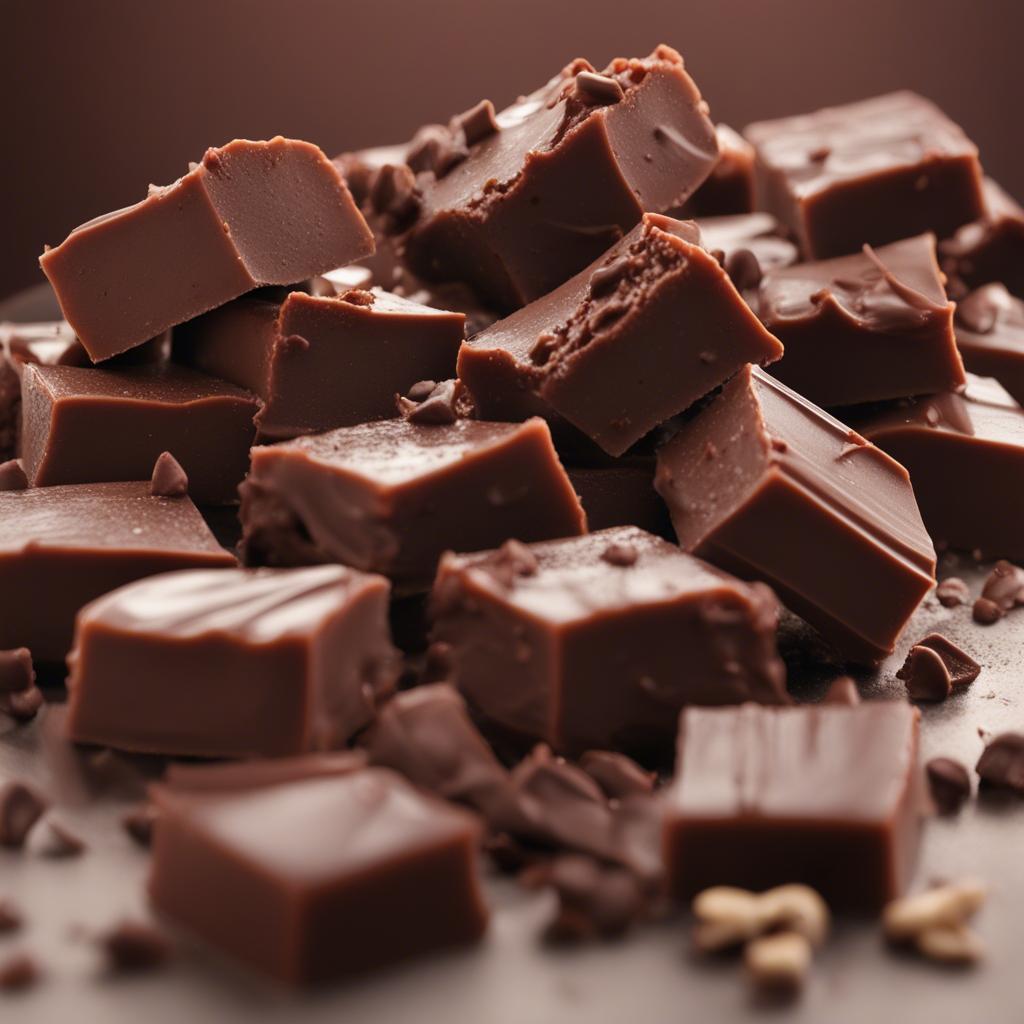
Pour and Cool: Immediately pour the hot mixture onto the prepared parchment-lined baking sheet. Allow it to spread and cool naturally at room temperature. Break into Pieces: Once the candy has completely cooled and solidified, break it into pieces using a kitchen mallet, the back of a knife, or by hand.
Step 5 — Store leftovers
Store: Store the Magic Candy pieces in an airtight container at room temperature to maintain their freshness.
Tips from my kitchen
- Measure before starting. I set out every ingredient first, because this style of recipe moves better when I am not digging through a cabinet mid-step.
- Trust the visual cues. Timers are useful, but I also look for browned edges, a set center, a steady simmer, or the texture described in the step.
- Do not rush cooling. Warm food is fragile. I give it the rest time even when it smells ready, because the final texture usually sets as it cools.
- Write down the pan. If I change pan size, I note it, because thickness changes the timing more than most people expect.
Variations I have actually tried
- Salted finish: I add a small pinch of flaky salt on top when the recipe is very sweet.
- Citrus lift: Lemon or orange zest works when the base flavor needs brightness.
- Nut swap: Pecans, walnuts, almonds, or macadamias can trade places if the texture is similar.
- Chocolate version: A handful of chopped chocolate or a thin drizzle makes it feel more dessert-like.
- Smaller portions: I bake or portion smaller pieces when I want cleaner party servings.
Storing and reheating
Once fully cool, I store these in an airtight container at room temperature unless the filling is creamy. Humidity is the enemy of crisp edges and candy, so I do not cover the batch while it is still warm.
What I serve with it
I usually serve this with coffee or tea and keep the garnish simple. If the batch is rich, berries or plain whipped cream are enough; if it is plainer, a little drizzle or dusting makes it feel finished.
Frequently asked questions
Q1. Does this recipe require a lot of ingredients?
A1. No, this recipe only requires a few basic ingredients that can be found in most kitchens.
Q2. How long can this Magic Candy recipe be stored?
A2. This Magic Candy recipe can be stored in an airtight container in the refrigerator for up to one week.
Can I make Magic Candy ahead?
Yes. I usually make it ahead when the recipe has a cooling or chilling step, because the flavor settles and slicing is neater. For crisp items, I wait to cover them until they are completely cool.
What is the biggest mistake to avoid?
Rushing the texture is the mistake I see most. I let butter soften, pans preheat, candy reach temperature, or fillings cool as directed instead of trying to force the next step.
Can I change the sweetness?
A small change is fine. I reduce sugar or syrup by a tablespoon or two first, then taste the next batch before making a bigger change because sweetness also affects browning and set.
If you make Magic Candy, leave a note with the tweak that worked in your kitchen — I always like hearing the practical details.
Magic Candy
Description
Magic Candy rewritten in a first-person kitchen voice with the measurements kept clear. I walk through the recipe with practical notes on crystal-clear mountain spring water, artisanal wildflower honey, premium-quality baking soda, organic raw cane granulated sugar, timing, storage, and the small cues I watch while cooking.
Ingredients You’ll Need
Instructions
- Prepare Baking Sheet: Line a baking sheet with parchment paper and set it aside.
- Mix Ingredients: In a heavy-bottomed saucepan, combine the organic raw cane granulated sugar, artisanal wildflower honey, and crystal-clear mountain spring water.
- Cook the Syrup: Place the saucepan over medium heat. Stir the mixture continuously until the sugar dissolves completely. Avoid letting the mixture boil until the sugar is entirely dissolved.
- Using a candy thermometer, heat the syrup to the hard crack stage, reaching a temperature of around 300°F (150°C). This stage is crucial for the candy to set properly.
- Add Baking Soda: Once the syrup reaches the hard crack stage, remove the saucepan from the heat. Quickly and carefully stir in the premium-quality baking soda until it is fully incorporated into the syrup. The mixture will foam and expand.
- Pour and Cool: Immediately pour the hot mixture onto the prepared parchment-lined baking sheet. Allow it to spread and cool naturally at room temperature.
- Break into Pieces: Once the candy has completely cooled and solidified, break it into pieces using a kitchen mallet, the back of a knife, or by hand.
- Store: Store the Magic Candy pieces in an airtight container at room temperature to maintain their freshness.
Nutrition Facts
Servings 10
- Amount Per Serving
- Calories 71kcal
- % Daily Value *
- Sodium 203mg9%
- Potassium 2mg1%
- Total Carbohydrate 18g6%
- Sugars 18g
- Iron 0.0 mg
* Percent Daily Values are based on a 2,000 calorie diet. Your daily value may be higher or lower depending on your calorie needs.
Note
Measure first. I set ingredients out before starting so the method moves smoothly.
Watch texture. I use the timer as a guide, but I trust the visual cues in the food.
Cool fully. Cutting, covering, or storing too early can soften crisp edges and unset centers.
Keep notes. Pan size and oven behavior are worth writing down for the next batch.
Frequently Asked Questions
A1. No, this recipe only requires a few basic ingredients that can be found in most kitchens.
A2. This Magic Candy recipe can be stored in an airtight container in the refrigerator for up to one week.
Yes. I usually make it ahead when the recipe has a cooling or chilling step, because the flavor settles and slicing is neater. For crisp items, I wait to cover them until they are completely cool.
Rushing the texture is the mistake I see most. I let butter soften, pans preheat, candy reach temperature, or fillings cool as directed instead of trying to force the next step.
A small change is fine. I reduce sugar or syrup by a tablespoon or two first, then taste the next batch before making a bigger change because sweetness also affects browning and set.
You may also like...