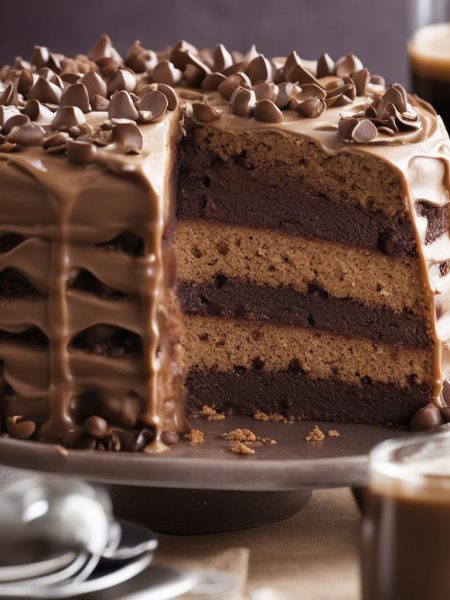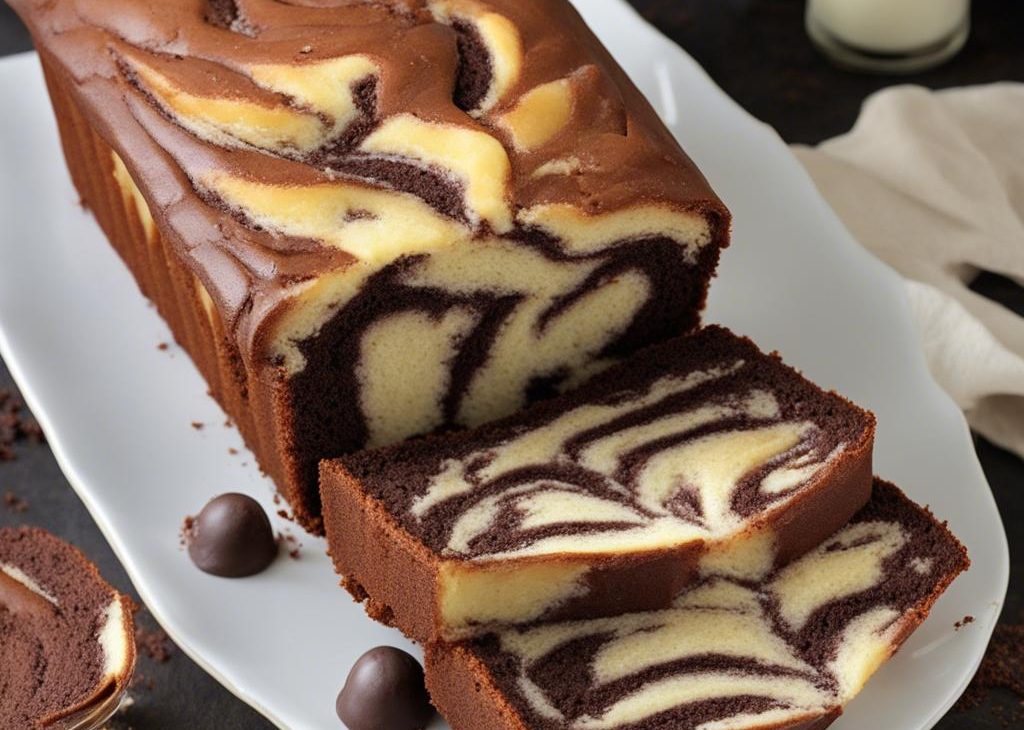

Enjoy 2 cakes in 1 with this buttery rich marble loaf cake! Baking a cake in a loaf pan means easy prep and minimal decorating without sacrificing any flavor. The chocolate batter is made from the vanilla, so you don’t have to prepare two separate recipes. And don’t forget the 2-ingredient ganache topping!
There’s something so sensational about swirled desserts! I’m no stranger to marbled cakes and my favorites are this wild zebra cake (I used it as the base of my daughter’s “safari” birthday party cake!) and this giant chocolate marble banana Bundt cake. Have you tried either?
Today we’re relying on our 9×5-inch loaf pan, the magical vehicle that supplies us with banana bread, loaf pan cheesecake, and lemon pound cake.
Here’s Why You Will Love This Cake:
- Tastes rich and moist with prominent vanilla & chocolate flavors.
- It’s just as buttery as pound cake, but with a lighter crumb.
- The 2 cake flavors come from 1 basic batter.
- Assembly is as easy as spooning batter into the pan and swirling with a knife.
- Fuss-free decorating because all of the beauty is on the inside!
If you love homemade cake, but don’t need a towering giant with gobs of sweet frosting, this easy yet impressive dessert is for you. 🙂
Key Ingredients You Need for Marble Loaf Cake:
Adapted from reader-loved chocolate chip loaf cake, this marble loaf cake comes together with basic baking ingredients. You need all of the above plus flour, baking powder, and salt. Let me explain some of the most important:
Success Tip: Use Room Temperature Ingredients
Use Room Temperature Ingredients: All refrigerated items should be at room temperature so the cake batter mixes together easily and evenly. Simply put, cold ingredients won’t properly combine to produce a smooth cake crumb..
After you prepare the vanilla batter, transfer some to another bowl and mix in your cocoa powder, more milk, and the espresso powder:
Here’s Exactly How to Swirl The Batters Together
2 Ingredient Chocolate Ganache Topping
To top the cake, let’s turn to the wonderful dessert concoction known as ganache. Chocolate ganache is typically made with 1:1 semi-sweet chocolate and heavy cream or heavy whipping cream, but for this cake I wanted a thicker-style ganache so I reduced the amount of cream. Since there’s less liquid, it’s best to melt these two ingredients together rather than pour warm cream over the chocolate.
Let the ganache thicken for 20-30 minutes and then drape it over your cake. It’s glorious!
Marble loaf cake is built-in beauty with basically zero decoration. We can all appreciate that!
Marble Loaf Cake Recipe
Description
You'll love this buttery and moist marble loaf cake because it's easy to make, assemble, and serve without any fancy decoration. The chocolate batter is made from the vanilla, so you don’t have to prepare two separate cake recipes. Review the recipe notes before beginning.
Ingredients You’ll Need
Instructions
- Preheat the oven to 350°F (177°C) and generously grease a 9×5-inch loaf pan.
- Whisk the flour, baking powder, and salt together. Set aside.
- Using a handheld or stand mixer fitted with a paddle or whisk attachment, beat the butter and sugar together on medium-high speed until smooth and creamy, about 2 minutes. Scrape down the sides and up the bottom of the bowl with a rubber spatula as needed. Add the oil and beat until combined. The mixture will still be quite creamy. Add the eggs and beat on high speed for 1 minute and then beat in the sour cream and vanilla extract. Scrape down the sides and up the bottom of the bowl as needed. The mixture will be lumpy—that’s ok. Pour the dry ingredients into the wet ingredients. Turn the mixer to low speed and as the mixer runs, slowly pour in 2/3 cup (160ml) milk. Beat on low speed just until all of the ingredients are combined. Do not over-mix. You may need to whisk it all by hand to make sure there are no large lumps at the bottom of the bowl. The batter will be slightly thick.
- You’ll have around 3-3.5 cups of batter. Transfer a little less than half (just eyeball it, doesn’t need to be perfect) to another bowl. Stir in the remaining 2 Tablespoons (30ml) milk, the cocoa powder, and espresso powder.
- Spread a thin layer of the plain vanilla batter in the bottom of your prepared loaf pan. Now you will layer spoonfuls of each batter on top—cover bottom vanilla layer with a few spoonfuls of the chocolate batter, then a few spoonfuls of the vanilla batter, then more chocolate batter, then more vanilla batter, and so on until all of the cake batter is used. Gently shimmy the pan to level out the batters. Using a knife, make rounded horizontal zig-zags from one side of the pan to the other and then make rounded vertical zig-zags from the top to the bottom.
- Bake for about 65-75 minutes or until a toothpick inserted in the center comes out clean. That time is a guideline—all ovens differ, so keep a close eye on the cake after 55 minutes. If the cake is browning too quickly on top, loosely tent with aluminum foil as it bakes.
- Cool cake in the pan set on a wire rack for 30 minutes before removing from the pan. Note that the cake slightly sinks as it cools and that’s completely normal. Feel free to continue cooling the cake directly on a wire rack or you can top it and slice it while it’s still slightly warm after 30 minutes cooling inside the pan.
- Place the chocolate and cream in a medium heat-safe bowl set over a medium saucepan of simmering water. (Or use a double boiler if you have one.) Do not let the bottom of the bowl touch the water. Stir frequently until chocolate has melted and ganache is smooth. Remove from heat and set aside at room temperature for 20-30 minutes or until slightly thickened.
- Drizzle or spread topping on cake. Topping sets into a fudge-like consistency after several hours.
- Cover leftovers tightly and store cake (with or without topping) at room temperature for 3 days or in the refrigerator for up to 1 week.
You may also like...