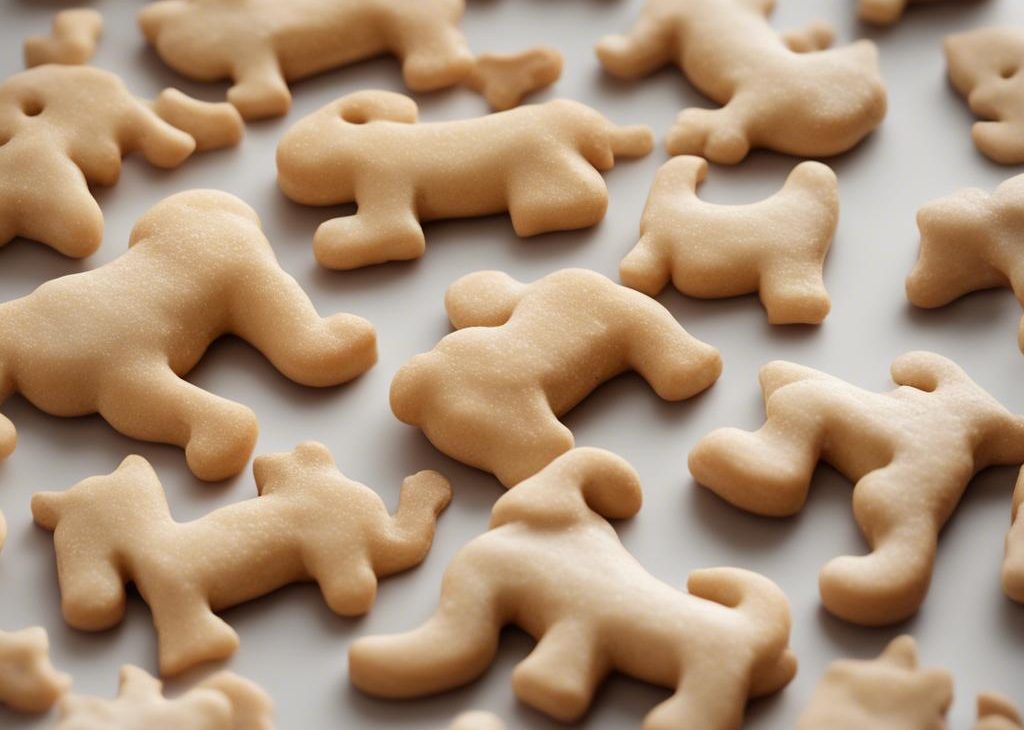
Turn a simple 8 ingredient sugar cookie recipe into homemade mini animal cracker cookies. Using my favorite sugar cookies as the base, these kid-friendly cookies are flavored with delicious cinnamon and topped with icing and rainbow sprinkles. Young bakers always love to help with these adorable cookies!
You need mini animal cookie cutters to make them. I use and love this 5-piece set, these cute little ones, and this set that includes a bear, elephant, and horse.
Today’s mini animal cracker cookies are the most adorable cookies to ever come out of my kitchen. It’s actually impossible to NOT smile when you eat one. The combination of rainbow sprinkles, icing, cinnamon, and sugar cookies will bring you right back to childhood. Speaking of! Their small size means more cookies to cut out and dunk in icing, so grab the kids for this one. Little bakers LOVE helping with these animal cracker cookies!
These Mini Animal Cracker Cookies Are:
- Made with 8 basic ingredients
- Flavored with warm cinnamon
- Reminiscent of your favorite childhood cookies
- Dunked in icing and topped with nonpareils sprinkles
- A fun baking project the whole family can help with
- Perfect dessert for birthdays and celebrations
- Always a crowd pleaser
My Favorite Sugar Cookie Recipe Gets an Upgrade
The recipe we use to make these animal cracker cookies is based off of my favorite sugar cookies recipe. It’s what we use to make Easter cookies and snowman sugar cookies, too. This recipe is simple, straightforward, and a reader favorite on this site. You’ll love the crispy edges—which I correlate to actual animal crackers, and you only need 8 basic ingredients to begin! For some wholesome flavor, I added cinnamon to the cookie dough which gives these cookies a little something extra.
I love using this classic sugar cookie recipe, but if you want options, try my cream cheese cut-out cookies with Nutella glaze instead. Those are a little softer and won’t have as crispy edges, but are equally fantastic. You can leave off the Nutella glaze, of course. I also have chocolate sugar cookies and brown sugar cut-out cookies that would work with these mini cookie cutters, too.
Overview: How to Make Mini Animal Cracker Cookies
Pay careful attention to the order of steps. My dough chilling method is unique and I talk about it in depth in my sugar cookies recipe. To prevent the cookies from over-spreading, the cookie dough must chill in the refrigerator. Roll out the dough right after you prepare it, then chill the rolled-out dough. (At this point the dough is too soft to cut into shapes.) Don’t chill the cookie dough and then try to roll it out because it will be too cold and difficult to work with. I divide the dough in half before rolling it out and highly recommend you do the same. Smaller sections of dough are simply more manageable.
Have a little flour nearby when you’re rolling out the cookie dough. Keep your work surface, hands, and rolling pin lightly floured. This is a relatively soft dough.
Animal Cracker Cookies Icing
I have TWO sugar cookie icing recipes and you can choose whichever works best for you.. The finished cookies remind me of a childhood favorite: circus animal cookies! Have fun with the colors; these cookies would be adorable for baby showers and kid birthday parties.
No matter which icing you choose, I recommend dunking the cookie tops straight into the bowl of icing—no piping tips or special cookie decorating tools needed! Then top with delightful rainbow sprinkles.

Mini Animal Cracker Cookies Recipe
Description
Turn a simple 8 ingredient sugar cookie recipe into homemade mini animal cracker cookies! These kid-friendly cookies are flavored with delicious cinnamon and topped with icing and rainbow sprinkles.
Ingredients You’ll Need
Instructions
- Whisk the flour, cinnamon, baking powder, and salt together in a medium bowl. Set aside.
- In a large bowl using a handheld or a stand mixer fitted with a paddle attachment, beat the butter and sugar together on high speed until completely smooth and creamy, about 2 minutes. Add the egg, and vanilla and beat on high speed until combined, about 1 minute. Scrape down the sides and up the bottom of the bowl and beat again as needed to combine.
- Add the dry ingredients to the wet ingredients and mix on low until combined. Dough will be a bit soft. If the dough seems too soft and sticky for rolling, add 1 more Tablespoon of flour.
- Divide the dough into 2 equal parts. Place each portion onto a piece of lightly floured parchment paper or a lightly floured silicone baking mat. With a lightly floured rolling pin, roll the dough out to about 1/4-inch thickness. Use more flour if the dough seems too sticky. The rolled-out dough can be any shape, as long as it is evenly 1/4-inch thick.
- Lightly dust one of the rolled-out doughs with flour. Place a piece of parchment on top. (This prevents sticking.) Place the 2nd rolled-out dough on top. Cover with plastic wrap or aluminum foil, then refrigerate for at least 1-2 hours and up to 2 days.
- Once chilled, preheat oven to 350°F (177°C). Line 2 large baking sheets with parchment paper or silicone baking mats. Carefully remove the top dough piece from the refrigerator. If it’s sticking to the bottom, run your hand under it to help remove it. Using cookie cutters, cut the dough into shapes (I love these, these, and these). Re-roll the remaining dough and continue cutting until all is used. Repeat with 2nd dough piece.
- Arrange cookies on baking sheets 1-2 inches apart. Bake for 9-10 minutes, until lightly browned around the edges. Rotate the baking sheet halfway through bake time. Allow cookies to cool on the baking sheet for 5 minutes then transfer to a wire rack to cool completely before decorating.
- Prepare royal icing or easy cookie icing. Feel free to tint the royal icing or cookie icing pink or any color you desire. I recommend gel food coloring. I used a tiny drop of fuchsia from this gel food coloring kit.
- Dip the cooled cookies into the icing, and top with sprinkles. No need to cover the decorated cookies as you wait for the icing to set. If it’s helpful, decorate the cookies directly on a baking sheet so you can stick the entire baking sheet in the refrigerator to help speed up the icing setting.
- Enjoy cookies right away or wait until the icing sets to serve them. Once the icing has set, these cookies are great for gifting or for sending. Plain or decorated cookies stay soft for about 5 days when covered tightly at room temperature. For longer storage, cover and refrigerate for up to 10 days.

