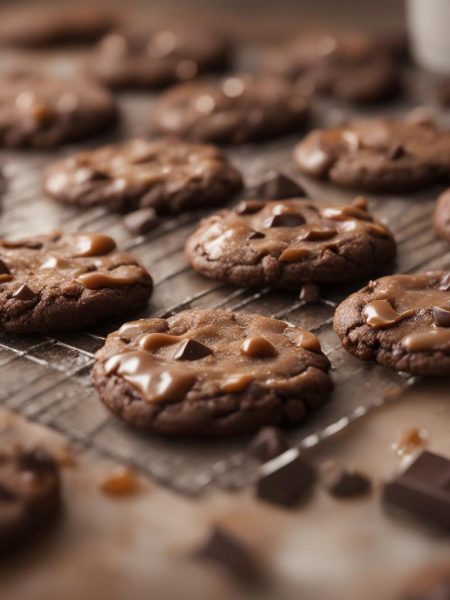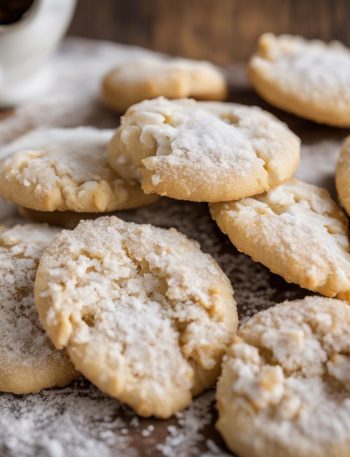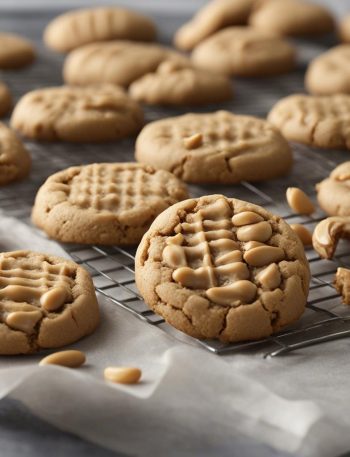

I make Santa’s Whiskers Cookies when I want a baking project that feels familiar but still asks me to pay attention. The pan tells the truth: edges, aroma, and the way the center settles all matter more than a timer alone.
The first time I tested this style of dessert, I rushed the cooling time and paid for it with messy slices. Now I build the waiting into the plan, which makes the cutting cleaner and the flavor deeper.
Why I keep coming back to this
- It gives me a clear result without needing restaurant equipment; the biggest tool is attention.
- The ingredient list is straightforward enough that I can shop once and cook without hunting for specialty items.
- The timing is flexible in the right places, but I keep the listed heat and bake or cook windows intact.
- I can taste and adjust near the end, which is especially useful when salt, sweetness, or spice varies by brand.
- Leftovers hold up well when I cool and store them properly instead of leaving everything uncovered on the counter.
- It works for a regular weeknight, but it still feels like I put real care into the meal.
What I use and why it matters
- 3/4 cup unsalted butter, softened (12 Tbsp; 170g).wildly. I melt it gently so it blends into the batter without leaving greasy pockets.
- 2/3 cup granulated sugar (133g).
- 1 large egg, at room temperature.it. It binds the wet and dry ingredients and adds a slight richness.
- 1 teaspoon pure vanilla extract.it. It rounds out the sweetness so the recipe does not taste one-dimensional.
- 1/2 teaspoon almond extract.it.
- 2 cups all-purpose flour (250g).This sets the body of the recipe; too much handling can make the texture heavy.
- 1/4 teaspoon salt.wildly. A small amount sharpens every other flavor in the recipe.
- 3/4 cup finely chopped candied cherries (63g).it.
- 1 cup sweetened shredded coconut (80g).it. I toast them briefly in a dry skillet to deepen their flavor before adding.
- 1 4 -ounce optional: white chocolate baking bar and extra coconut for topping.
How I make it
Step 1-2 — Work steadily
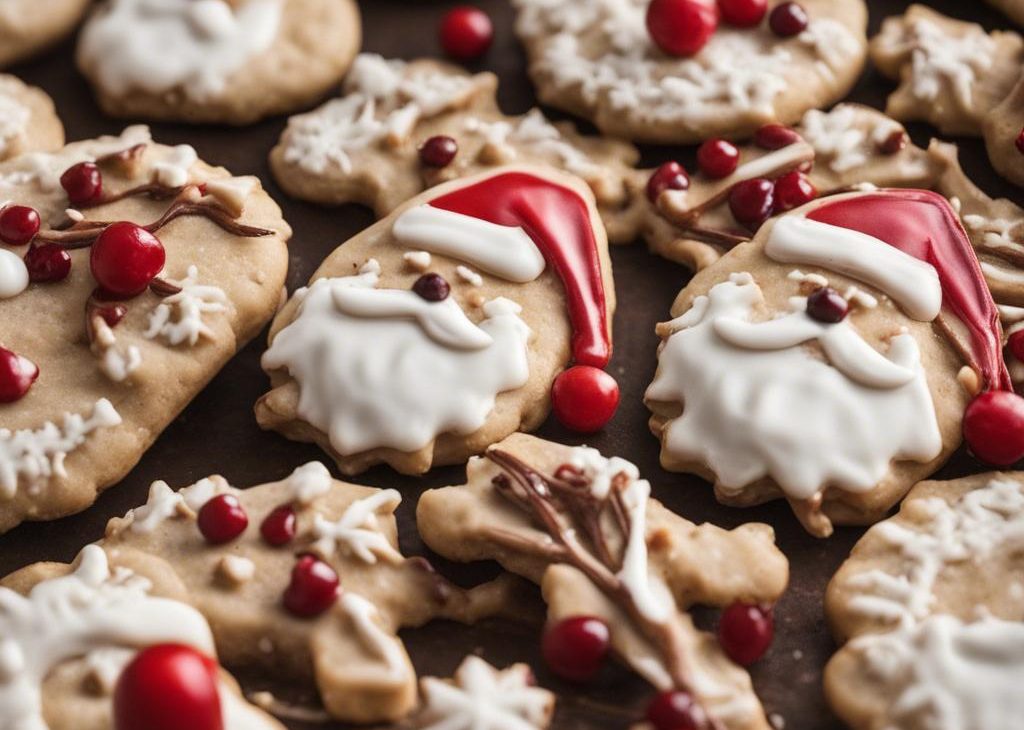
In a large bowl using a handheld mixer or stand mixer fitted with a paddle attachment, beat the butter and granulated sugar together on medium-high speed until combined and creamy, about 2 minutes. Beat in the egg, vanilla extract, and almond extract on high speed. Scrape down the sides and bottom of the bowl as needed, and continue to beat until fully combined. On low speed, beat in the flour and salt until combined. The cookie dough will be thick and slightly sticky. Switch to low speed and beat in the cherries *just* until combined. Too much beating will turn the cookie dough pink. (Which isn’t necessarily a bad thing!) Turn the dough out onto a floured work surface and, with floured hands, divide or cut into two. Shape each half into an 8-inch log, about 2.5 inches in diameter. The measurements don’t have to be exact. Roll each log in the shredded coconut. Tightly wrap the logs in plastic wrap and chill in the refrigerator for at least 3 hours and up to 5 days. Chilling is mandatory for this cookie dough. I prefer to chill mine for 4 hours or even overnight—the colder the dough, the thicker the cookies.
Step 3-4 — Work steadily
I preheat oven to 350°F (177°C). Line two large baking sheets with parchment paper or silicone baking mats. (Always recommended for cookies.) Set aside. Slice each log into 12 equally thick cookies and place cookies on baking sheets about 2 inches apart.
Step 5-6 — Work steadily
I bake the cookies for 13-14 minutes or until brown around the edges. Remove from the oven and allow cookies to cool on the baking sheet for 5 minutes before transferring to a wire rack to cool completely. If desired, drizzle the cooled cookies with white chocolate. Melt the chopped white chocolate in a double boiler or in the microwave in 15-second increments, stopping and stirring after each until completely smooth. Drizzle on the cookies. Sprinkle with extra coconut, if desired. Allow chocolate to set completely in the refrigerator for 20 minutes or at room temperature for 30 minutes.
Step 7-7 — Work steadily
I cookies stay fresh covered at room temperature for 1 week.
The cues I watch for
For Santa’s Whiskers Cookies, I pay attention to smell, color, and resistance. A timer gets me close, but I still check the surface, the edges, and the thickest part before I move on. If a pan looks crowded, I would rather use a second pan than trap steam and lose browning.
I also keep a small spoon nearby for tasting sauces, fillings, or seasonings when it is safe to do so. If the flavor tastes flat, salt is usually the answer; if it tastes heavy, a little acid or a fresh garnish often wakes it up.
Tips from my kitchen
- Measure first.I set out the ingredients before heat is involved; it keeps me from overcooking while I search for one small item.
- Respect the rest.If the recipe calls for cooling, chilling, or standing time, I treat it as part of the cooking, not an optional pause.
- Use visual checks/li>
- Season in layers.I add salt where the method asks and taste at the end, because a final pinch can make the whole batch clearer.
- Write down changes.If I swap a pan or ingredient, I note it so the next batch is not a guessing game.
Variations I have actually tried
- Warm spice:I add a small pinch of cinnamon, ginger, espresso powder, or nutmeg when it fits the dessert and does not fight the main flavor.
- Fresh finish:I use parsley, basil, cilantro, lemon zest, or scallions at the end when the main flavors need brightness.
- Pan swap:I use the closest pan size I own, then start checking early if the food is spread thinner or add a few minutes if it is deeper.
- Make-ahead version:I prep the dry mix, sauce, filling, or chopped vegetables earlier in the day and keep wet ingredients separate until cooking.
- Cleaner slices:I chill the finished bake before cutting, then let pieces sit at room temperature for a few minutes before serving.
Storing and reheating
I cool Santa’s Whiskers Cookies before packing it away so condensation does not make the texture soggy. Most cooked portions keep best in a shallow airtight container in the refrigerator for 3-5 days;
Frequently asked questions
Can I make Santa’s Whiskers Cookies ahead?
Yes. I usually bake or assemble it earlier, cool it completely, and store it covered. For the cleanest texture, I wait to slice, frost, drizzle, or garnish until it has had the rest the recipe needs.
Why did my center seem underdone?
The usual causes are a pan that is too small, an oven that runs cool, or cutting before the structure has set. I check with the doneness cue in the method and give it more cooling time before judging.
Can I reduce the sugar?
I am careful with that. Sugar affects moisture, browning, and set, especially in cookies, brownies, cakes, and pies. I might reduce it slightly after one successful batch, but I do not make a big cut on the first try.
Can I freeze it?
Most baked portions freeze well once fully cool. I wrap individual pieces tightly, place them in a freezer bag, and thaw overnight in the refrigerator or on the counter depending on the item.
What is the best way to get neat pieces?
I cool completely, use a sharp knife, and wipe the blade between cuts. For very soft desserts, I chill first and then let the pieces warm slightly before serving.
If you make Santa’s Whiskers Cookies, I would love to hear what you changed and what you kept exactly the same.
Santa’s Whiskers Cookies
Description
Santa's Whiskers Cookies written from my kitchen notes with practical timing cues, storage notes, and the original ingredient framework. I use unsalted butter, granulated sugar, egg, pure vanilla extract and keep the method clear from prep to serving.
Ingredients You’ll Need
Instructions
- In a large bowl using a handheld mixer or stand mixer fitted with a paddle attachment, beat the butter and granulated sugar together on medium-high speed until combined and creamy, about 2 minutes. Beat in the egg, vanilla extract, and almond extract on high speed. Scrape down the sides and bottom of the bowl as needed, and continue to beat until fully combined. On low speed, beat in the flour and salt until combined. The cookie dough will be thick and slightly sticky. Switch to low speed and beat in the cherries *just* until combined. Too much beating will turn the cookie dough pink. (Which isn't necessarily a bad thing!).
- Turn the dough out onto a floured work surface and, with floured hands, divide or cut into two. Shape each half into an 8-inch log, about 2.5 inches in diameter. The measurements don't have to be exact. Roll each log in the shredded coconut. Tightly wrap the logs in plastic wrap and chill in the refrigerator for at least 3 hours and up to 5 days. Chilling is mandatory for this cookie dough. I prefer to chill mine for 4 hours or even overnight—the colder the dough, the thicker the cookies.
- Preheat oven to 350°F (177°C). Line two large baking sheets with parchment paper or silicone baking mats. (Always recommended for cookies.) Set aside.
- Slice each log into 12 equally thick cookies and place cookies on baking sheets about 2 inches apart.
- Bake the cookies for 13-14 minutes or until brown around the edges. Remove from the oven and allow cookies to cool on the baking sheet for 5 minutes before transferring to a wire rack to cool completely.
- If desired, drizzle the cooled cookies with white chocolate. Melt the chopped white chocolate in a double boiler or in the microwave in 15-second increments, stopping and stirring after each until completely smooth. Drizzle on the cookies. Sprinkle with extra coconut, if desired. Allow chocolate to set completely in the refrigerator for 20 minutes or at room temperature for 30 minutes.
- Cookies stay fresh covered at room temperature for 1 week.
Nutrition Facts
Servings 2
- Amount Per Serving
- Calories 1332kcal
- % Daily Value *
- Total Fat 70g108%
- Saturated Fat 44g221%
- Trans Fat 2.8g
- Cholesterol 183mg61%
- Sodium 252mg11%
- Potassium 159mg5%
- Total Carbohydrate 162g54%
- Dietary Fiber 3g12%
- Sugars 67g
- Protein 13g26%
- Calcium 40 mg
- Iron 5.8 mg
* Percent Daily Values are based on a 2,000 calorie diet. Your daily value may be higher or lower depending on your calorie needs.
Note
Prep before heat. I measure everything for Santa's Whiskers Cookies before I turn on the stove or oven.
Watch the texture. The clock is a guide; color, thickness, and aroma tell me when to move on.
Rest when directed. Cooling or chilling time makes slicing, serving, and storing much easier.
Taste at the end. A small pinch of salt, splash of acid, or fresh garnish can make the flavors clearer.
Frequently Asked Questions
Yes. I usually bake or assemble it earlier, cool it completely, and store it covered. For the cleanest texture, I wait to slice, frost, drizzle, or garnish until it has had the rest the recipe needs.
The usual causes are a pan that is too small, an oven that runs cool, or cutting before the structure has set. I check with the doneness cue in the method and give it more cooling time before judging.
I am careful with that. Sugar affects moisture, browning, and set, especially in cookies, brownies, cakes, and pies. I might reduce it slightly after one successful batch, but I do not make a big cut on the first try.
Most baked portions freeze well once fully cool. I wrap individual pieces tightly, place them in a freezer bag, and thaw overnight in the refrigerator or on the counter depending on the item.
I cool completely, use a sharp knife, and wipe the blade between cuts. For very soft desserts, I chill first and then let the pieces warm slightly before serving.
You may also like...