
My homemade blueberry pie is better than ever and bursting with sweet juicy blueberries that sit in a golden-brown buttery, flaky pie crust. Follow my precise baking instructions for a filling that sets perfectly and is neither runny nor soupy. From-scratch pie can be hard work, so my team and I made sure to repeatedly test this recipe so the results are completely worth your time and effort.
. I’ve also made a few changes to the recipe and baking instructions to help ensure a filling that sets.
This slightly updated recipe produces a better-than-ever blueberry pie. Reader reviews reporting a soupy, runny filling inspired me to rework the baking instructions on my original recipe and make a slight change to the filling ingredients. My team and I tested a LOT of blueberry pies in the last few weeks. We searched for the magic trick to a perfectly flavorful, non-runny blueberry pie.
So what’s the verdict? What’s the magic trick to a perfect blueberry pie? Drumroll please…
The magic trick is: patience.
Here’s Exactly Why This Blueberry Pie Recipe Works
It turns out that you need to (1) really work the filling ingredients together, (2) bake the pie for longer than I thought, (3) embrace a bubbling juicy messy pie filling, and (4) let it cool completely in order for the filling to fully set up. Just like peach pie, blueberry pie takes several hours and is undoubtedly a delayed-gratification dessert. But I promise you, they are both worth it. Get ready for the most incredible, juicy-yet-sliceable blueberry pie experience:
6 Ingredient Filling
After I’ve scared you off about the time it takes, let me mention that blueberry pie filling is actually one of the quickest fruit pie fillings to prepare! There’s no peeling, pitting, hulling, or chopping the fruit. Unlike triple berry pie, you do NOT need to pre-cook the filling either (a step we tested but found useless). Just rinse and pat the berries dry and then mix with sugar, flour, cornstarch, cinnamon, lemon juice, & lemon zest:
Pie Filling Success Tips:
Below Left: Your filling won’t bake properly if it’s this dry and powdery. Below Right: Work the ingredients together until the dry ingredients are moistened.
Assemble Your Pie
You can use your favorite pie dough recipe, but here’s why I encourage you to try mine. To make a perfect pie crust, I use a mix of shortening and butter because the two ingredients work together to make an unbeatable texture. Butter adds flavor and flakiness, while shortening’s high melting point keeps the crust tender and workable. The recipe yields 2 crusts—one for the bottom and one for the top—which is what you need for this pie. You don’t need to par-bake the crust because this pie bakes for so long.
A few topping notes:
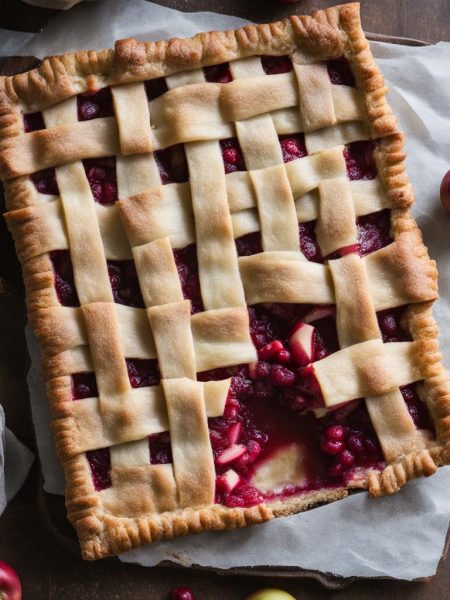
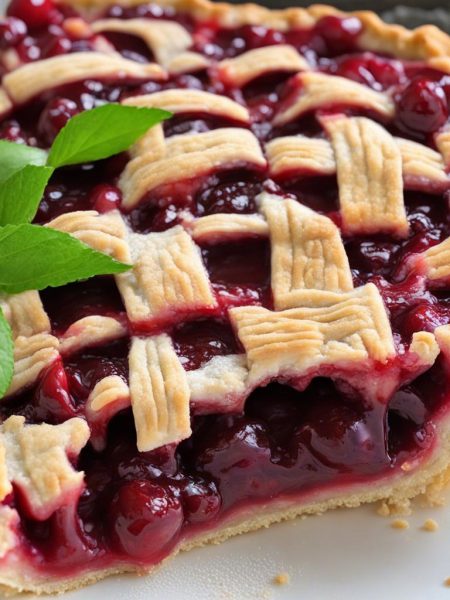
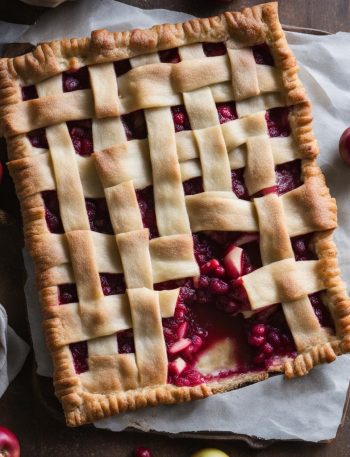
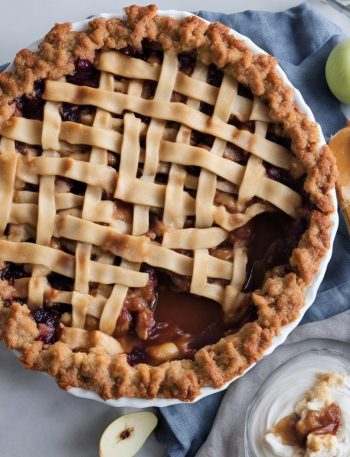
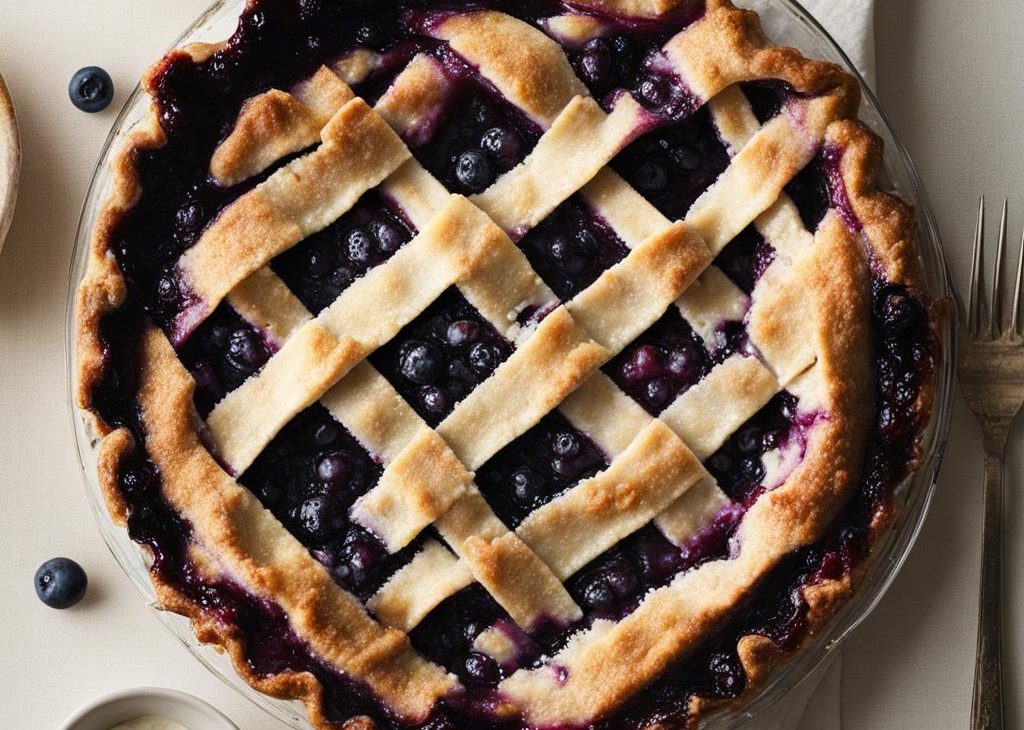
- Lattice: I like a signature lattice pie crust design for this blueberry pie (doesn’t it just scream “state fair blue ribbon winner“?!) but decorate the pie however you’d like..
- Other Designs: Feel free to check out other pie crust designs.
- Crumble: Or you could try this blueberry crumble pie. Note the slight variation in the filling to make up for a very buttery topping.
Regardless of the design, be sure to crimp or flute the pie crust, too..
Don’t Forget…
Unlike the butter and egg wash, coarse sugar is an optional topping. I love adding it to sweet pies because it adds a little crunch and sparkle.
Simply the Best Blueberry Pie Recipe
Description
After a few additional years of testing, this is now the best blueberry pie. As the pie bakes, expect a messy, bubbly, and juicy filling. As the pie cools, the filling sets into a jammy, yet sliceable consistency. For a truly out-of-this-world summer dessert experience, serve each flavorful slice with vanilla ice cream.
Ingredients You’ll Need
Instructions
- Prepare either pie crust recipe through step 5.
- Stir the blueberries, sugar, flour, cornstarch, cinnamon, lemon juice, and lemon zest together in a large bowl. Mix together until it’s no longer dry and powdery; burst a few blueberries if necessary to moisten. Set filling aside as the oven preheats. Filling can be covered and refrigerated for up to 24 hours if needed.
- Adjust the oven rack to the lower third position and preheat to 425°F (218°C). Place baking sheet on the bottom oven rack to catch any blueberry juices.
- On a floured work surface, roll out one of the discs of chilled dough (keep the other one in the refrigerator). Turn the dough about a quarter turn after every few rolls until you have a circle 12 inches in diameter. Carefully place the dough into a 9 x 1.5 or 2-inch round pie dish. Tuck it in with your fingers, making sure it is smooth. Pour and spread filling evenly into pie dish. Dot the pieces of butter on top of the filling. Set aside at room temperature or in the refrigerator as you assemble the top pie crust.
- Remove the other disc of chilled pie dough from the refrigerator. Roll the dough into a circle that is 12 inches diameter. Using a pastry wheel, sharp knife, or pizza cutter, cut strips of dough;, I cut 10 1-inch-wide strips. Carefully thread the strips over and under one another, pulling back strips as necessary to weave. (Here’s a lattice pie crust tutorial if you need visuals.) Press the edges of the strips into the bottom pie crust edges to seal. Use a small paring knife to trim off excess dough. Flute or crimp the pie crust edges with a fork.
- Lightly brush the top and edges of the pie crust with egg wash. Sprinkle the top with coarse sugar, if using.
- Bake the pie at 425°F for 25 minutes; then, keeping the pie in the oven, reduce the oven temperature down to 375°F (190°C). Place a pie crust shield (see Note for homemade shield) on the edges to prevent them from over-browning. Continue baking the pie until the filling’s juices are bubbling everywhere, including in the center, 40–50 more minutes. This sounds like a long time, but under-baking the pie means a soupy filling with paste-like flour and cornstarch chunks. If you want to be precise, the internal temperature of the filling taken with an instant read thermometer should be around 200°F (93°C) when done. Tip: If needed towards the end of bake time, remove the pie crust shield and tent an entire piece of foil on top of the pie if the top looks like it’s getting too brown.
- Remove pie from the oven, place on a cooling rack, and cool for at least 4 hours before slicing and serving. Filling will be too juicy if the pie is warm when you slice it.
- Cover leftovers tightly and store in the refrigerator for up to 5 days.
You may also like...