
I make Ultimate Marble Cupcakes when I want a recipe that feels familiar but still asks me to pay attention. The ingredient list is straightforward, yet the small details matter: measured bowls, the right pan, and a little patience while it cools or rests.
This version keeps the original timing intact: 30 min prep, 20 min cook time. It serves 14, and I use that number when I portion it.
I wrote the method the way I move through the kitchen. I set out the ingredients first, watch for visual cues, and avoid rushing the final cooling step.
Why I keep coming back to this
- The timing is predictable: 30 minutes of prep and 20 minutes of cooking gives me a clear plan.
- The serving count stays at 14, so I know whether I am feeding a table or saving leftovers.
- The main heat cue is 350°F (177°C), which I write on a note before I start.
- The pan cue is 12-count muffin pan, and I do not swap it unless I can adjust the timing.
- The recipe rewards measured ingredients more than fancy equipment.
- Leftovers hold up better when I cool them before covering.
What you need and why it matters
I measure everything into small bowls and group finishing ingredients separately. That simple habit keeps the last few minutes calm.
- All-purpose flour, 1 2/3 cups.
- Baking powder, 1/2 teaspoon.
- Baking soda, 1/4 teaspoon.
- Salt, 1/2 teaspoon.
- Unsalted butter, melted, 1/2 cup.
- Granulated sugar, 1 cup. It does more than sweeten—it helps browning and affects how tender the final texture is.
- Egg, room temperature, 1 large. It binds the wet and dry ingredients and adds a slight richness.
- Greek yogurt or sour cream, 1/4 cup.
- Milk, 3/4 cup. It adds moisture and a subtle richness that water cannot replace.
- Pure vanilla extract, 2 teaspoons.
- Unsweetened cocoa powder, 2 Tablespoons.
- Confectioners’ sugar, 1 3/4 cups.
- Unsweetened cocoa powder, 1/4 cup.
- Unsalted butter, softened, 1/2 cup.
- Heavy cream or milk, 2 Tablespoons.
- Pure vanilla extract, 1 teaspoon.
- Salt, to taste.
- Unsalted butter, softened, 1/2 cup.
- Finishing ingredients. I keep the remaining garnishes and optional add-ins nearby so Ultimate Marble Cupcakes finishes neatly.
How I make it
Step 1 — Preheat the oven
I preheat oven to 350°F (177°C). Line a 12-count muffin pan with cupcake liners and an additional pan with 2 liners. This recipe makes about 14 cupcakes. Set them aside.
Step 2 — Mix the base
In a medium bowl, mix together flour, baking powder, baking soda, and salt. Set aside. In a large microwave-safe bowl, melt butter in the microwave. Whisk in sugar—mixture will be gritty. Chill in the refrigerator for 1 minute. Stir in egg, yogurt, 3/4 cup milk, and vanilla extract until combined. Slowly mix in dry ingredients until no lumps remain. Batter will be thick. Transfer 3/4 cup of batter to another medium bowl. Mix in cocoa powder and 1 Tablespoon milk until combined. Chocolate batter will be thick.
Step 3 — Bake
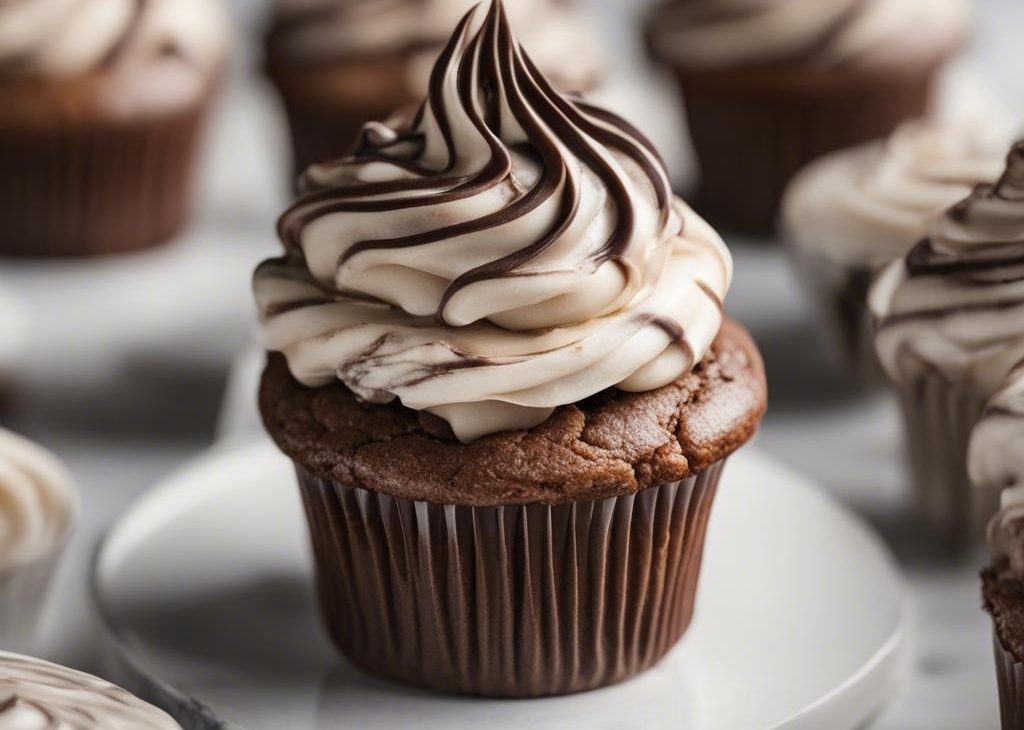
I spoon 1 Tablespoon of vanilla batter into each cupcake liner. Top with a spoonful of chocolate batter, then more vanilla batter on top until all batters have been used up. At this point you may swirl the batters together very lightly using a toothpick or leave them as is, as I explained in the post. Bake the cupcakes for 20-24 minutes or until a toothpick inserted in the center comes out clean. Allow cupcakes to cool completely before frosting.
Step 4 — Whisk the dry ingredients
I sift together the confectioners’ sugar and cocoa powder to assure there are no lumps. Set aside. With a handheld or stand mixer fitted with a paddle attachment, beat the butter on medium speed until creamy—about 2 minutes. Gradually add the sifted sugar/cocoa powder alternately with the heavy cream and vanilla. Beat on low speed after each addition. Once all added, beat on high speed until creamy and combined for at least 2 minutes. Add a pinch of salt if frosting is too sweet.
Step 5 — Beat until smooth
With a handheld or stand mixer fitted with a paddle attachment, beat the butter on medium speed until creamy—about 2 minutes. Add confectioners’ sugar, cream, and vanilla extract with the mixer running on low. Increase to high speed and beat for 3 full minutes. Add more confectioners’ sugar if frosting is too thin or more cream if frosting is too thick. Add a pinch of salt if frosting is too sweet.
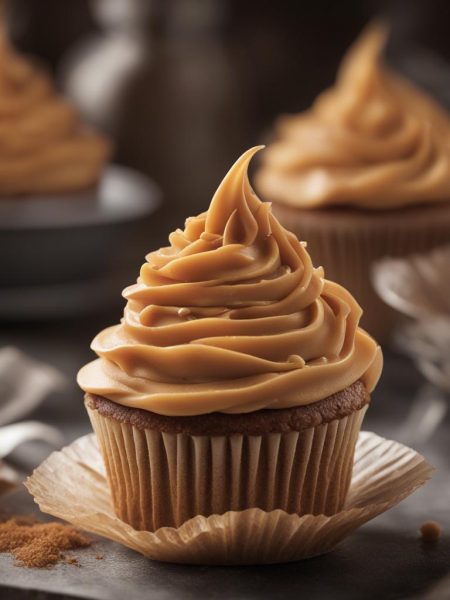
Step 6 — Frost the cake
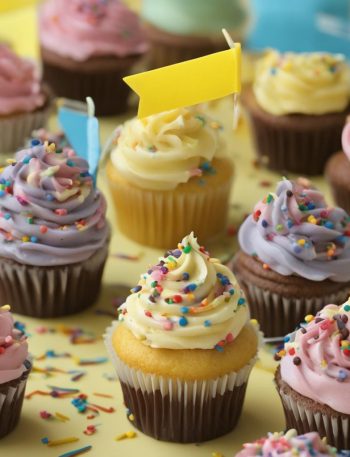
I frost cooled cupcakes with a knife or with a piping bag/tip. If you’d like to just make 1 kind of frosting and not both, make sure you double the frosting recipe of your choice to make sure there is enough for all cupcakes. To swirl the two frostings like I did, here is how to make swirled frosting. There may be leftover frosting depending how much you use on each cupcake.
Step 7 — Store leftovers
I store cupcakes in an airtight container at room temperature for up to 2 days and in the refrigerator up to 5. I recommend a cupcake carrier for storing and transporting decorated cupcakes.
Tips from my kitchen
- Measure first. I set every ingredient on the counter before heating the oven or stove.
- Watch the heat. I trust the visual cue over the clock when my pan or oven runs different.
- Cool before covering. Steam softens crisp edges and can
- Keep tools simple. A bowl, spatula, whisk, and small offset spatula handle most of the work.
Variations I have actually tried
- Variation 1: I bake a few mini cupcakes for a party tray and shorten the time.
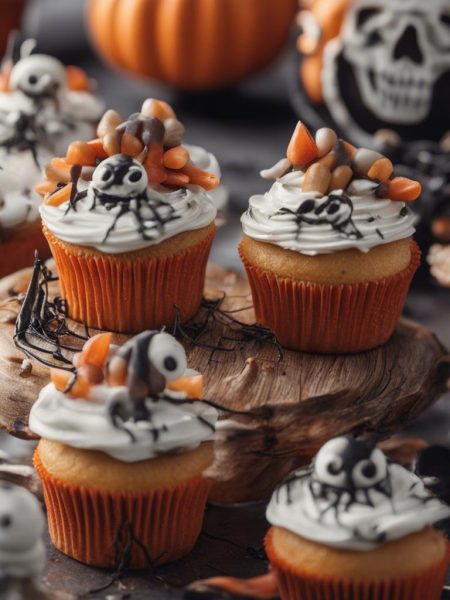
- Variation 2: I change the topping colors to match the season.
- Variation 3: I pipe a lower swirl when the cupcakes need to travel.
- Variation 4: I add a small filled center when I want a bakery-style surprise.
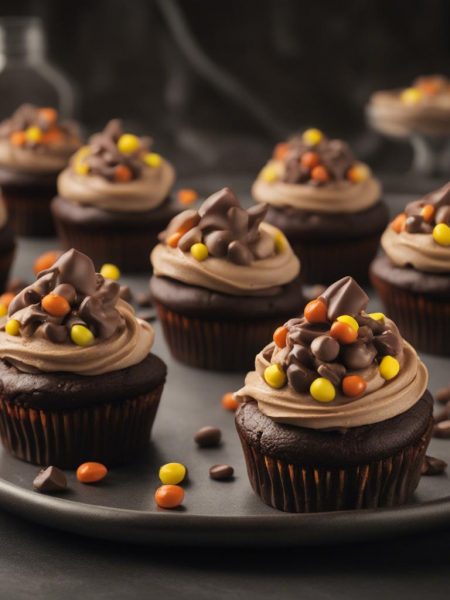
- Variation 5: I finish with chopped candy, berries, or sprinkles.
How I serve it
I serve Ultimate Marble Cupcakes after it has had enough time to settle. For sweets, I like clean slices or tidy pieces with coffee, tea, or cold milk. For savory dishes, I add something crisp, bright, or fresh on the side.
If I am taking it somewhere, I keep garnishes separate until the last minute. That small move keeps crumbs crisp, frosting cleaner, sauces brighter, and toppings from sliding around.
Storing and reheating
I cool leftovers completely, then cover them tightly.
For reheating, I use gentle heat. A short microwave burst works for single portions, while a low oven brings back better texture for pieces with a crust, crumb, or crunchy topping.
Frequently asked questions
Can I make Ultimate Marble Cupcakes ahead?
I often do part of the work ahead, then finish close to serving so the texture stays fresh.
Can I change the pan size?
I try to use 12-count muffin pan. If I change it, I watch thickness and start checking early.
How do I know it is done?
I use the source time as a guide, then check color, set edges, and the cue at 350°F (177°C).
Can I freeze leftovers?
I freeze sturdy portions after they cool completely, wrapped tightly and labeled with the date.
What mistake should I avoid?
I do not rush the cooling or resting step. Warm layers, crumbs, or fillings can shift if handled too soon.
If you make Ultimate Marble Cupcakes, I would love to hear what variation or garnish you used.
Ultimate Marble Cupcakes
Description
I make Ultimate Marble Cupcakes with the original prep time of 30 min and cook time of 20 min. The steps below keep the source quantities, pan cues, temperatures, and serving count intact while adding my practical kitchen notes.
Ingredients You’ll Need
Instructions
- I preheat oven to 350°F (177°C). Line a 12-count muffin pan with cupcake liners and an additional pan with 2 liners. This recipe makes about 14 cupcakes. Set them aside.
- In a medium bowl, mix together flour, baking powder, baking soda, and salt. Set aside. In a large microwave-safe bowl, melt butter in the microwave. Whisk in sugar—mixture will be gritty. Chill in the refrigerator for 1 minute. Stir in egg, yogurt, 3/4 cup milk, and vanilla extract until combined. Slowly mix in dry ingredients until no lumps remain. Batter will be thick. Transfer 3/4 cup of batter to another medium bowl. Mix in cocoa powder and 1 Tablespoon milk until combined. Chocolate batter will be thick.
- I spoon 1 Tablespoon of vanilla batter into each cupcake liner. Top with a spoonful of chocolate batter, then more vanilla batter on top until all batters have been used up. At this point you may swirl the batters together very lightly using a toothpick or leave them as is, as I explained in the post. Bake the cupcakes for 20-24 minutes or until a toothpick inserted in the center comes out clean. Allow cupcakes to cool completely before frosting.
- I sift together the confectioners' sugar and cocoa powder to assure there are no lumps. Set aside. With a handheld or stand mixer fitted with a paddle attachment, beat the butter on medium speed until creamy—about 2 minutes. Gradually add the sifted sugar/cocoa powder alternately with the heavy cream and vanilla. Beat on low speed after each addition. Once all added, beat on high speed until creamy and combined for at least 2 minutes. Add a pinch of salt if frosting is too sweet.
- With a handheld or stand mixer fitted with a paddle attachment, beat the butter on medium speed until creamy—about 2 minutes. Add confectioners' sugar, cream, and vanilla extract with the mixer running on low. Increase to high speed and beat for 3 full minutes. Add more confectioners' sugar if frosting is too thin or more cream if frosting is too thick.
- I frost cooled cupcakes with a knife or with a piping bag/tip. If you'd like to just make 1 kind of frosting and not both, make sure you double the frosting recipe of your choice to make sure there is enough for all cupcakes. To swirl the two frostings like I did, here is how to make swirled frosting. There may be leftover frosting depending how much you use on each cupcake.
- I store cupcakes in an airtight container at room temperature for up to 2 days and in the refrigerator up to 5. I recommend a cupcake carrier for storing and transporting decorated cupcakes.
Nutrition Facts
Servings 14
- Amount Per Serving
- Calories 343kcal
- % Daily Value *
- Total Fat 15g24%
- Saturated Fat 9g45%
- Trans Fat 0.6g
- Cholesterol 39mg13%
- Sodium 123mg6%
- Potassium 58mg2%
- Total Carbohydrate 52g18%
- Dietary Fiber 1g4%
- Sugars 40g
- Protein 2g4%
- Calcium 39 mg
- Iron 0.8 mg
* Percent Daily Values are based on a 2,000 calorie diet. Your daily value may be higher or lower depending on your calorie needs.
Note
Measure before heating. I set every ingredient for Ultimate Marble Cupcakes on the counter before I turn on the oven or stove.
Use the listed pan. A different size changes thickness, browning, and timing.
Cool with patience. Warm filling, frosting, or crumbs can shift if I cut too soon.
Season or garnish at the end. I taste and adjust once the main texture is set.
Frequently Asked Questions
I often do part of the work ahead, then finish close to serving so the texture stays fresh.
I try to use 12-count muffin pan. If I change it, I watch thickness and start checking early.
I use the source time as a guide, then check color, set edges, and the cue at 350°F (177°C).
I freeze sturdy portions after they cool completely, wrapped tightly and labeled with the date.
I do not rush the cooling or resting step. Warm layers, crumbs, or fillings can shift if handled too soon.
You may also like...