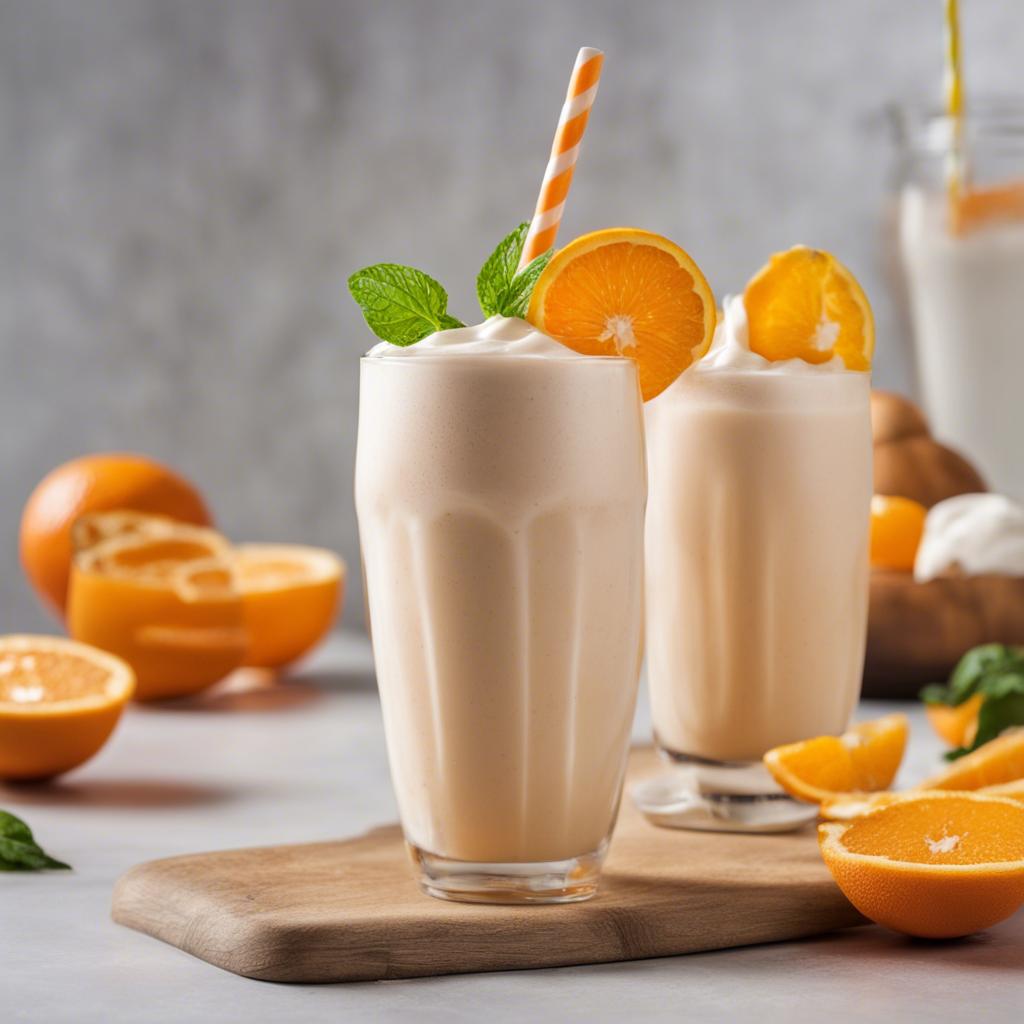

I make Whipped Chocolate Milk when I want something cold and sweet without waiting in a drive-through line. The first glass is usually my test glass, because strawberries, cocoa, or protein powder can all change thickness from batch to batch.
The version I keep now is practical: I measure the base, blend or chill it until the texture is right, then adjust sweetness with a small hand instead of dumping in more sugar at the end. It tastes brighter when I let the cold ingredients do most of the work.
Prep is 10 minutes, and the whole point is control. I can make it spoon-thick, straw-friendly, or somewhere in between, and I do not have to guess what went into the cup.
Why I keep coming back to this
- I can prep it in 10 minutes and cook it in about 5 minutes, which keeps the timing predictable.
- The ingredient list is straightforward, and I can measure everything before I start.
- The texture tells me what is happening, which makes the recipe easier to trust.
- It tastes better after I give the flavors a few minutes to settle.
- The leftovers are useful instead of becoming one more container I avoid.
- I can make small swaps without changing the whole character of the dish.
What I use and why
- 4 cups milk.adds richness and keeps the mixture from feeling dry.
- 1/2 cup hot chocolate mix.brings the main sweet note, so I use one I like eating plain.
- 1 cup heavy whipping cream.cold adds richness and keeps the mixture from feeling dry.
- 4 tablespoons sugar.sweetens and helps the texture settle instead of tasting flat.
- Ice.
How I make it
Step 1 — Chill and measure
I prepare the Hot Chocolate Base:
Step 2 — Blend the base
In a saucepan, heat 4 cups of milk over medium heat until it’s warm but not boiling.
Step 3 — Adjust the texture
I gradually whisk in 1/2 cup of hot chocolate mix, ensuring it’s well combined.
Step 4 — Pour and garnish
I continue to heat the mixture until it’s hot, but again, avoid boiling. Once hot, remove it from the heat.
Step 5 — Serve right away
I allow the hot chocolate mixture to cool to room temperature, and then refrigerate it until it’s cold. This can take a few hours or you can expedite the process by placing it in the freezer for a shorter duration.
Step 6 — Store only if needed
In a mixing bowl, combine 1 cup of cold heavy whipping cream and 4 tablespoons of sugar.
What I watch while it cooks
I pay attention to texture more than the clock with Whipped Chocolate Milk. Timers matter, but I also look for the physical signs: a thickened sauce, set edges, steady bubbles, crisp surfaces, or a dough that relaxes instead of fighting back. Those clues keep me from overcorrecting.
If something looks off, I make the smallest fix first. A splash of milk, a pinch of salt, a few extra minutes of cooling, or a lower burner usually solves the problem without changing the recipe into something else.
Tips from my kitchen
- I start with less liquid and thin the drink only after blending.
- I taste before pouring because berries, cocoa, and protein powders vary.
- I chill the glasses when I remember; it buys a few extra cold minutes.
- I scrape the blender once so no thick pocket hides near the blades.
Variations I have actually tried
- Use:Use oat milk for a slightly thicker dairy-free version.
- Add:Add a pinch of salt if the drink tastes flat.
- Blend:Blend in a few frozen banana slices for extra body.
- Use:Use cocoa nibs, chocolate shavings, or sliced berries on top.
- Make:Make it less sweet by cutting the added sugar or honey in half.
Storing and reheating
I serve frozen drinks right away because the texture changes as soon as they sit. If I have extra, I freeze it in a shallow container and re-blend with a splash of milk before serving again.
How I like to serve it
I serve Whipped Chocolate Milk with something that gives contrast. Sweet recipes get coffee, cold milk, fruit, or a salty snack on the side. Savory recipes get crisp vegetables, herbs, rice, tortillas, or a creamy dip depending on what is already on the table.
I also keep garnishes realistic. A pretty finish is nice, but I care more about a hot dish staying hot, a cold drink staying cold, and a frosted bake having enough time to set before people reach for it.
Small details that matter
- I measure before starting so I am not hunting for an ingredient mid-step.
- I use the pan, bowl, or blender size the recipe expects because crowding changes texture.
- I taste only when it is safe to do so, especially with raw eggs, poultry, or hot oil involved.
- I write down any swap that worked so the next batch is easier.
I have made enough quick versions of Whipped Chocolate Milk to know that rushing the finish is where most mistakes happen. I give the recipe its short rest, taste once more, and then serve it while the texture is still at its best. That small pause is not fancy; it is just useful. I also keep an eye on serving temperature, because this is where a lot of home versions lose their charm: cold drinks warm up, crisp food steams, sauces thicken, and soft bakes keep setting after they leave the oven. If I need to hold the recipe for a few minutes, I choose the gentlest option available instead of forcing it. A covered bowl, a low oven, a chilled glass, or a wire rack can protect the texture better than another round of cooking or mixing.
I keep my final adjustment small and specific. If the flavor needs help, I reach for salt, acid, or a measured spoonful of sweetness. If the texture needs help, I change temperature or resting time before I change the ingredients.
I keep my final adjustment small and specific. If the flavor needs help, I reach for salt, acid, or a measured spoonful of sweetness. If the texture needs help, I change temperature or resting time before I change the ingredients.
Frequently asked questions
Can I make it ahead?
Yes. I usually make the main component ahead and finish the fresh part close to serving so the texture stays right.
Can I double the recipe?
Yes, but I keep the pan or bowl size in mind. Crowding changes cook time, chilling time, and how evenly everything mixes.
What should I do if it tastes flat?
I add a small pinch of salt or a tiny splash of acid, then taste again. That fixes more batches than extra sugar does.
Why is my drink too thin?
I add more frozen base, ice, or a little thickener, then blend briefly. Starting with less liquid is the easiest prevention.
Can I change the sweetness or heat?
Yes. I adjust in small amounts and taste between additions because sweetness and spice keep building as the recipe rests.
If you make Whipped Chocolate Milk, leave a comment with the tweak that worked in your kitchen — I always like hearing the small practical changes.
Whipped Chocolate Milk
Description
I make Whipped Chocolate Milk with a practical method, clear timing, and notes for the texture cues I watch in my own kitchen. The recipe keeps the original measurements while giving you better help for storage, serving, and small fixes.
Ingredients You’ll Need
Instructions
- I prepare the Hot Chocolate Base:.
- In a saucepan, heat 4 cups of milk over medium heat until it's warm but not boiling.
- I gradually whisk in 1/2 cup of hot chocolate mix, ensuring it's well combined.
- I continue to heat the mixture until it's hot, but again, avoid boiling. Once hot, remove it from the heat.
- I allow the hot chocolate mixture to cool to room temperature, and then refrigerate it until it's cold. This can take a few hours or you can expedite the process by placing it in the freezer for a shorter duration.
- In a mixing bowl, combine 1 cup of cold heavy whipping cream and 4 tablespoons of sugar.
- Using a hand mixer or a stand mixer, whip the cream and sugar mixture until stiff peaks form. This means the whipped cream should hold its shape.
Nutrition Facts
Servings 4
- Amount Per Serving
- Calories 194kcal
- % Daily Value *
- Total Fat 8g13%
- Saturated Fat 5g25%
- Trans Fat 0.2g
- Cholesterol 24mg8%
- Sodium 103mg5%
- Potassium 317mg10%
- Total Carbohydrate 24g8%
- Sugars 25g
- Protein 8g16%
- Calcium 271 mg
- Iron 0.0 mg
* Percent Daily Values are based on a 2,000 calorie diet. Your daily value may be higher or lower depending on your calorie needs.
Note
I start with less liquid and thin the drink only after blending.
I taste before pouring because berries, cocoa, and protein powders vary.
I chill the glasses when I remember; it buys a few extra cold minutes.
I scrape the blender once so no thick pocket hides near the blades.
Frequently Asked Questions
Yes. I usually make the main component ahead and finish the fresh part close to serving so the texture stays right.
Yes, but I keep the pan or bowl size in mind. Crowding changes cook time, chilling time, and how evenly everything mixes.
I add a small pinch of salt or a tiny splash of acid, then taste again. That fixes more batches than extra sugar does.
I add more frozen base, ice, or a little thickener, then blend briefly. Starting with less liquid is the easiest prevention.
Yes. I adjust in small amounts and taste between additions because sweetness and spice keep building as the recipe rests.
You may also like...