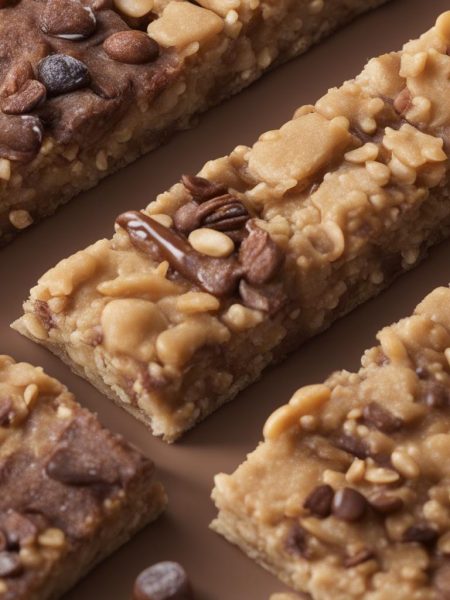
Let’s rewind to spring 2015. I made vanilla almond snack bars, a homemade KIND bar copycat of sorts, to bring on a camping trip. I remember eating almost the entire batch myself. Since then I’ve made a parade of flavors including chocolate cherry, pumpkin spice cranberry, and berry cashew. Each variety is wholesome and simple, packed with ingredients you can see, sweet from honey (or brown rice syrup) and dried fruit, and won’t leave you with a mega sugar crash. Grain-free, gluten-free, zero refined sugar, packed with nature’s finest like nuts, seeds, and dried fruit. We can go through a batch in 2 days and I feel so much better snacking on these homemade bars than $3 store-bought energy bars.
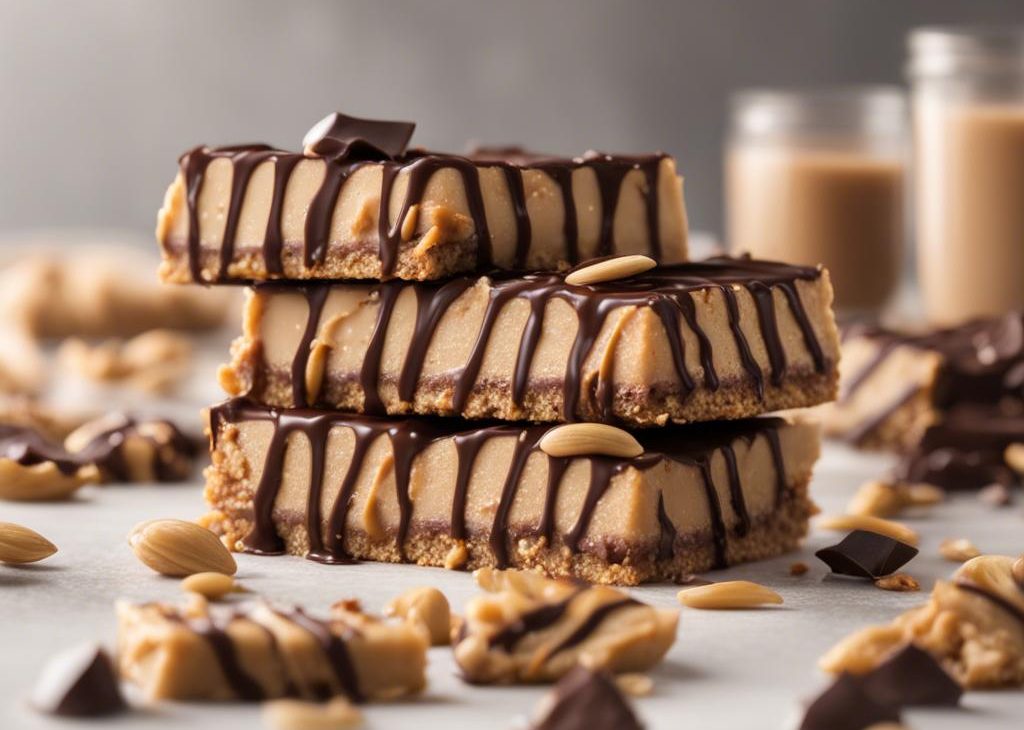
For today’s variation, I changed a couple odds and ends. I added a little more vanilla extract, some extra peanuts, and a chocolate drizzle. I mean there always has to be a chocolate drizzle when peanut butter is involved. Right? Plus, then the bars can double as a gluten free dessert recipe.
You only need 8 ingredients. And they aren’t anything out of the ordinary; I’d say the most unique ingredient would be the almond meal. Almond meal is the “flour” to help bind all of the ingredients together. It’s simply ground up almonds before reaching the stage of almond butter. I make almond meal (also known as almond flour, if using blanched almonds and grinding a little more fine) by pulsing whole almonds until they reach a gritty and rough flour-like consistency.
Sticky honey and 5 finely chopped dates also help bind, while giving the bars flavor and sweetness. A generous Tablespoon of peanut butter does the same: flavor and binding, while peanuts make up the bulk of the bar. I use salted peanuts because I love a salty sweet treat more than anything. You can use unsalted if you prefer and add salt to your taste. About those peanuts: give them a few chops.. Do you have one? I love my trusty Ninja (which doubles as a blender!). I use the food processor to roughly chop up the dates too. A food processor comes in VERY handy for snack bar making!
Like my other flavors, the prep couldn’t be easier. Mix everything together in 1 bowl then press tightly into a baking pan. They only take about 20-22 minutes at a low temperature; you only want to bake them until they’re properly set and very lightly browned on the edges. In the past year making batch after batch, I’ve learned that a little extra time in the oven is OK and actually helps the bars stay intact when cutting and eating. But, generally, 20ish minutes is the sweet spot.
If you’re looking for similar flavors in a no-bake healthy bar, try my peanut butter trail mix bars and quinoa snack bars. We LOVE those.

Chocolate Peanut Butter Snack Bars Recipe
Description
Easy 8 ingredient chocolate drizzled peanut butter snack bars. No refined sugar, gluten free, grain-free, and tastes like dessert!
Ingredients You’ll Need
Instructions
- Preheat oven to 300°F (149°C). Line an 8-inch or 9-inch square baking pan with parchment paper with enough overhang on the sides to easily remove the bars from the pan. Set aside.
- In a medium bowl, mix the honey, almond meal, peanut butter, and vanilla together until combined. Fold in the peanuts, dates, and chocolate chips until combined.
- Transfer mixture to prepared baking pan and press very firmly into an even layer. You really want it packed in tight—as tight as possible. Bake for 20-22 minutes, or until lightly browned on the edges. Remove from the oven and allow to cool completely in the pan set on a wire rack for 1 hour, then transfer to the refrigerator to chill for 1 more hour. This firms up the bars which helps them stay compact. Remove bars from the pan using the overhang on the sides and cut into bars. You can drizzle with chocolate before or after cutting.
- Individually wrap each bar in plastic wrap or parchment. Store at room temperature for 1 week or in the refrigerator for up to 2 weeks. I find they get a little sticky at room temperature over a few days, so I prefer the refrigerator.

