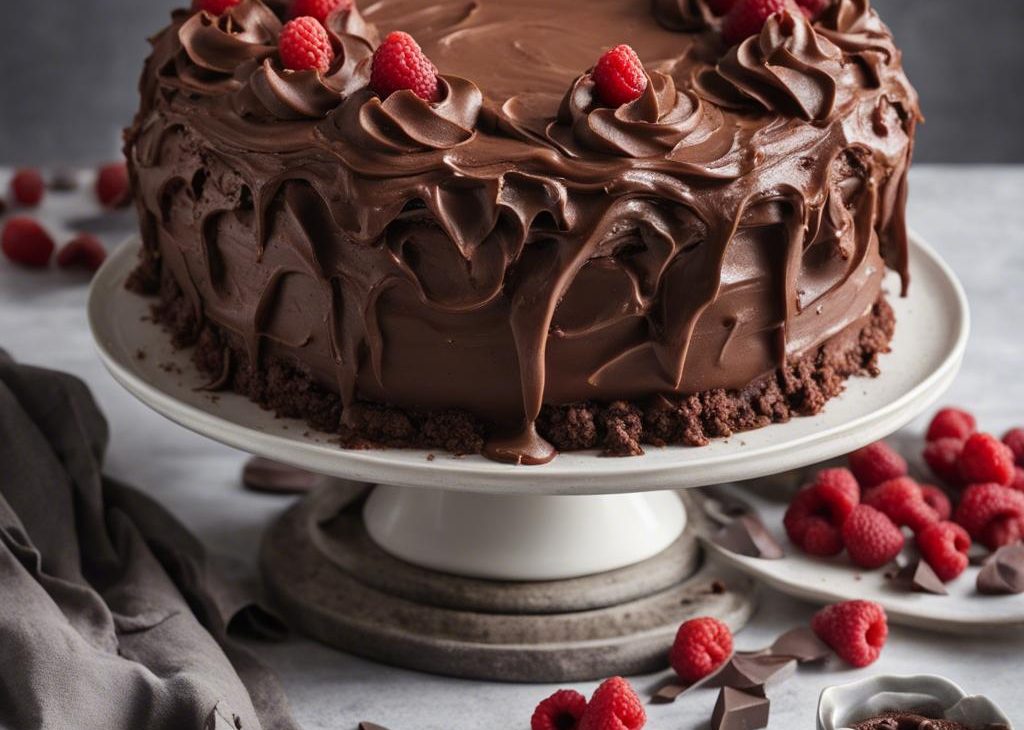

There’s so much to love about this ultra-rich chocolate raspberry cake. Layers of moist dark chocolate sponge, silky chocolate buttercream, and homemade raspberry cake filling are enrobed in a luxurious chocolate raspberry ganache. This is an indulgent dessert for anyone who loves the flavor combination of raspberries paired with deep, dark chocolate.
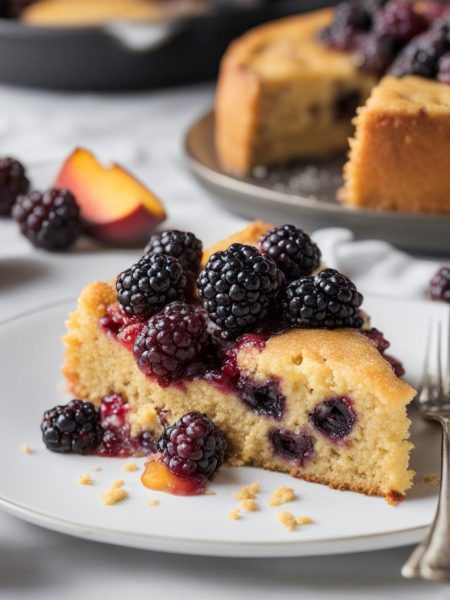
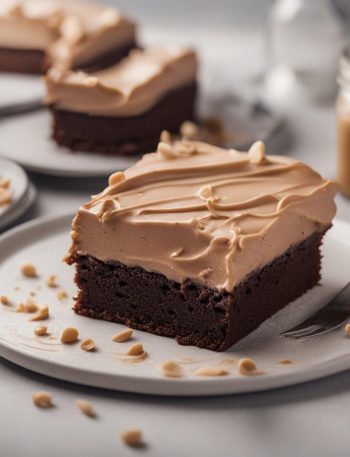
Consider this the fruity sequel to chocolate peanut butter cake. 🙂
Here’s What You’ll Love About This Chocolate Raspberry Cake
- Cake crumb is fudge-like and moist, yet a little light and spongey, with extra texture from the mini chocolate chips
- Beautiful balance of rich flavors between the tart, juicy raspberry filling, sweet chocolate buttercream, and dark chocolate ganache
- Homemade raspberry filling uses frozen raspberries (very convenient!) and takes just 15 minutes to make (plus cooling)
- Enjoy extra-luxe raspberry flavor in the chocolate ganache topping by replacing some of the cream with raspberry liqueur (optional)
Just look at this dessert beauty:
4 Parts to This Chocolate Raspberry Cake
Make the Raspberry Filling First
The filling takes about 15 minutes to prep, then needs to cool, chill, and thicken completely. I recommend making it in advance and storing it in the refrigerator until you’re ready to assemble the chocolate raspberry cake. I have a complete separate page dedicated to this wonderful raspberry cake filling if you want more ideas for its uses.
Make this first, so it has plenty of time to chill and thicken:
A Very Chocolate-y Chocolate Cake
Chocolate chips take the chocolate flavor to the next level, and, as I mentioned above, they also supply phenomenal texture. I use mini semi-sweet chocolate chips, but regular size are fine too. Toss them in a little flour before folding into the batter, to help keep them from sinking to the bottom of the cake.
Favorite Chocolate Buttercream Frosting
Chocolate Raspberry Ganache Topping
Let it slightly cool in the refrigerator for about 30 minutes to thicken up before spreading on the cake (which also needs some chill time after you apply the frosting crumb coat).
How to Assemble & Decorate This Chocolate Raspberry Cake
Admittedly, I’m not a professional cake decorator, so with all of my layer cakes, I prefer simplicity.Let me share how I stack and decorate this 3-layer chocolate raspberry cake..
Then, pipe a thick border of frosting around the edge of the cake to create a “dam” for the raspberry filling. Spread half of the raspberry filling (heaping 1/2 cup) on top of the frosted cake layer, staying within the buttercream border:
Repeat the same exact process with the second cake layer.
Place the third cake layer on top, and then spread a thin layer (whatever you have left) of the chocolate buttercream on top and around the sides as a crumb coat. Run a bench scraper around the cake to smooth it out:
Refrigerate the cake for at least 30 minutes and up to 3 hours to set the crumb coat. During this time, I usually make and chill the ganache.
Pour cooled chocolate ganache on top and spread all over the cake. Look how much this ganache thickens! It’s liquid at first, and 30 minutes in the refrigerator works magic. I use a large icing spatula to spread it all over the cake.
Are you new to layer cakes? Don’t miss these complete lists of cake success tips and cake decorating tools.
Recommended Tools
- Stand Mixer or Handheld Mixer
- 3 9-inch Cake Pans (8-inch also work, but I recommend 9-inch for this cake)
- Parchment Paper Rounds
- Large Icing Spatula (for frosting and ganache) and Small Offset Spatula (for raspberry filling)
- Cake Turntable (optional, I don’t use one for this)
- Bench Scraper for crumb coat
- Piping Bag (disposable or reusable) & Wilton 2A for buttercream dam
- Cake Carrier for storing and transporting
Chocolate Raspberry Cake Recipe
Description
Enjoy layers of moist dark chocolate cake, sweet creamy chocolate buttercream, and homemade raspberry filling, all covered with a luxurious chocolate raspberry ganache.
Ingredients You’ll Need
Instructions
- Whisk the cornstarch and water together until all the cornstarch has dissolved. (I just use a fork to mix—very easy.) Combine cornstarch mixture, raspberries (no need to thaw if using frozen), granulated sugar, and lemon juice in a medium saucepan set over medium heat. Using a silicone spatula, stir the mixture, mashing the raspberries as they begin to thaw and soften. Bring to a boil and let it boil for 5 full minutes, stirring occasionally. Remove pan from heat and stir in vanilla extract.
- Allow the raspberry filling to cool at room temperature for 10–15 minutes, then transfer it to a bowl or container and place it in the refrigerator for at least 4 hours and up to 1 week (the longer, the better). No need to cover it, but if refrigerating for longer than 4 hours, cover tightly. It will continue to thicken up as it chills. Raspberry filling must be completely chilled before using in your cake. If freezing, see Note below for instructions.
- Preheat oven to 350°F (177°C). Grease three 9-inch cake pans, line with parchment paper rounds, then grease the parchment paper. Parchment paper helps the cakes seamlessly release from the pans..)
- Whisk the flour, cocoa powder, sugar, baking soda, baking powder, salt, and espresso powder (if using) together in a large bowl. Set aside. Using a handheld or stand mixer fitted with a whisk attachment (or you can use a whisk), mix the oil, eggs, and sour cream together on medium-high speed until combined. Add the buttermilk and vanilla and beat until combined. Pour the wet ingredients into the dry ingredients, add the hot water/coffee, and whisk or beat on low speed until the batter is completely combined. Fold in the flour-coated chocolate chips. Batter is thin and you may see some air bubbles on the surface—that’s normal. You should have about 6–6.5 cups of batter, or around 1400g.
- Divide batter evenly between 3 pans. Bake for approximately 24–26 minutes. Baking times vary, so keep an eye on yours. The cakes are done when a toothpick inserted in the center comes out clean.
- Remove the cakes from the oven and set on a wire rack. Allow to cool completely in the pan. The cakes may slightly sink in the middle as they cool—that’s expected.
- With a handheld or stand mixer fitted with a paddle or whisk attachment, beat the butter on medium speed until creamy, about 2 minutes. Add confectioners’ sugar, cocoa powder, heavy cream, salt, and vanilla extract. Beat on low speed for 30 seconds, then increase to high speed and beat for 1 full minute. Taste. Beat in another pinch of salt if desired. (Do you want your buttercream darker in color? I have a trick detailed on the full chocolate buttercream page.) You’re going to use this buttercream for a thin layer under the raspberry filling, a piped “dam” around 2 of the cake layers, and for the crumb coat. Makes about 2.5 cups total.
- Place 1 cooled cake layer on your cake stand or serving plate. Using a large icing spatula or small offset spatula, evenly cover the top with about 1/4 cup of chocolate buttercream frosting (a thin layer). Spoon about 1/2 cup of the chocolate buttercream into a piping bag fitted with a large round piping tip. I use Wilton 2A. (Or just use a disposable piping bag and cut about 3/4 inch off the tip and use that without a piping tip.) Pipe a thick border of buttercream around the edge of the frosted cake layer, using about half of the buttercream in the piping bag. Then, using a small offset spatula, spread half of the thickened and chilled raspberry filling (about 1/2 cup) inside the buttercream border. Place second cake layer on top and then repeat the filling process: spread frosting, pipe border with remaining frosting in piping bag (if you ran out, just use more from the big bowl of buttercream), then spread on remaining raspberry filling. Top with third cake layer.
- Using the remaining chocolate buttercream, spread a thin layer of buttercream on the top and around the sides as a crumb coat. Run a bench scraper around the cake to smooth out crumb coat. Chill uncovered in the refrigerator for at least 30 minutes and up to 3 hours to set the crumb coat.
- Place finely chopped chocolate in a medium heat-proof bowl. Heat the cream and raspberry liqueur, if using, in a small saucepan over medium heat until it begins to gently simmer. (Do not let it come to a rapid boil—that’s too hot!) Pour over chocolate, then let it sit for 2–3 minutes to gently soften the chocolate. With a metal spoon or small rubber spatula, very slowly stir until chocolate has melted and mixture is smooth. Ganache is thin. The finer you chopped the chocolate, the quicker it will melt with the cream. If it’s not melting, do not microwave it. If needed, see Troubleshooting Chocolate Ganache. Once ganache mixture is smooth, let it chill for 30 minutes in the refrigerator to thicken before spreading on chilled crumb-coated cake.
- Pour/spoon thickened ganache on chilled cake, and spread all over cake with an icing spatula. Garnish with fresh raspberries, if desired. Serve cake immediately or chill, uncovered, for up to 4–6 hours before serving. Cake can be served at room temperature or chilled.
- Cover leftover cake tightly and store in the refrigerator for 5 days. I like using a cake carrier for storing and transporting.
You may also like...