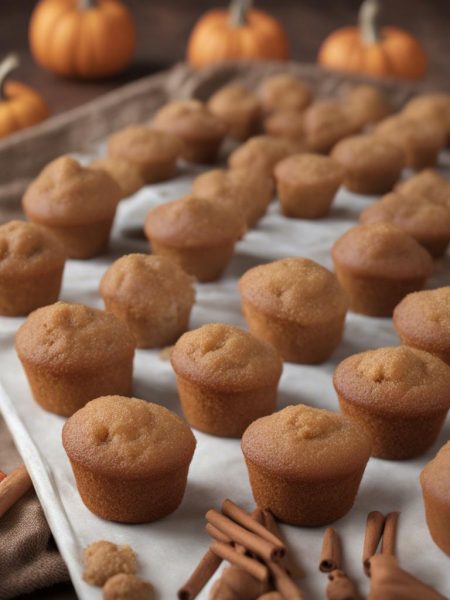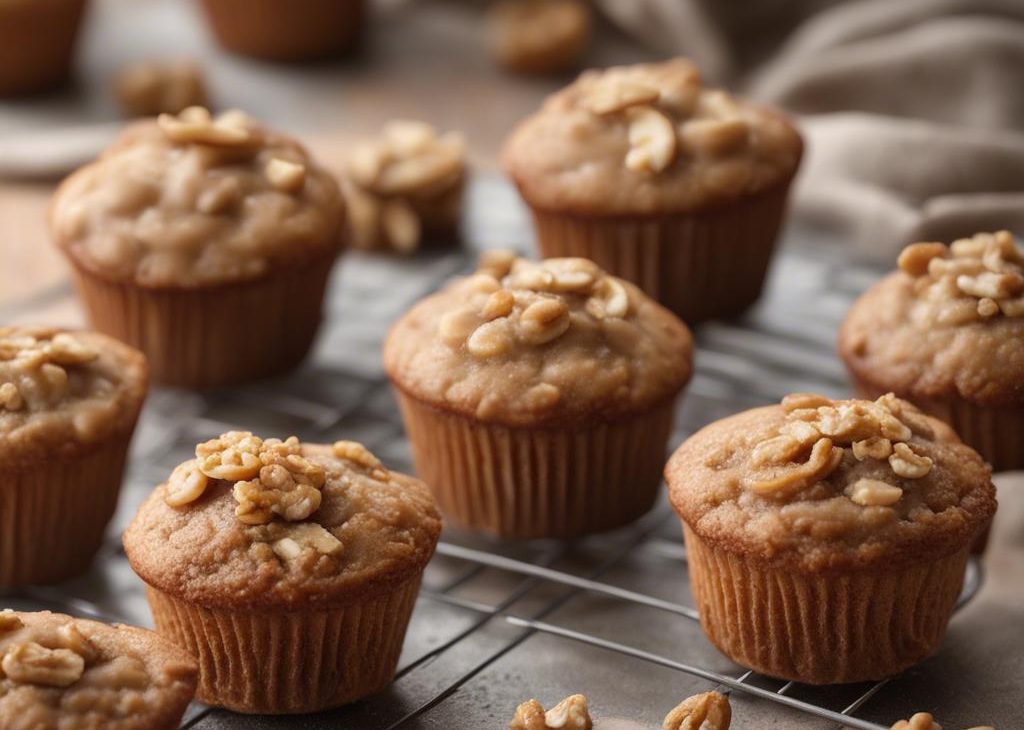

I make Healthy whole wheat banana walnut muffins when I want something homemade that still fits into a normal day. It has enough flavor to feel worth the bowl and whisk, but it does not ask me to clear the whole afternoon. That is the kind of recipe I actually repeat.
My best batches have come from paying attention to small cues: how the batter looks, how the mixture smells, and whether the edges are setting before the center. The timing is simple on my counter: 15 minutes of prep, 22 minutes of cooking.
I have learned not to rush the cooling step either. A warm bite is tempting, but a few minutes of patience usually gives me a cleaner texture and a better first taste.
Why I keep coming back to this
- It uses familiar ingredients, starting with 2 cups whole wheat flour (260g), so I do not feel like I am shopping for one tiny specialty item.
- The method is mainly bake, which keeps the recipe realistic on a busy day.
- The flavors are easy to adjust after tasting, which is how I cook most of the time.
- It gives me a clear stopping point, so I am not guessing whether the mixture is ready.
- The leftovers or make-ahead pieces are practical instead of fussy.
- It tastes homemade in a way that comes from measuring carefully, not from doing anything complicated.
What I use and why it matters
- 2 cups whole wheat flour (260g). I use this because it adds structure so the finished bite is not loose or thin.
- 1/2 cup old-fashioned rolled oats (43g).
- 1 teaspoon ground cinnamon. I use this because it adds the warm background flavor I notice first.
- 1 teaspoon baking soda. I use this because it adds lift; I measure this carefully because too much tastes harsh.
- 1 teaspoon baking powder. I use this because it adds lift; I measure this carefully because too much tastes harsh.
- 1/2 teaspoon salt. I use this because it makes the sweet and savory notes taste clearer.
- 1 and 1/3 cups mashed ripe bananas (306g). I use this because it brings the main fruit flavor and a little natural sweetness.
- 2 large eggs. I use this because it binds the mixture and helps the texture set.
- 1/3 cup melted coconut oil (70g). I use this because it adds moisture and keeps the finished texture from tasting dry.
- 1/3 cup pure maple syrup (80ml). I use this because it rounds off the sharper flavors without taking over.
- 1/3 cup milk (80ml). I use this because it gives the drink or batter a softer body instead of a watery finish.
- 1 teaspoon pure vanilla extract. I use this because it softens the edges and makes the whole recipe smell more baked and rounded.
- 1 cup chopped nuts (any kind—I use 120g walnuts). I use this because it adds crunch so the soft parts do not feel one-note.
- 3 optional: Tablespoons oats and/or coconut sugar for sprinkling.
The small checkpoint I trust most is smell. When the kitchen starts to smell toasted, warm, and a little sweet, I start paying closer attention instead of blindly following the last few minutes on the timer.
How I make it
Step 1 — Preheat the oven
I preheat oven to 425°F (218°C). Spray a 12-count muffin pan with nonstick spray or use cupcake liners.
I use this first step to slow myself down and check the measurements. Most mistakes I make in simple recipes happen before the mixing even starts.
Step 2 — Whisk the dry ingredients
I whisk the flour, oats, cinnamon, baking soda, baking powder, and salt together in a large bowl until combined. Set aside. In a medium bowl or in the bowl of the stand mixer, mash the bananas. Then whisk in the eggs, oil, maple syrup, milk, and vanilla together until combined. Pour the wet ingredients into the dry ingredients, stir a few times, then add the nuts. Fold everything together gently just until combined and no flour pockets remain.
Step 3 — Bake
I spoon the batter into liners, filling them all the way to the top. Top with oats and a light sprinkle of coconut sugar, if desired. Bake for 5 minutes at 425 then, keeping the muffins in the oven, reduce the oven temperature to 350°F (177°C). Bake for an additional 15-16 minutes or until a toothpick inserted in the center comes out clean. The total time these muffins take in the oven is about 20-21 minutes, give or take. (For mini muffins, bake 11-13 minutes at 350°F (177°C) the whole time.) Allow the muffins to cool for 5 minutes in the muffin pan, then transfer to a wire cooling rack to continue cooling.
Step 4 — Transfer
Muffins stay fresh covered at room temperature for a few days, then transfer to the fridge for up to 1 week.
At the end, I look for the cue in the directions rather than only watching the clock. Texture, color, and temperature tell me more than a timer by itself.
Tips from my kitchen
- I measure the strongest flavoring first, then adjust the plain liquid around it instead of trying to fix an overmixed batch later.
- I stop mixing as soon as the texture looks even; overworking makes baked recipes tough and drinks foamy in a flat way.
- I taste before serving whenever the recipe is cold, because chill can mute sweetness and spice.
- I keep a small spatula nearby so the thick bits at the bottom of the bowl or blender do not get left behind.
- I write the date on leftovers when I know I will tuck them behind other containers in the refrigerator.
Variations I have actually tried
- I let the bananas get heavily speckled before baking, because pale bananas make the batch taste quiet.
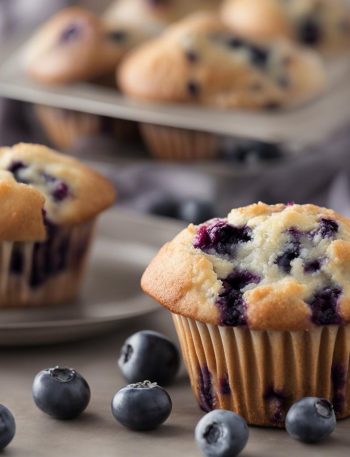
- I swap the nut or topping for what I have open, while keeping the same measured amount.
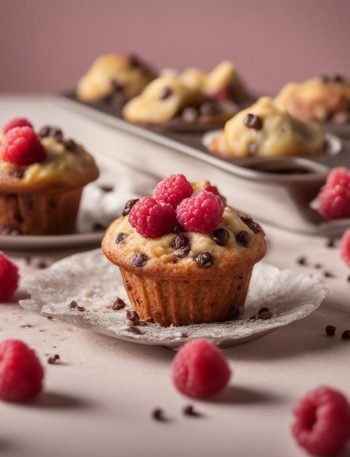
- I add a few mini chocolate chips when the batch is for dessert instead of breakfast.
- I use a splash of vanilla when the flavor needs a softer bakery smell.
- I make smaller portions when I want lunchbox pieces, watching the cook time closely.
Storing, serving, and making it fit the day
I cool baked pieces completely before covering them, because trapped steam softens the edges. Most batches keep well at room temperature for a couple of days or in the refrigerator for about a week. When I want the texture back, I warm a serving briefly and let it sit for a minute before eating.
For serving, I keep the rest of the meal or snack simple. If the recipe is sweet, I pair it with coffee, tea, yogurt, or fruit. If it is savory, I add something crisp or green so the plate has balance.
Frequently asked questions
Can I make these ahead?
Yes. I let them cool completely, then store them covered so the texture stays steady instead of steamy.
Can I change the sweetness?
I make small changes only. Too much extra liquid sweetener can change the structure, so I adjust cautiously.
Why did mine turn out dry?
Dryness usually comes from overmixing, overbaking, or measuring dry ingredients too heavily. I stop as soon as the center is set.
Can I freeze leftovers?
Most baked pieces freeze well when wrapped tightly. I thaw at room temperature and warm briefly if the texture needs help.
Do I need special equipment?
No. A bowl, spoon or whisk, and the pan or blender named in the directions are enough for how I make it.
If I were making Healthy whole wheat banana walnut muffins in your kitchen, I would tell you to measure once, taste when it makes sense, and trust the cues more than the clock.
Healthy whole wheat banana walnut muffins
Description
I make Healthy whole wheat banana walnut muffins when I want a homemade sweet that still fits a normal day. The method is straightforward, the texture is dependable, and the flavor is easy to adjust.
Ingredients You’ll Need
Instructions
- I preheat oven to 425°F (218°C). Spray a 12-count muffin pan with nonstick spray or use cupcake liners.
- I whisk the flour, oats, cinnamon, baking soda, baking powder, and salt together in a large bowl until combined. Set aside. In a medium bowl or in the bowl of the stand mixer, mash the bananas. Then whisk in the eggs, oil, maple syrup, milk, and vanilla together until combined. Pour the wet ingredients into the dry ingredients, stir a few times, then add the nuts. Fold everything together gently just until combined and no flour pockets remain.
- I spoon the batter into liners, filling them all the way to the top. Top with oats and a light sprinkle of coconut sugar, if desired. Bake for 5 minutes at 425 then, keeping the muffins in the oven, reduce the oven temperature to 350°F (177°C). Bake for an additional 15-16 minutes or until a toothpick inserted in the center comes out clean. The total time these muffins take in the oven is about 20-21 minutes, give or take. (For mini muffins, bake 11-13 minutes at 350°F (177°C) the whole time.) Allow the muffins to cool for 5 minutes in the muffin pan, then transfer to a wire cooling rack to continue cooling.
- Muffins stay fresh covered at room temperature for a few days, then transfer to the fridge for up to 1 week.
Nutrition Facts
Servings 12
- Amount Per Serving
- Calories 181kcal
- % Daily Value *
- Total Fat 8g13%
- Saturated Fat 6g30%
- Trans Fat 0.0g
- Cholesterol 41mg14%
- Sodium 256mg11%
- Potassium 131mg4%
- Total Carbohydrate 24g8%
- Dietary Fiber 3g12%
- Sugars 6g
- Protein 5g10%
- Calcium 60 mg
- Iron 1.2 mg
* Percent Daily Values are based on a 2,000 calorie diet. Your daily value may be higher or lower depending on your calorie needs.
Note
Measure first. I measure the strongest flavoring first, then adjust the plain liquid around it instead of trying to fix an overmixed batch later.
Watch the texture. I stop mixing as soon as the texture looks even; overworking makes baked recipes tough and drinks foamy in a flat way.
Taste at the end. I taste before serving whenever the recipe is cold, because chill can mute sweetness and spice.
Store with care. I keep a small spatula nearby so the thick bits at the bottom of the bowl or blender do not get left behind.
Frequently Asked Questions
Yes. I let them cool completely, then store them covered so the texture stays steady instead of steamy.
I make small changes only. Too much extra liquid sweetener can change the structure, so I adjust cautiously.
Dryness usually comes from overmixing, overbaking, or measuring dry ingredients too heavily. I stop as soon as the center is set.
Most baked pieces freeze well when wrapped tightly. I thaw at room temperature and warm briefly if the texture needs help.
No. A bowl, spoon or whisk, and the pan or blender named in the directions are enough for how I make it.
You may also like...