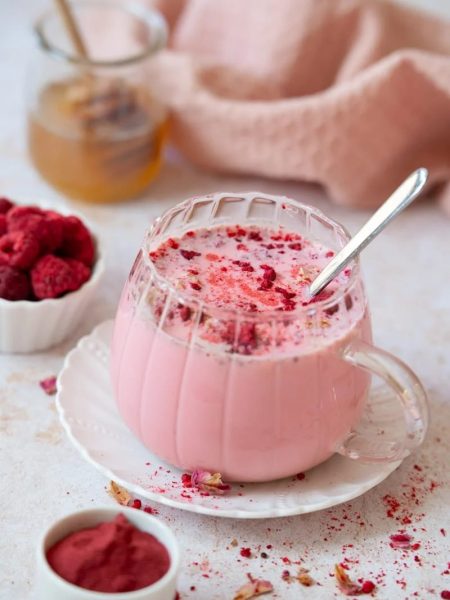

This james hoffmann aeropress is the one I make when I want something cold, quick, and honest about its ingredients. I have learned that drinks like this go sideways when I rush the order in the blender, so I measure everything first and keep the ice nearby instead of dumping it in blindly.
I like the way this version balances creamy body with a clean finish. It is not fussy, but it does need a short taste-and-adjust moment. A splash more liquid can loosen it, a few extra ice cubes can thicken it, and a pinch of salt can wake up chocolate, fruit, or coffee flavors.
The small details matter more than the technique here. I use a strong blender when I can, scrape the sides once, and serve it before the texture starts to melt. That is the difference between a drink that feels flat and one I would happily make again tomorrow.
Why I keep coming back to this
- I can prep most of the james hoffmann aeropress before the busy part of cooking starts.
- The ingredient list is short enough that I can see what each item is doing.
- It gives me room to taste and adjust without changing the basic recipe.
- It is fast enough for a snack but still feels more considered than pouring something from a carton.
- The method is forgiving as long as I do not rush the mixing or resting step.
- It feels homemade without asking for restaurant equipment or hard-to-find tools.
What I use and why
- 400 g water (just off the boil).
- 22 g ground coffee (fine to medium-fine).This is the main structure of the recipe, so freshness and handling matter here.
How I make it
Step 1 — I begin by making sure
I begin by making sure your Aeropress is clean and ready for use. This includes checking that all components are properly attached and there are no leftover coffee grounds from previous use.
Step 2 — I fill the kettle with
I fill the kettle with fresh, cold water and bring it to a boiling point. While waiting for the water to boil, measure out the required amount and set aside.
Step 3 — I next prepare your coffee
I next, prepare your coffee beans by grinding them to a fine to medium-fine consistency. If you don’t have a scale, remember that roughly two tablespoons of ground coffee are needed for every cup of water.
Step 4 — I assemble the Aeropress by
I assemble the Aeropress by placing a paper filter in the cap and rinsing it with hot water. This not only ensures the filter is clean but also preheats the brewer for optimal brewing.
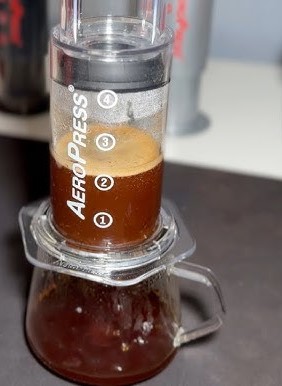
Step 5 — I place the Aeropress on
I place the Aeropress on top of a sturdy mug, with the plunger pulled out halfway. Add the ground coffee to the chamber and give it a gentle shake to level it out. Slowly pour the hot water over the coffee grounds, making sure to wet all of them. Continue pouring until you reach the 400 g mark.
Step 6 — I use a long spoon
I use a long spoon, gently stir the mixture of coffee and water for about 10 seconds to ensure even saturation. Then, insert the plunger into the Aeropress chamber and let it steep for approximately one minute.
Step 7 — I after one minute slowly
I after one minute, slowly press down on the plunger until you hear a hissing sound, indicating that all of the coffee has been extracted from the grounds. Carefully remove the Aeropress from your mug and I do not rush this part; the recipe is easier when I let the visual cues guide me along with the time.
Tips from my kitchen
- Set everything out first.I make fewer mistakes when the measured ingredients are lined up before I start.
- Taste at the point where tasting makes sense.For raw meat or batter I check seasoning by smell and balance; for sauces, salads, and drinks I taste directly.
- Blend in stages.I start with the liquid near the blades, then add frozen or thick ingredients so the motor does not fight me.
- Give it a short rest when possible.Five to thirty minutes can help juices settle, crumbs firm, or flavors blend.
- Write down the tiny change.If I add extra pepper or use a different pan, I note it so the next batch is easier.
Variations I have actually tried
- Extra cold:I freeze the fruit or chill the glasses before blending.
- Less sweet:I add more ice or unsweetened liquid instead of changing the main flavor.
- Thicker:I use a little less liquid and let the blender run just long enough to smooth it out.
- Brighter:A small squeeze of lemon or lime can make fruit flavors taste cleaner.
- Protein boost:I add the powder already in the ingredient list, or keep the serving smaller and pair it with food.
Making it ahead and storing
I do not store blended drinks for long because the texture separates. If I need to work ahead, I measure the dry or thick ingredients into the blender jar, keep the cold items chilled, and blend right before serving.
If there is a leftover glass, I cover it and refrigerate it for a few hours, then stir or re-blend with ice. It will not be quite the same, but it is still useful when I do not want to waste it.
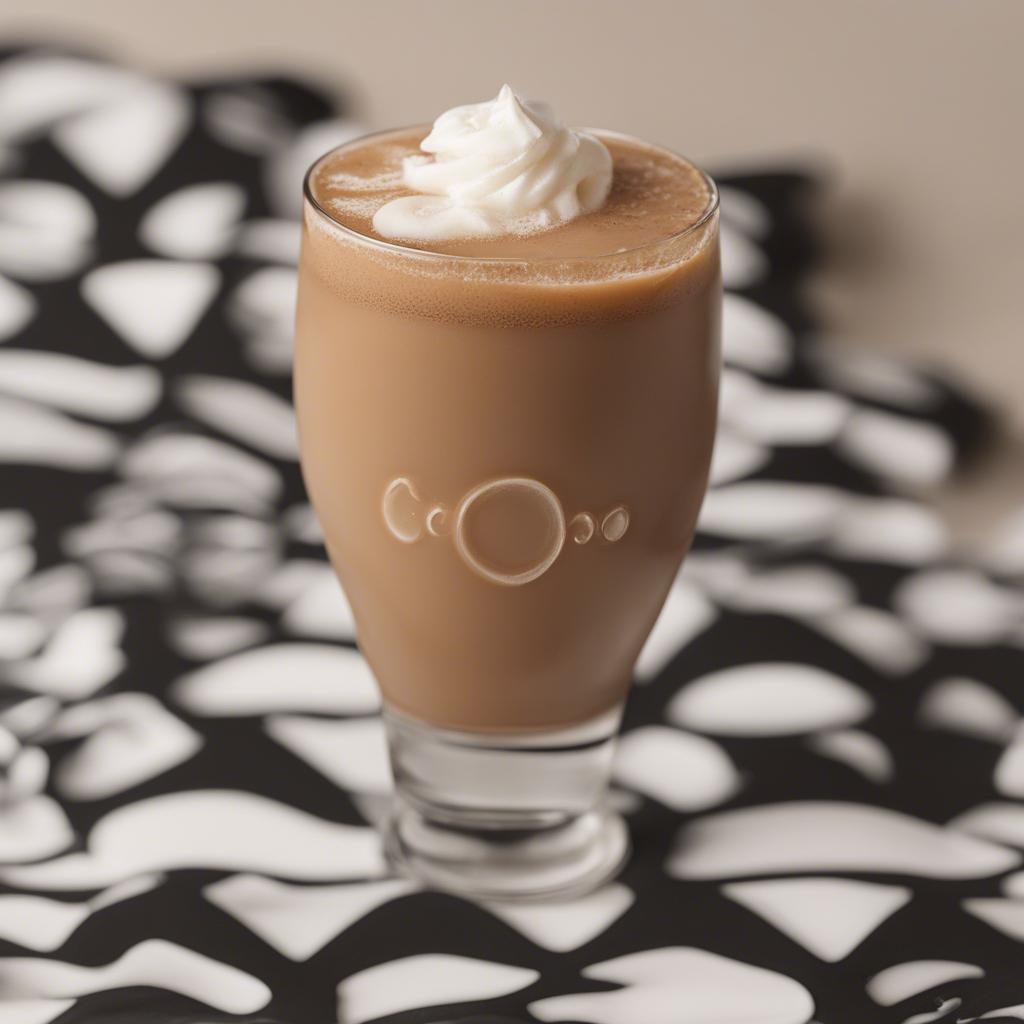
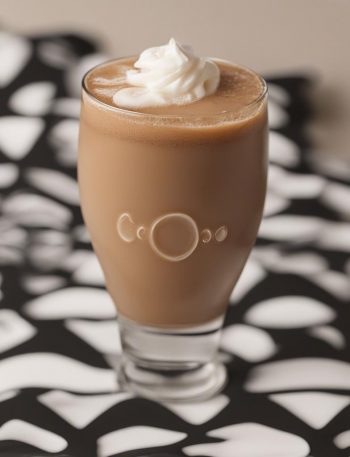
How I like to serve it
I serve james hoffmann aeropress in a chilled glass and keep the garnish simple. If it is sweet, I like a salty snack beside it; if it is coffee-based, I keep the cup small and drink it while the aroma is still strong.
Frequently asked questions
Can I blend james hoffmann aeropress ahead?
I prefer to measure ahead and blend right before serving. The texture is freshest that way, especially when ice, sherbet, or frozen fruit is involved.
How do I know when it is seasoned enough?
I taste after the main mixing or cooking step, then adjust in small amounts. Salt, acid, and sweetness show up differently after resting, so I do not make one big adjustment all at once.
Can I double the recipe?
Usually yes. I double the ingredients evenly, use a larger bowl or pan, and give myself extra mixing room. Baked recipes may need a few more minutes if the pan is crowded.
Why did my drink turn thin?
It probably sat too long or had too much liquid. I thicken it with ice, frozen fruit, or a small extra spoonful of the creamy ingredient.
How long do leftovers keep?
I keep leftovers covered in the refrigerator and use my eyes and nose before reheating or serving. Most cooked dishes are best within 3-4 days; creamy cold mixtures are best within 2-3 days.
If you make this james hoffmann aeropress, I would love to hear what tiny adjustment made it work best in your kitchen.
James Hoffmann Aeropress
Description
I rewrote this james hoffmann aeropress with clear steps, practical timing notes, and the small kitchen cues I rely on when I make it. The goal is a recipe that feels usable at the counter, not just readable on a screen.
Ingredients You’ll Need
Instructions
- I begin by making sure your Aeropress is clean and ready for use. This includes checking that all components are properly attached and there are no leftover coffee grounds from previous use.
- I fill the kettle with fresh, cold water and bring it to a boiling point. While waiting for the water to boil, measure out the required amount and set aside.
- I next, prepare your coffee beans by grinding them to a fine to medium-fine consistency. If you don't have a scale, remember that roughly two tablespoons of ground coffee are needed for every cup of water.
- I assemble the Aeropress by placing a paper filter in the cap and rinsing it with hot water. This not only ensures the filter is clean but also preheats the brewer for optimal brewing.
- I place the Aeropress on top of a sturdy mug, with the plunger pulled out halfway. Add the ground coffee to the chamber and give it a gentle shake to level it out. Slowly pour the hot water over the coffee grounds, making sure to wet all of them. Continue pouring until you reach the 400 g mark.
- I use a long spoon, gently stir the mixture of coffee and water for about 10 seconds to ensure even saturation. Then, insert the plunger into the Aeropress chamber and let it steep for approximately one minute.
- I after one minute, slowly press down on the plunger until you hear a hissing sound, indicating that all of the coffee has been extracted from the grounds. Carefully remove the Aeropress from your mug and.
Nutrition Facts
Servings 2
- Iron 0.0 mg
* Percent Daily Values are based on a 2,000 calorie diet. Your daily value may be higher or lower depending on your calorie needs.
Note
Set everything out first. I make fewer mistakes when the measured ingredients are lined up before I start.
Taste at the point where tasting makes sense. For raw meat or batter I check seasoning by smell and balance; for sauces, salads, and drinks I taste directly.
Blend in stages. I start with the liquid near the blades, then add frozen or thick ingredients so the motor does not fight me.
Give it a short rest when possible. Five to thirty minutes can help juices settle, crumbs firm, or flavors blend.
Frequently Asked Questions
I prefer to measure ahead and blend right before serving. The texture is freshest that way, especially when ice, sherbet, or frozen fruit is involved.
I taste after the main mixing or cooking step, then adjust in small amounts. Salt, acid, and sweetness show up differently after resting, so I do not make one big adjustment all at once.
Usually yes. I double the ingredients evenly, use a larger bowl or pan, and give myself extra mixing room. Baked recipes may need a few more minutes if the pan is crowded.
It probably sat too long or had too much liquid. I thicken it with ice, frozen fruit, or a small extra spoonful of the creamy ingredient.
I keep leftovers covered in the refrigerator and use my eyes and nose before reheating or serving. Most cooked dishes are best within 3-4 days; creamy cold mixtures are best within 2-3 days.
You may also like...