I keep Kaufmann Thumbprint Cookie in my notes because it solves a very specific craving: familiar food that still tastes like I cooked it myself. The recipe is simple on paper, but the little choices matter — how firmly I mix, when I stop cooking, and whether I give it a minute to settle before serving.
The first time I made it, I treated the timing too casually and learned quickly that cookies reward attention. Now I set out every ingredient before I begin, keep the heat steady, and taste or check texture at the same points every time. That routine makes the recipe feel relaxed instead of rushed.
I cook it in a practical home-kitchen rhythm, with the small warnings I wish every recipe card included.
Why I keep coming back to this
- It gives me the comfort of cookies without a fussy list of steps.
- Most of the work is measuring, mixing, and paying attention to texture.
- The ingredients are easy to prep before heat is involved, which keeps the kitchen calmer.
- It scales well for family meals, snacks, or leftovers when I do not want to cook twice.
- The flavors are familiar enough for picky eaters but still worth serving to guests.
- I can tell when it is ready by sight and smell, not only by the timer.
What I use and why it matters
- 1/2 cup salted butter, at room temperature.
- 1 teaspoon vanilla extract.
- 1/5 cup packed light brown sugar.
- 1/5 cups all-purpose flour.
- 1 large egg. This brings moisture and body; room temperature helps it blend more smoothly.
- 1/4 teaspoon baking powder.
- 2 cups semi sweet chocolate chips.
- 1/2 teaspoon baking soda.
- 1/2 cup granulated white sugar.
- 1/5 teaspoon fine sea salt.
How I make it
Step 1 — Prepare the pan
I preheat the oven to 350 degrees F and line a baking sheet with parchment paper.
Step 2 — Combine the base
In a large bowl, I cream together the softened butter and both sugars using an electric mixer until light and fluffy, about 2 minutes.
Step 3 — Add the remaining ingredients
I add in the eggs one at a time, mixing well after each addition. Then add in the vanilla extract and mix until incorporated.
Step 4 — Whisk the dry ingredients
In a separate bowl, I sift together the flour, baking powder, baking soda, and salt. Slowly add this dry mixture to the wet ingredients in the large bowl and mix on low speed until just combined.
Step 5 — Scoop out about tablespoon of cookie
I scoop out about 1 tablespoon of cookie dough into your hands, roll it into a ball, and then flatten it slightly. Place the cookie dough onto your prepared baking sheet about 2 inches apart.
Step 6 — Take your thumb or the back
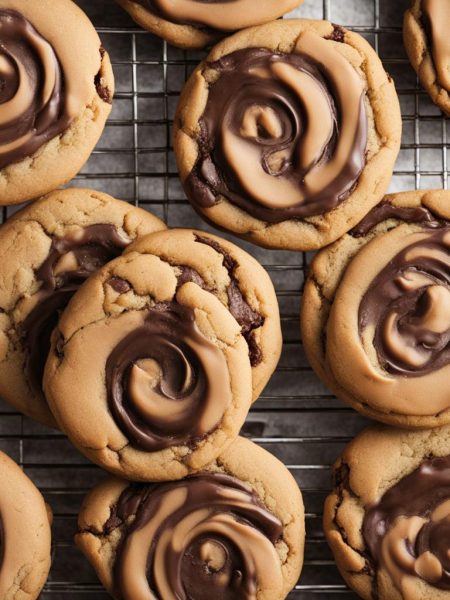
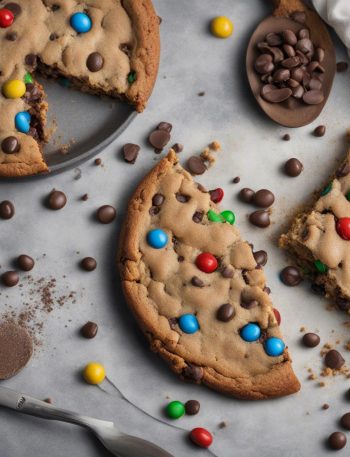
I take the thumb (or the back of a spoon) and press an indentation into each cookie so that you create a little well in the center of them. Fill each well with some chocolate chips or chunks, pressing them down slightly.
Step 7 — Bake
I bake the cookies in your preheated oven for 10-12 minutes until they are golden brown and set around the edges. Allow them to cool on the baking sheet for 5 minutes before transferring them to a wire rack to cool completely.
The texture and timing checks I trust
I watch the edges first. When they look set and the center no longer looks wet, I start checking even if the timer has a few minutes left. With cookies, carryover heat is real, and an extra five minutes can turn a tender batch dry.
If something looks ready early, I check it. If it looks pale or watery at the listed time, I give it a few more minutes and stay nearby. That kind of small adjustment is normal home cooking, not a mistake.
Tips from my kitchen
- Read the recipe once first. I do this with cookies because the quiet step is usually the one that decides the texture.
- Prep before heat. Once the pan or oven is ready, I want the ingredients measured and close by.
- Do not chase a dry center too far. Baked dough keeps setting after it leaves the oven, so I pull it when it looks just done.
- Rest when the recipe says rest. Five minutes can be the difference between clean slices and a messy plate.
Variations I have actually tried
- Less sweet: I reduce the topping sugar or skip any sprinkle, but I leave the main batter alone so the cookies still bake correctly.
- Warm spice: I add a small pinch of cinnamon or cardamom when the base already leans buttery.
- Chocolate version: I fold in a modest handful of chips when the batter or filling can handle it without getting heavy.
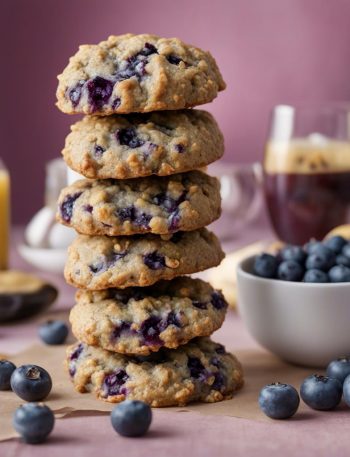
- Fruit swap: I use the same measured amount of chopped apples, berries, or cherries when the original fruit is not in season.
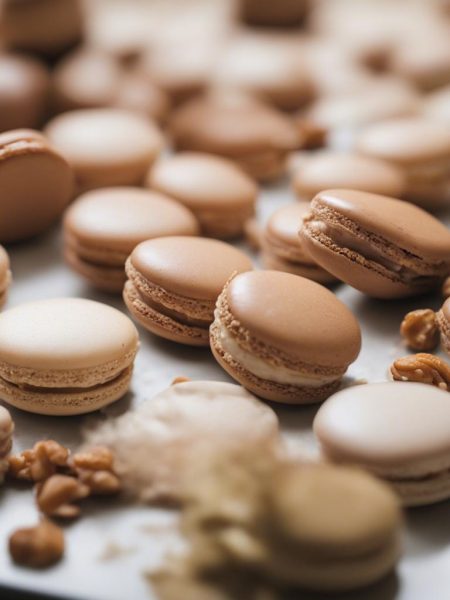
- Nutty finish: I add toasted walnuts, pecans, or almonds on top when I want crunch.
How I store and reheat it
I cool the cookies completely before covering them. Room temperature works for a day or two for most baked batches; longer storage goes in the refrigerator or freezer. To refresh, I warm gently until the center is soft again and the edges smell toasty.
What I serve with it
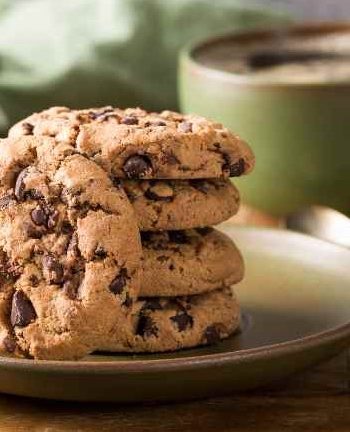
I usually serve Kaufmann Thumbprint Cookie with coffee, tea, fruit, or something creamy like yogurt. If it is dessert, a small spoon of whipped cream or vanilla ice cream is enough; I do not like burying the main flavor.
Frequently asked questions
Can I make Kaufmann Thumbprint Cookie ahead?
Yes. I usually make the components ahead and keep them covered, then finish or rewarm close to serving. For the best texture, I keep crisp toppings and fresh herbs separate until the end.
Why did my baked batch turn dense?
Most of the time I either mixed too long after adding flour or used ingredients that were too cold to blend smoothly. I stop mixing as soon as the dry streaks disappear.
Can I double the recipe?
Usually yes, as long as I use a wider pan or work in batches. Crowding traps steam, so doubled savory recipes often brown better in two rounds.
Can I freeze leftovers?
Yes. I wrap the cooled cookies tightly and freeze them in a labeled bag. I thaw at room temperature, then warm gently if I want the edges to taste fresh again.
Can I change the seasoning?
Yes, but I change one thing at a time. That way I can tell whether the salt, heat, herb, or acid is doing the work.
If you make Kaufmann Thumbprint Cookie, leave a comment with the change you tried or the part that surprised you. I read those notes because they often become my next test batch.
Kaufmann Thumbprint Cookie
Description
Kaufmann Thumbprint Cookie is the way I make a reliable batch of cookies at home. I keep the measurements steady, add the texture checks I use in my own kitchen, and include 15 minutes prep, 8 minutes cook plus storage notes.
Ingredients You’ll Need
Instructions
- Preheat the oven to 350 degrees F and line a baking sheet with parchment paper.
- In a large bowl, cream together the softened butter and both sugars using an electric mixer until light and fluffy, about 2 minutes.
- Add in the eggs one at a time, mixing well after each addition. Then add in the vanilla extract and mix until incorporated.
- In a separate bowl, sift together the flour, baking powder, baking soda, and salt. Slowly add this dry mixture to the wet ingredients in the large bowl and mix on low speed until just combined.
- Scoop out about 1 tablespoon of cookie dough into your hands, roll it into a ball, and then flatten it slightly. Place the cookie dough onto your prepared baking sheet about 2 inches apart.
- Take your thumb (or the back of a spoon) and press an indentation into each cookie so that you create a little well in the center of them. Fill each well with some chocolate chips or chunks, pressing them down slightly.
- Bake the cookies in your preheated oven for 10-12 minutes until they are golden brown and set around the edges. Allow them to cool on the baking sheet for 5 minutes before transferring them to a wire rack to cool completely.
Nutrition Facts
Servings 20
- Amount Per Serving
- Calories 161kcal
- % Daily Value *
- Total Fat 10g16%
- Saturated Fat 6g30%
- Trans Fat 0.2g
- Cholesterol 26mg9%
- Sodium 110mg5%
- Potassium 105mg3%
- Total Carbohydrate 19g7%
- Dietary Fiber 1g4%
- Sugars 17g
- Protein 1g2%
- Calcium 17 mg
- Iron 1.3 mg
* Percent Daily Values are based on a 2,000 calorie diet. Your daily value may be higher or lower depending on your calorie needs.
Note
Read the recipe once first. I do this with cookies because the quiet step is usually the one that decides the texture.
Prep before heat. Once the pan or oven is ready, I want the ingredients measured and close by.
Do not chase a dry center too far. Baked dough keeps setting after it leaves the oven, so I pull it when it looks just done.
Rest when the recipe says rest. Five minutes can be the difference between clean slices and a messy plate.
Frequently Asked Questions
Yes. I usually make the components ahead and keep them covered, then finish or rewarm close to serving. For the best texture, I keep crisp toppings and fresh herbs separate until the end.
Most of the time I either mixed too long after adding flour or used ingredients that were too cold to blend smoothly. I stop mixing as soon as the dry streaks disappear.
Usually yes, as long as I use a wider pan or work in batches. Crowding traps steam, so doubled savory recipes often brown better in two rounds.
Yes. I wrap the cooled cookies tightly and freeze them in a labeled bag. I thaw at room temperature, then warm gently if I want the edges to taste fresh again.
Yes, but I change one thing at a time. That way I can tell whether the salt, heat, herb, or acid is doing the work.
You may also like...