
I make Rusa Drink when I want a drink recipe that feels familiar but still needs care. The first time I tested my way through it, I noticed the same thing I notice with most good recipes: the ingredients are not difficult, but the order and the little cues matter. I keep those cues written into my notes because they save me from guessing.
I like knowing when to stir, when to stop, and what the mixture should look like before I move on. That is especially helpful with Rusa Drink, where texture can change quickly if I rush.
I also keep the flavor practical. If a recipe is sweet, I use salt to make it cleaner. If it is savory, I build flavor in layers. If it is a drink, I keep the ice and garnish from taking over. The goal is a batch I would gladly make again on a busy day, not a one-time project.
Why I keep coming back to this
- I can make Rusa Drink ahead up to the point of adding ice, so the glasses still taste fresh.
- The sweet, tart, and creamy parts stay balanced when I measure instead of guessing.
- It scales cleanly for a small pitcher without changing the method.
- I can adjust the garnish without changing the base flavor.
- The recipe uses ordinary tools, which matters when I am already making food alongside it.
- It tastes cold and bright without needing a complicated syrup at the last minute.
What you need (and what each one is doing)
- 1/2 cup pineapple juice.
- Lime slices for garnish.
- Ice cubes.
- 1 cup lemon-lime soda.
- 1 cup orange juice.
- 1/4 cup grenadine syrup.This brings sweetness and color. I watch it closely because it can move from glossy to scorched quickly.
- 1/4 cup lime juice.
How I mix it
Step 1 — I use this cue for the
I use this cue for the next stage: Begin by assembling the ingredients for the rusa beverage. In a bowl, combine freshly squeezed orange juice, pineapple juice, grenadine syrup, lemon-lime soda and a splash of lime juice to create the base mixture.
Step 2 — Handle this stage
I use this cue for the next stage: Then, fill an ice cube tray with water and freeze it, so you have some ice cubes on hand when ready to prepare the drink.
Step 3 — I use this cue for the
I use this cue for the next stage: When the ice cubes are ready, stir them into the rusa mixture until evenly blended. Add a few slices of lime to each glass and pour the drink over it.
Tips from my kitchen
- Chill the glasses.I notice the drink stays brighter when the glass is cold before the first pour.
- Add ice last.I mix the base first so melting ice does not water everything down too early.
- Taste before serving.If it leans too sweet, I add a small squeeze of citrus; if it is sharp, I add a splash more milk or soda.
- Garnish simply.I keep the garnish edible and small enough that it does not get in the way of sipping.
Variations I have actually tried
- More tart:I add a little extra lime or lemon and taste before adding more sweetener.
- More creamy:I replace a small amount of the liquid with milk or cream if the base already supports it.
- Pitcher style:I mix the base in advance, then add ice and bubbles right before serving.
- Less sweet:I cut the syrup or caramel slightly and add a pinch of salt to keep the flavor round.
- Garnish swap:I use citrus slices, a small cookie, or a light drizzle, depending on the drink.
Storing and reheating
I store the base for Rusa Drink without ice. The cold base can sit covered in the refrigerator, then I stir, pour over fresh ice, and add any garnish right before serving. If the drink contains bubbles, I add them at the end so the glass does not taste flat.
What I serve with it
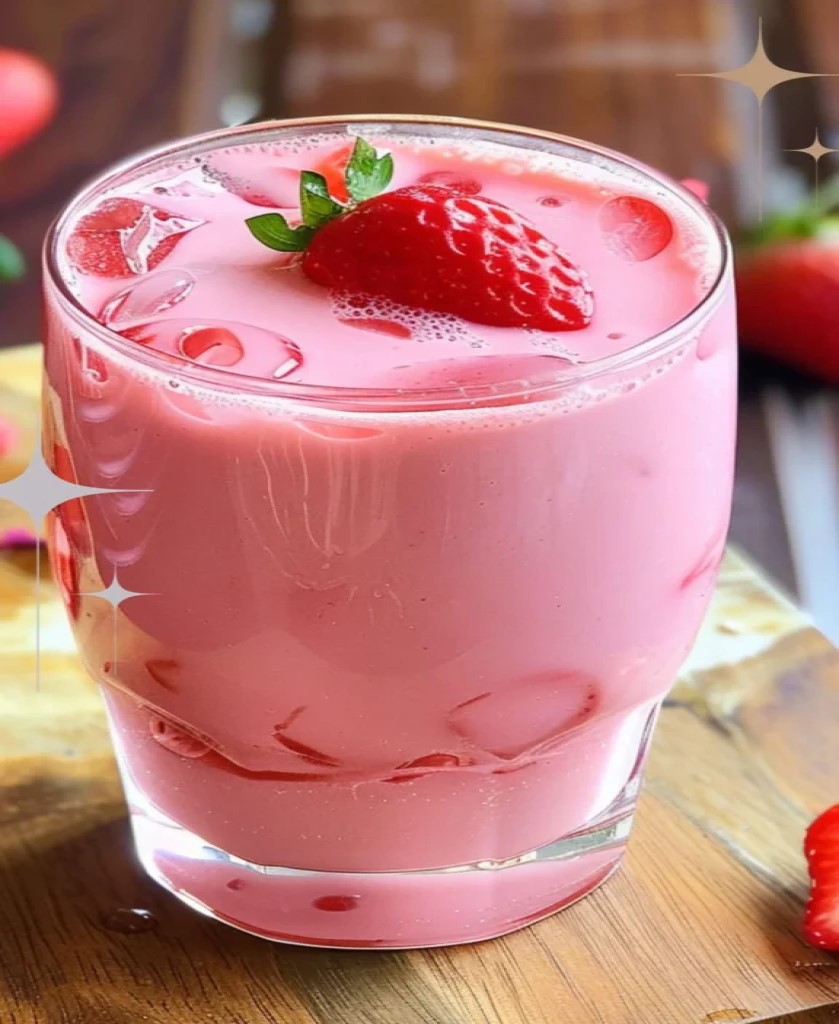
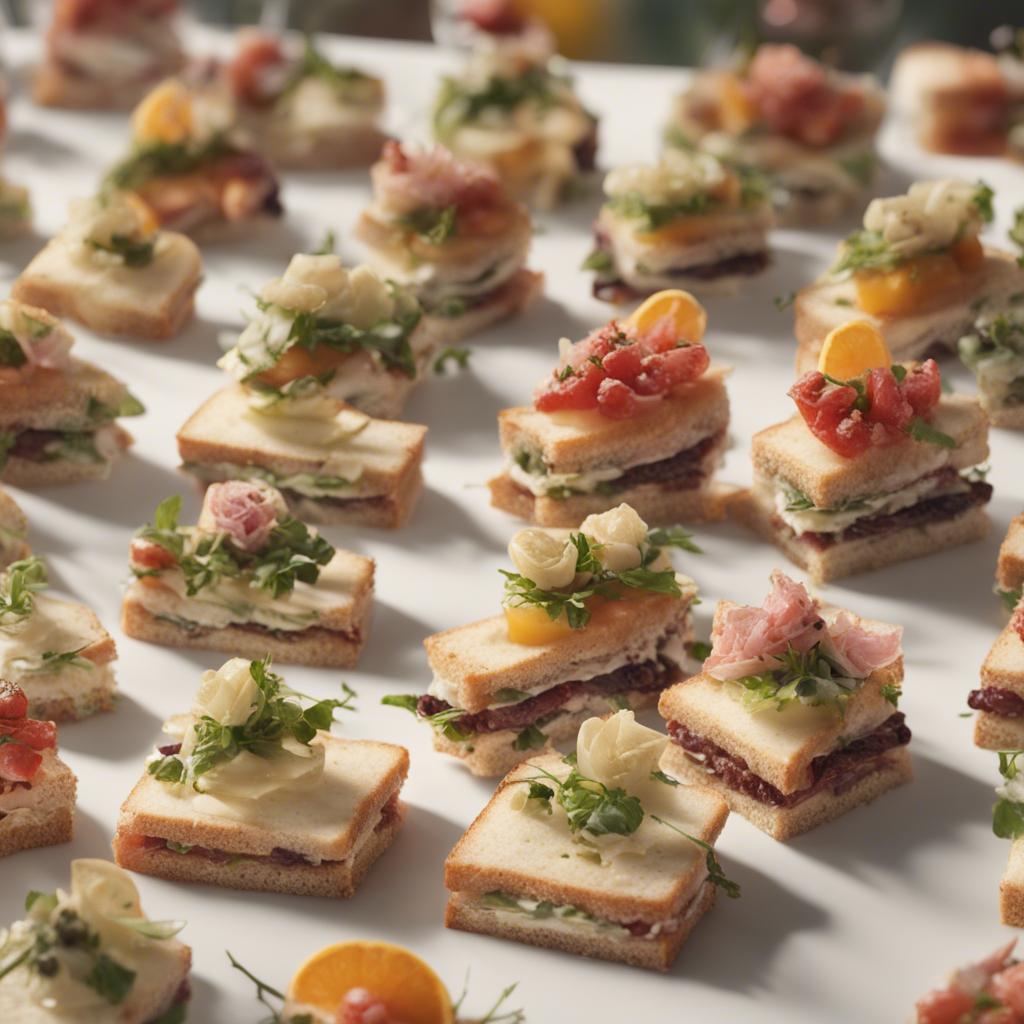
I serve Rusa Drink very cold, with the garnish already in the glass and a spoon or straw nearby if the drink is thick. Salty snacks, citrusy salads, or simple sandwiches work well beside it because the drink already carries the sweet note.
Small details I do not skip
I write little checks into this recipe because the small things keep the result steady. I set the ingredients out before I start, use the pan size and heat level listed, and pause when the mixture looks uneven instead of trying to fix it later. That sounds fussy, but it is what keeps the finished batch tasting intentional rather than hurried.
I also taste where it makes sense. With raw doughs I taste only the safe parts, but with sauces, fillings, dressings, and cooked mixtures I check salt, sweetness, and acidity before I call it done. A little adjustment at that point is easier than explaining at the table why something tastes flat.
Frequently asked questions
Can I make Rusa Drink ahead?
Yes. I make the sturdy parts ahead and keep the final topping, garnish, or bake as close to serving as I can. If the recipe needs chilling, I count that time as part of the plan.
Can I mix the drink without ice?
Yes. I mix the base first and chill it, then add ice to the glass. That keeps the flavor from turning watery before anyone gets a drink.
Can I halve the recipe?
Usually, yes. I halve the ingredients evenly and use a smaller pan or container so the depth stays close to the original. I start checking a few minutes early.
What should I do if it tastes flat?
I add a small pinch of salt first. If it is sweet, a little acid helps; if it is savory, a splash of lemon, vinegar, or hot sauce usually wakes it up.
How should I store leftovers?
I cool leftovers first, then store them covered.
If you make Rusa Drink, I would like to hear what you changed and what you kept exactly the same. Those small kitchen notes are the ones I come back.
Rusa Drink
Description
I make Rusa Drink with cup pineapple juice, Lime slices for garnish, Ice cubes, cup lemon-lime soda and a method that keeps the timing clear. The recipe includes the cues I watch for, the storage notes I use, and the small fixes that help the batch taste homemade instead of rushed.
Ingredients You’ll Need
Instructions
- Begin by assembling the ingredients for the rusa beverage. In a bowl, combine freshly squeezed orange juice, pineapple juice, grenadine syrup, lemon-lime soda and a splash of lime juice to create the base mixture.
- Then, fill an ice cube tray with water and freeze it, so you have some ice cubes on hand when ready to prepare the drink.
- When the ice cubes are ready, stir them into the rusa mixture until evenly blended. Add a few slices of lime to each glass and pour the drink over it.
Nutrition Facts
Servings 3
- Amount Per Serving
- Calories 42kcal
- % Daily Value *
- Sodium 1mg1%
- Potassium 189mg6%
- Total Carbohydrate 10g4%
- Sugars 7g
- Protein 1g2%
- Calcium 12 mg
- Iron 0.2 mg
* Percent Daily Values are based on a 2,000 calorie diet. Your daily value may be higher or lower depending on your calorie needs.
Note
Chill the glasses. I notice the drink stays brighter when the glass is cold before the first pour.
Add ice last. I mix the base first so melting ice does not water everything down too early.
Taste before serving. If it leans too sweet, I add a small squeeze of citrus; if it is sharp, I add a splash more milk or soda.
Garnish simply. I keep the garnish edible and small enough that it does not get in the way of sipping.
Frequently Asked Questions
Yes. I make the sturdy parts ahead and keep the final topping, garnish, or bake as close to serving as I can. If the recipe needs chilling, I count that time as part of the plan.
Yes. I mix the base first and chill it, then add ice to the glass. That keeps the flavor from turning watery before anyone gets a drink.
Usually, yes. I halve the ingredients evenly and use a smaller pan or container so the depth stays close to the original. I start checking a few minutes early.
I add a small pinch of salt first. If it is sweet, a little acid helps; if it is savory, a splash of lemon, vinegar, or hot sauce usually wakes it up.
I cool leftovers first, then store them covered. Baked sweets usually sit well at room temperature for a short time; creamy, meaty, or dairy-heavy dishes go in the refrigerator.
You may also like...