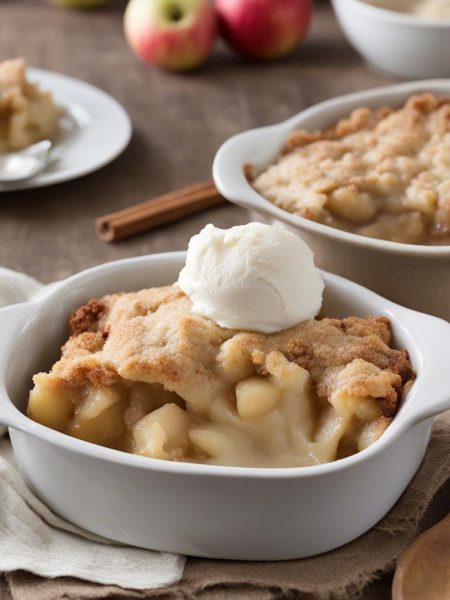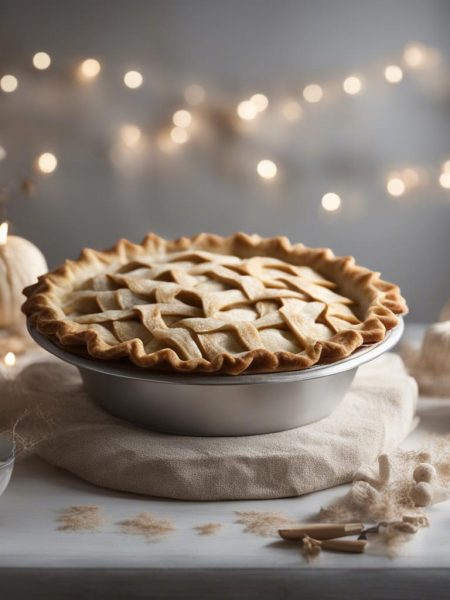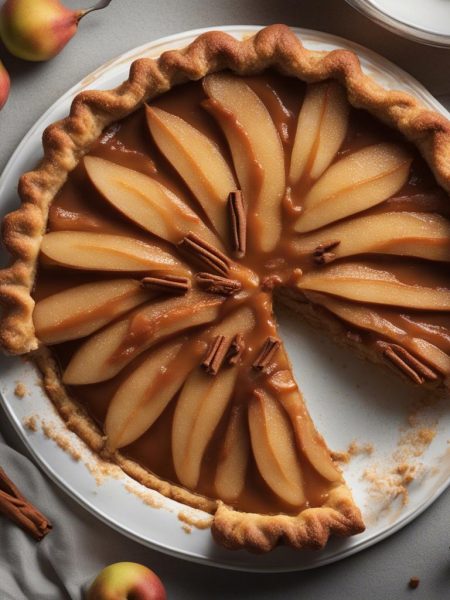

I make Cinnamon Apple Pear Crisp when I want a recipe that feels familiar but still gives me something specific to pay attention to. The ingredient list is straightforward, and the method rewards a little patience.
What I like most is the contrast in the finished Cinnamon Apple Pear Crisp: the main flavor comes through clearly, while the supporting ingredients add texture, sweetness, spice, creaminess, or crunch without taking.
I have learned to read the recipe with my senses as much as the timer. I watch the color, smell the spices or sauce, and give the food the short rest it needs before I serve it.
Why I keep coming back to this
- The ingredient list is manageable and easy to prep before starting.
- The method gives me clear visual cues instead of relying only on the clock.
- It can be served simply or dressed up with a small extra garnish.
- The leftovers are useful, which matters in my kitchen.
- The flavors are balanced enough that I can repeat it without getting bored.
What I use and why
I like to understand what each ingredient is doing before I start Cinnamon Apple Pear Crisp. It makes the process calmer and helps me adjust texture without guessing.
- ripe pears, peeled and sliced, 4 medium/large.
- apples, peeled and sliced, 3 medium/large.
- granulated sugar, 1/2 cup.
- all-purpose flour, 1/4 cup.
- pure vanilla extract, 1 teaspoon.
- ground cinnamon, 1 teaspoon.
- ground nutmeg, 1/2 teaspoon.
- salt, 1/4 teaspoon.
- all-purpose flour, 3/4 cup.
- packed brown sugar, 3/4 cup.
- ground cinnamon, 1 teaspoon.
- unsalted butter, cold and cubed, 1/2 cup.
- old-fashioned oats, 1 cup.
- chopped pecans or walnuts, 1 cup.
How I make it
Step 1 — Preheat the oven
Preheat oven to 350°F (177°C) and lightly grease a 9×13-inch baking pan.
Step 2 — Mix and shape
Mix pears, apples, granulated sugar, flour, vanilla, cinnamon, nutmeg, and salt, then spread in the pan.
Step 3 — Cut in the butter
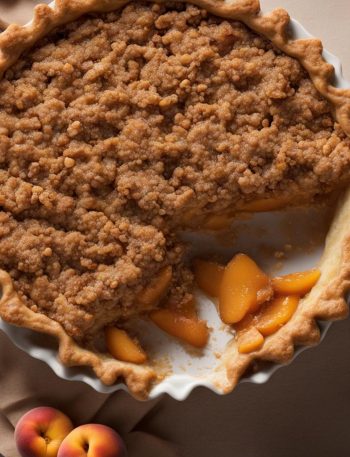
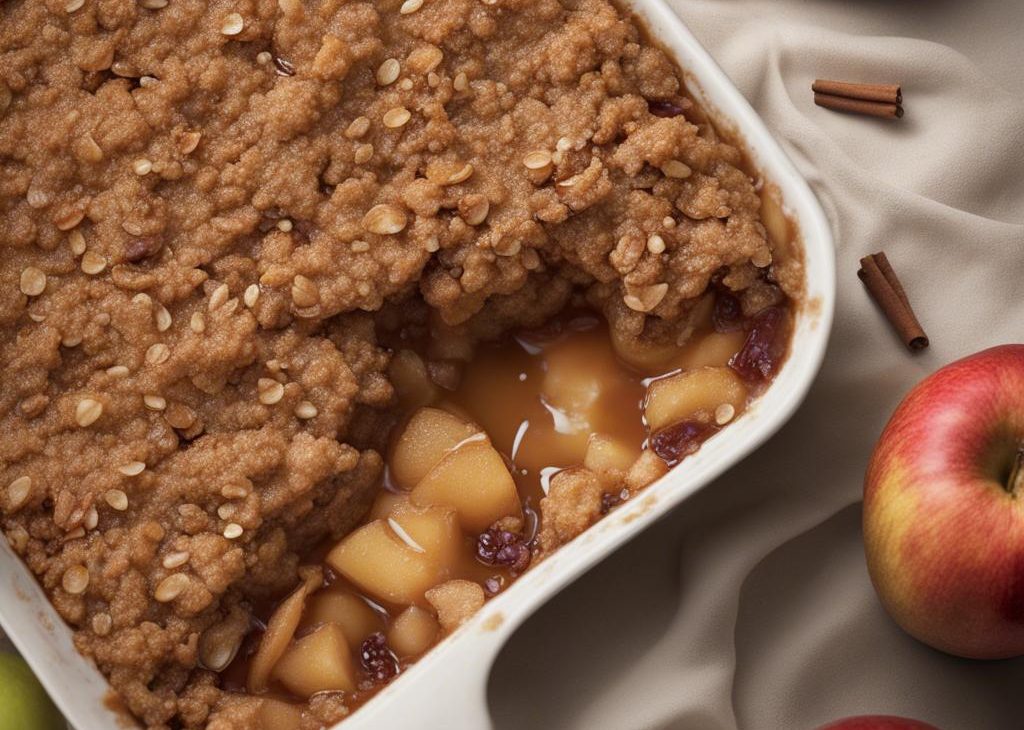
Whisk topping flour, brown sugar, and cinnamon. Cut in cold butter until crumbly, then stir in oats and optional nuts.
Step 4 — Bake
Sprinkle topping over fruit and bake 40-45 minutes, until golden and bubbling at the edges. Cool at least 5 minutes before serving.
Step 5 — Store the leftovers
Cover leftovers and refrigerate for up to 5 days.
Tips from my kitchen
- Prep first. I measure everything before starting so I am not searching for an ingredient at the hot-pan stage.
- Watch texture. The recipe is better when I respond to how it looks and feels, not only to the timer.
- Use the right pan. Crowding changes browning, baking, and moisture.
- Let it rest. A short rest helps slices, sauces, and fillings settle.
Variations I have actually tried
- Extra spice: I add a small pinch of a matching warm spice or chile, depending on the recipe.
- Less sweet: I reduce the sweet finishing touch slightly and taste before serving.
- More crunch: I add nuts, seeds, coarse sugar, or a crisp side where it makes sense.
- Brighter: I finish with citrus zest, a squeeze of juice, or fresh herbs.
- Make-ahead: I prep the dry and wet components separately, then finish close to serving.
How I store and reheat it
I cover and refrigerate leftovers for up to 5 days. The topping softens, but the fruit flavor gets deeper.
To reheat, I warm portions at 325°F until the fruit bubbles again. A short oven reheat helps the topping more than the microwave.
What I serve with it
I like this warm with vanilla ice cream, plain yogurt, or a splash of cream. Cold leftovers also make a very convincing breakfast.
Frequently asked questions
Can I make this ahead?
Usually, yes. I prep the parts that hold well and finish the texture-sensitive steps close to serving.
Can I freeze it?
It depends on the texture. I freeze sturdy baked goods more often than creamy sauces or fresh toppings.
How do I know it is done?
I use the recipe timing as a guide, then check the visual cue: browning, bubbling, set centers, or a safe internal temperature.
Can I change the sweetness or spice?
Yes. I make small changes first because sugar, salt, and spice affect texture as well as flavor.
What should I do if it seems dry?
I add moisture carefully: a splash of liquid for sauces, a shorter bake next time for baked goods, or a covered rest for hot food.
If I make Cinnamon Apple Pear Crisp again soon, I will keep the same base and change only one small detail.
I treat this Cinnamon Apple Pear Crisp as a flexible house recipe, not a museum piece. The measurements give me a reliable starting point, but I still check texture, aroma, and browning because pans, ovens, fruit, cheese, and dough all behave a little differently from kitchen to kitchen.
I also keep a small cleanup bowl next to the cutting board when I make this. It sounds minor, but it keeps me from rushing, and rushing is usually when I forget a garnish, overwork dough, or let a sauce go one minute too far.
If I am serving this to guests, I make the recipe once for myself first. That tells me how my oven, blender, skillet, or baking pan behaves with these exact amounts, and it makes the second round feel much calmer.
Cinnamon Apple Pear Crisp
Description
I make Cinnamon Apple Pear Crisp with a practical, tested method and the source amounts preserved. The recipe is written in my kitchen voice with the details I watch for while cooking.
Ingredients You’ll Need
Instructions
- Preheat oven to 350°F (177°C) and lightly grease a 9x13-inch baking pan.
- Mix pears, apples, granulated sugar, flour, vanilla, cinnamon, nutmeg, and salt, then spread in the pan.
- Whisk topping flour, brown sugar, and cinnamon. Cut in cold butter until crumbly, then stir in oats and optional nuts.
- Sprinkle topping over fruit and bake 40-45 minutes, until golden and bubbling at the edges. Cool at least 5 minutes before serving.
- Cover leftovers and refrigerate for up to 5 days.
Nutrition Facts
Servings 8
- Amount Per Serving
- Calories 380kcal
- % Daily Value *
- Total Fat 22g34%
- Saturated Fat 8g40%
- Trans Fat 0.5g
- Cholesterol 31mg11%
- Sodium 63mg3%
- Potassium 118mg4%
- Total Carbohydrate 45g15%
- Dietary Fiber 3g12%
- Sugars 32g
- Protein 4g8%
- Calcium 31 mg
- Iron 1.1 mg
* Percent Daily Values are based on a 2,000 calorie diet. Your daily value may be higher or lower depending on your calorie needs.
Note
Prep first. I measure everything before starting so I am not searching for an ingredient at the hot-pan stage.
Watch texture. The recipe is better when I respond to how it looks and feels, not only to the timer.
Use the right pan. Crowding changes browning, baking, and moisture.
Let it rest. A short rest helps slices, sauces, and fillings settle.
Frequently Asked Questions
Usually, yes. I prep the parts that hold well and finish the texture-sensitive steps close to serving.
It depends on the texture. I freeze sturdy baked goods more often than creamy sauces or fresh toppings.
I use the recipe timing as a guide, then check the visual cue: browning, bubbling, set centers, or a safe internal temperature.
Yes. I make small changes first because sugar, salt, and spice affect texture as well as flavor.
I add moisture carefully: a splash of liquid for sauces, a shorter bake next time for baked goods, or a covered rest for hot food.
You may also like...