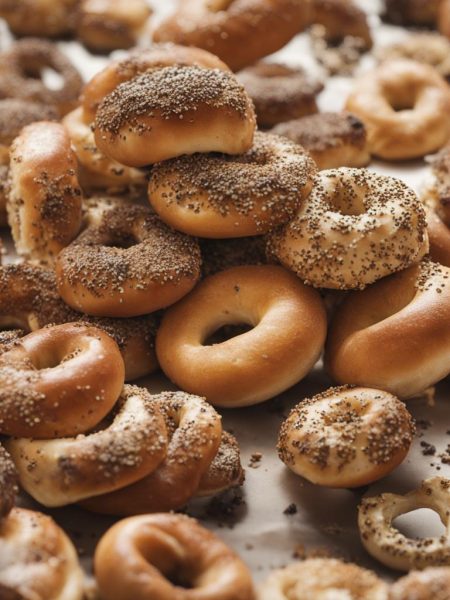
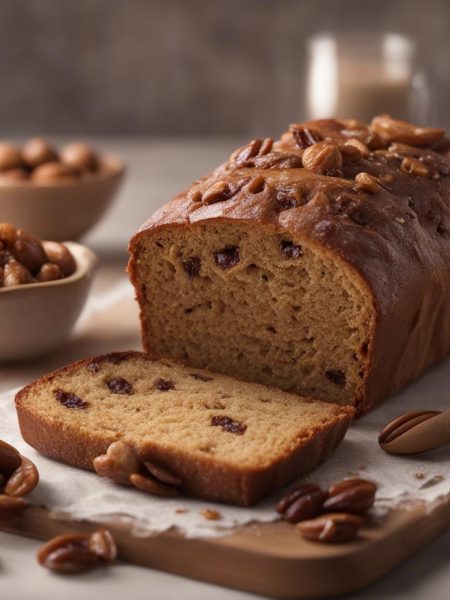
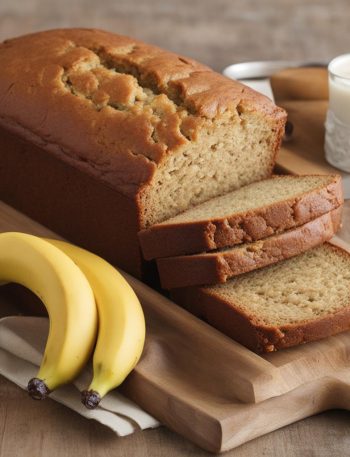
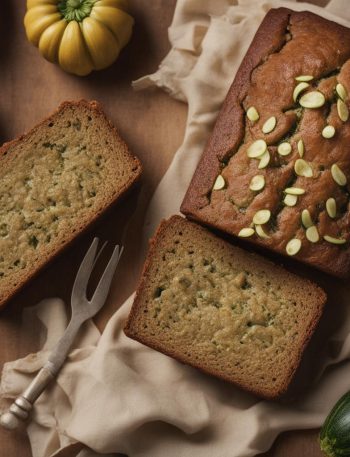
I keep Easy Olive Bread in my working notebook because it solves a very specific craving without making the kitchen feel like a project. The version here keeps the quantities steady, and I write it the way I actually cook it: measured, tasted where possible, and checked with my eyes before I trust the timer.
The first time I made it, I learned that the small details matter more than the fancy ones. I plan around this timing: 4 min prep, 35 min cook. I set out the bread flour or all-purpose flour, keep the tools simple, and make room for the pan, glass, or bowl before I start.
What I like about this recipe is that it gives me a clear path but still leaves room for the way real kitchens work. Maybe the fruit is extra juicy, the oven runs hot, the avocado is softer than expected, or the coffee is stronger than yesterday. I built the notes below around those little moments.
Why I keep coming back to this
- It uses familiar ingredients, starting with bread flour or all-purpose flour, and I do not need specialty equipment to get started.
- The timing is manageable for a regular day — 4 min prep, 35 min cook.
- The steps are forgiving as long as I measure first and do not rush the final cooling, chilling, or serving stage.
- It is easy to adjust sweetness, salt, spice, or toppings after one test batch.
- Leftovers, when there are any, fit naturally into the next day instead of feeling like a chore.
- The recipe feels homemade without asking me to turn the whole afternoon over to it.
What you need (and what each one is doing)
- 3 and bread flour or all-purpose flour (about 430g). I count on it for structure, so I spoon and level instead of packing it down.
- 2 teaspoons instant or active dry yeast. Fresh leavening matters here; old leavening is the quiet reason many batches turn heavy.
- 2 teaspoons coarse salt (see note). I use it even in sweet recipes because it keeps the flavor awake.
- 2 teaspoons dried oregano.
- 1 and 1 1/2 teaspoons garlic powder.
- 1 heaping chopped olives (about 135g).
- 1 and room-temperature water (360ml).
- optional: cornmeal for dusting pan.
How I make it
Step 1 — Mix the dry ingredients
In a large un-greased mixing bowl, whisk the flour, yeast, salt, oregano, and garlic powder together. Using a silicone spatula or wooden spoon, mix in the olives. Pour in the water and gently mix together. The dough will seem dry and shaggy, but keep working it until all the flour is moistened. If needed, use your hands to work the dough ingredients together. The dough will be sticky. Shape into a ball in the bowl as best you can. (Tip: Stir dough by hand. Dough is too sticky for a mixer.)
Step 2 — Combine the first bowl
I keeping the dough in the bowl, cover the dough tightly with plastic wrap or aluminum foil and set on the counter at room temperature (honestly any normal room temperature is fine). Allow to rise for 2-3 hours. The dough will just about double in size, stick to the sides of the bowl, and have a lot of air bubbles.
Step 3 — Let it rest
You can continue with step 4 immediately, but for absolute best flavor and texture, I strongly recommend letting this risen dough rest in the refrigerator for at least 12 hours and up to 3 days. (Even just a couple hours is good!) Place covered dough in the refrigerator for up to 3 days. The dough will puff up during this time, but may begin to deflate after 2 days. That’s normal and nothing to worry about.
Step 4 — Bake
I lightly dust a large nonstick baking sheet (with or without rims and make sure it’s nonstick) with flour and/or cornmeal. Turn the dough out onto a floured work surface. Using generously floured hands, shape into a ball as best you can. Dough is very sticky. Transfer to prepared baking sheet. Loosely cover and allow dough to rest for 45 minutes. You will bake the dough on this prepared baking sheet. See recipe note if you want to use a pizza stone or dutch oven.
Step 5 — Preheat the oven
During this 45 minutes, preheat the oven to 425°F (218°C).
Step 6 — Bake
When ready to bake, using a very sharp knife or bread lame (some even use kitchen shears), score the dough with a slash or an X, about 1/2 inch deep. (“Score” = shallow cut.) If the shaped loaf flattened out during the 45 minutes, use floured hands to reshape into a ball.
Step 7 — Pour in the boiling water
I optional for a slightly crispier crust: After the oven is preheated and bread is scored, place a shallow metal or cast iron baking pan or skillet (I usually use a metal 9×13-inch baking pan) on the bottom oven rack. Carefully and quickly pour 3-4 cups of boiling water into it. Place the scored dough/baking pan on a higher rack and quickly shut the oven, trapping the steam inside. The steam helps create a crispier crust.
Step 8 — Bake
I place the shaped and scored dough (on the flour/cornmeal dusted pan) in the preheated oven on the center rack. Bake for 35-40 minutes or until the crust is golden brown. How to test for doneness—give the warm loaf a light tap. If it sounds hollow, it’s done. For a more accurate test, the bread is done when an instant-read thermometer reads the center of the loaf as 195°F (90°C).
Step 9 — Store the leftovers properly
I remove the bread from the oven and allow to cool for at least 10-20 minutes before slicing and serving. Store leftovers loosely covered at room temperature for up to 3 days or in the refrigerator for up to 10 days.
Tips from my kitchen
- Set everything out first. I have made the most mistakes when I started mixing before measuring, so I line the ingredients up in order.
- Use the visual cues. Times are helpful, but I still look for browning, bubbling, thickness, or a clean toothpick depending on the recipe.
- Respect the dough. If it fights back while shaping, I let it sit for 5 minutes and then continue.
- Taste where it is safe. For frostings, sauces, drinks, and marinades before they touch raw protein, I adjust salt, acid, or sweetness in tiny amounts.
Variations I have actually tried
- Extra herb: I add a little fresh basil, oregano, or parsley at the end instead of before baking.
- Cheesier: I add a modest handful of cheese so the dough or toast still stays crisp.
- Spicy: I use red pepper flakes, chipotle powder, or a tiny drizzle of chili crisp.
- Whole-grain: I swap in a small amount of whole wheat flour when the dough can handle it.
- Snack-size: I shape smaller portions and start checking a few minutes early.
Storing, reheating, and serving
I let Easy Olive Bread cool or rest as directed before storing because trapped steam can make the surface sticky. Once cool, I cover it tightly and keep it at room temperature or in the refrigerator based on the ingredients.
For reheating, I use gentle heat instead of blasting it. A short microwave warm-up works for single servings, while a low oven helps baked items taste fresher around the edges.
What I serve with it
I keep the sides simple: a green salad, roasted vegetables, rice, or something crisp and acidic. The goal is to support the main flavor, not bury it. If the recipe is sweet, I like something tangy or salty nearby; if it is savory, I add freshness and crunch.
Frequently asked questions
Can I make this ahead?
Yes. I make it ahead when the recipe includes cooling, chilling, or storing time, and I wait to add crisp toppings until serving.
Can I double the recipe?
Usually yes, but I use two pans or batches instead of crowding one pan. Crowding changes bake time and texture.
Can I swap the bread flour or all-purpose flour?
I swap carefully and keep the same total amount. If the ingredient adds moisture, I choose another ingredient with a similar texture.
How do I know it is done?
I use the cue from the method: clean toothpick for cakes, bubbling fruit for cobblers, thickness for sauces, or golden edges for cookies.
Why did mine turn out softer than expected?
Most often it needed more cooling time, the pan was crowded, or the ingredient measurement was a little generous.
If you make this Easy Olive Bread, tell me what you changed or what you noticed in your kitchen — those small details are always the most useful.
Easy Olive Bread
Description
I make Easy Olive Bread with the same measured quantities and the practical notes I rely on in my own kitchen. The recipe includes clear steps, tested-style tips, variations, storage help, and honest FAQs.
Ingredients You’ll Need
Instructions
- In a large un-greased mixing bowl, whisk the flour, yeast, salt, oregano, and garlic powder together. Using a silicone spatula or wooden spoon, mix in the olives. Pour in the water and gently mix together. The dough will seem dry and shaggy, but keep working it until all the flour is moistened. If needed, use your hands to work the dough ingredients together. The dough will be sticky. Shape into a ball in the bowl as best you can. (Tip: Stir dough by hand. Dough is too sticky for a mixer.).
- I keeping the dough in the bowl, cover the dough tightly with plastic wrap or aluminum foil and set on the counter at room temperature (honestly any normal room temperature is fine). Allow to rise for 2-3 hours. The dough will just about double in size, stick to the sides of the bowl, and have a lot of air bubbles.
- you can continue with step 4 immediately, but for absolute best flavor and texture, I strongly recommend letting this risen dough rest in the refrigerator for at least 12 hours and up to 3 days. (Even just a couple hours is good!) Place covered dough in the refrigerator for up to 3 days. The dough will puff up during this time, but may begin to deflate after 2 days. That’s normal and nothing to worry about.
- I lightly dust a large nonstick baking sheet (with or without rims and make sure it’s nonstick) with flour and/or cornmeal. Turn the dough out onto a floured work surface. Using generously floured hands, shape into a ball as best you can. Dough is very sticky. Transfer to prepared baking sheet. Loosely cover and allow dough to rest for 45 minutes. You will bake the dough on this prepared baking sheet. See recipe note if you want to use a pizza stone or dutch oven.
- During this 45 minutes, preheat the oven to 425°F (218°C).
- When ready to bake, using a very sharp knife or bread lame (some even use kitchen shears), score the dough with a slash or an X, about 1/2 inch deep. (“Score” = shallow cut.) If the shaped loaf flattened out during the 45 minutes, use floured hands to reshape into a ball.
- I optional for a slightly crispier crust: After the oven is preheated and bread is scored, place a shallow metal or cast iron baking pan or skillet (I usually use a metal 9×13-inch baking pan) on the bottom oven rack. Carefully and quickly pour 3-4 cups of boiling water into it. Place the scored dough/baking pan on a higher rack and quickly shut the oven, trapping the steam inside. The steam helps create a crispier crust.
- I place the shaped and scored dough (on the flour/cornmeal dusted pan) in the preheated oven on the center rack. Bake for 35-40 minutes or until the crust is golden brown. How to test for doneness—give the warm loaf a light tap. If it sounds hollow, it’s done. For a more accurate test, the bread is done when an instant-read thermometer reads the center of the loaf as 195°F (90°C).
- I remove the bread from the oven and allow to cool for at least 10-20 minutes before slicing and serving. Store leftovers loosely covered at room temperature for up to 3 days or in the refrigerator for up to 10 days.
Nutrition Facts
Servings 1
- Amount Per Serving
- Calories 1547kcal
- % Daily Value *
- Total Fat 8g13%
- Saturated Fat 1g5%
- Trans Fat 0.0g
- Sodium 3839mg160%
- Potassium 626mg18%
- Total Carbohydrate 312g104%
- Dietary Fiber 16g64%
- Sugars 2g
- Protein 52g104%
- Calcium 237 mg
- Iron 24.9 mg
* Percent Daily Values are based on a 2,000 calorie diet. Your daily value may be higher or lower depending on your calorie needs.
Note
Set everything out first. I have made the most mistakes when I started mixing before measuring, so I line the ingredients up in order.
Use the visual cues. Times are helpful, but I still look for browning, bubbling, thickness, or a clean toothpick depending on the recipe.
Respect the dough. If it fights back while shaping, I let it sit for 5 minutes and then continue.
Taste where it is safe. For frostings, sauces, drinks, and marinades before they touch raw protein, I adjust salt, acid, or sweetness in tiny amounts.
Frequently Asked Questions
Yes. I make it ahead when the recipe includes cooling, chilling, or storing time, and I wait to add crisp toppings until serving.
Usually yes, but I use two pans or batches instead of crowding one pan. Crowding changes bake time and texture.
I swap carefully and keep the same total amount. If the ingredient adds moisture, I choose another ingredient with a similar texture.
I use the cue from the method: clean toothpick for cakes, bubbling fruit for cobblers, thickness for sauces, or golden edges for cookies.
Most often it needed more cooling time, the pan was crowded, or the ingredient measurement was a little generous.
You may also like...