
Today I’m teaching you the basics you need to know about how to knead dough. Learn why kneading is an important and necessary step in most yeasted bread recipes, how to do it properly, and how to know when your dough has been kneaded long enough and is ready to rise..
Despite the delicious taste and alluring aroma of fresh-baked bread, many aspiring bakers hesitate to begin the journey of homemade bread baking. I, too, avoided it for many years. There was just no way I could possible handle a dough with yeast. How scary!
But the truth is that making yeasted bread is a surprisingly simple process, as long as you have reliable, approachable recipes and a basic understanding of how yeast works. (Plus, a little patience!) The hardest part is, truly, finding the courage to just BEGIN.
By the way, if you’re new to working with yeast, reference my Baking with Yeast Guide for simple answers to common yeast FAQs. It’s a massively helpful starting point, and will help give you the base knowledge needed to successfully embark on your bread-baking journey. 😉
Today’s post is an extension of my Baking with Yeast Guide. Here I’m teaching you how to knead dough..
Why Do We Need to Knead?
Kneading serves a couple of purposes.
First, we’re incorporating air into the dough. And second, we need to stretch out the gluten strands to build structure and strength into the bread. Simply mixing the dough together leaves us with a random, disorganized array of gluten proteins. We still have to “develop” the gluten, i.e., encourage the proteins in the flour and moisture in the dough to link together and form a strong gluten network. This structure allows for trapping of gases so the bread will rise up nice and high. And gluten is what makes bread deliciously chewy.
If you don’t knead your dough, your baked bread won’t rise as high, and the overall texture and appearance will be dense. Properly kneaded dough promises a softer, fluffier, taller, and chewier bread.
OK, that’s your science class done for today!
. On the left is a dense, squat, and crumbly loaf of sandwich bread. I did not knead the dough that produced this baked loaf. On the right, I kneaded it as the recipe instructs. It’s the same exact dough, only the left was not kneaded.
And, below, here is that same “not kneaded” loaf. Because I didn’t knead the dough, it didn’t have the strength to trap the yeast’s gases.
And now, the same sandwich bread recipe, but I took the time to properly knead the dough like the recipe instructs. You can see a MAJOR difference.
How to Knead Dough by Hand
If you have a stand mixer with a dough hook attachment, you can let the mixer run on low speed and the dough hook can do the kneading, which makes the job hands-off; but I much prefer to knead dough by hand, for several reasons:
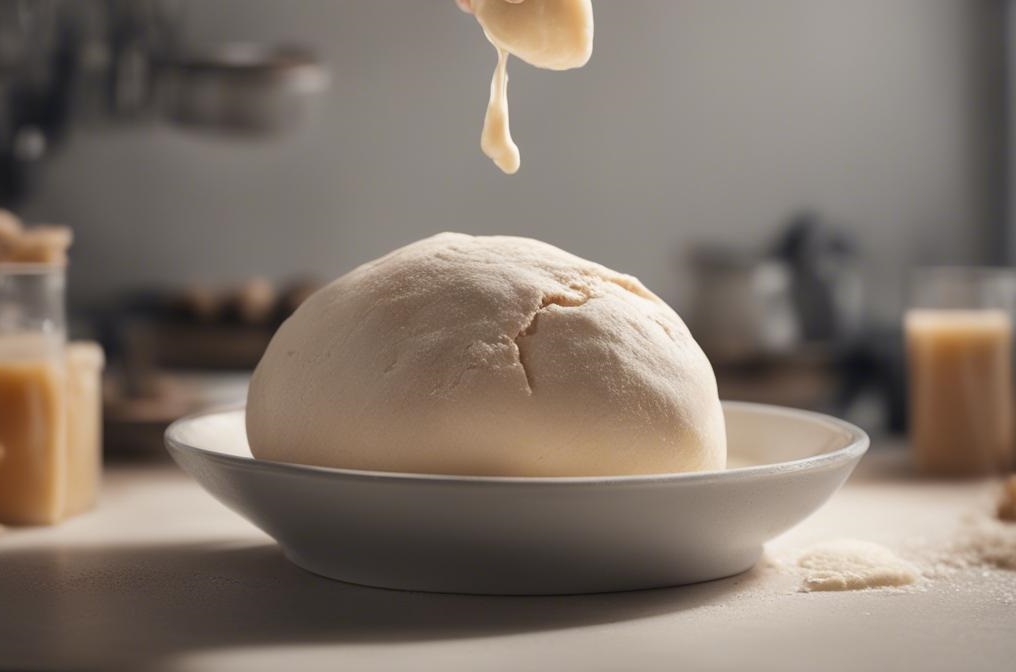
If you decide to knead the dough by hand, here’s how to do it: Using the heels of your hands, gently push the dough away from you in a rocking motion, alternating hands as you go. You want to put some energy into it, to really stretch out the dough.
. Here’s everything you need to knead:
Success Tips
- Don’t add any more flour than you really need—use just enough to prevent it from sticking too much to your hands and work surface. The dough should still feel a little tacky.
- If the dough starts sticking to your hands, add a little more flour to your hands, rather than to the dough, so you don’t throw off that careful ratio of ingredients in your bread recipe.
- As you knead, you’ll start to feel the texture of the dough change; it will begin to smooth out and feel softer and more elastic.
How to Knead Extra-Sticky Dough
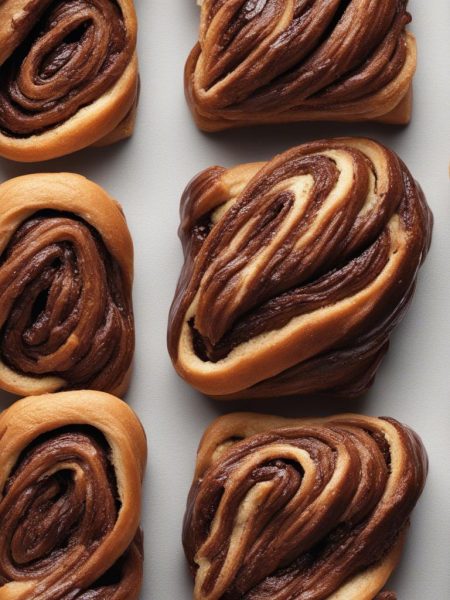
If you have an especially soft or sticky dough, there’s another kneading technique you can use. I use this method primarily with extra-soft rich doughs, such as my overnight cinnamon rolls. Rich doughs have more fat in them (for example, milk, butter, and egg), as opposed to lean doughs like pizza dough and homemade bagels.
With the heel of your hand, push the dough out, then fold it back. Give the folded dough a quarter turn, and repeat. Push it out, fold it back, and turn. This method is a little more gentle, and I find it works better when you have a particularly wet, sticky dough..
How to Know When Dough Has Been Kneaded Enough
How do we know when the dough has been kneaded enough and is ready to rise? I have two ways you can test your dough for doneness:
The first way to check is to simply poke the dough with your finger. If the dough bounces back without sticking to your finger, it’s been kneaded enough. If it doesn’t, you need to keep kneading.
Windowpane Test for Dough
The second way to check if your dough has been kneaded long enough is something called the windowpane test. Tear off a small piece of the dough, and stretch it out until you can see some light coming through it. (Just hold it up to a light or a window.) If the dough tears before that point, then you need to keep kneading for a bit longer.
One thing to note, however: the windowpane test may not work for whole-grain dough, like this whole-wheat bread recipe. That’s because the bran present in the whole-wheat flour interferes with the gluten formation. So if you think you have kneaded your whole-grain dough for long enough but it’s not passing the windowpane test, don’t worry—that’s normal.
Kneading length varies greatly in yeast bread recipes. Some doughs take just 3–5 minutes, while others can take up to 10–15 minutes. For those longer knead times, if your arms are getting tired, feel free to pop the dough back into your stand mixer and use the dough hook for a few minutes to give your hands a break.
What Does Under-Kneaded Dough Look Like?
Dough that has not been kneaded, or hasn’t been kneaded long enough, appears lumpy, doesn’t stretch very well, and tears easily. If your dough is like this, it needs more kneading. Keep kneading it until it’s smooth, stretchy, and more pliable.
Obviously, kneading dough does take a little time, but the effort is well worth it, especially because you are already taking the time to make bread from scratch. I think you’ll find it’s actually one of the most enjoyable steps in bread-making (well, except for the smelling and tasting parts at the end). Silky smooth, stretchy and cushiony… kneading dough is the original stress reliever toy!
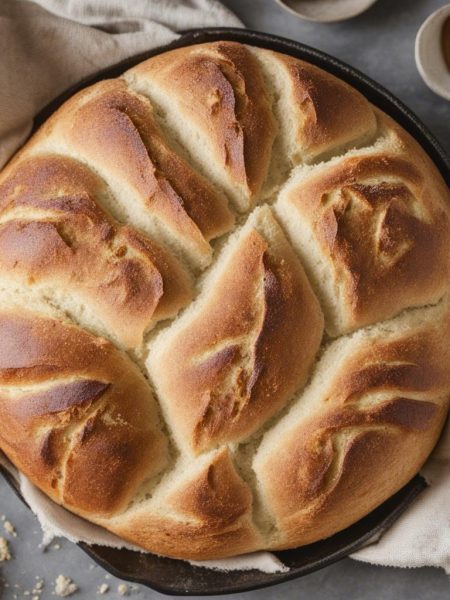
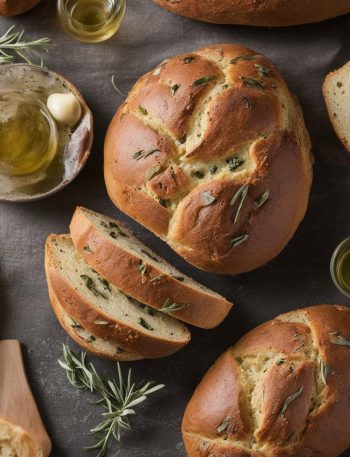
I hope this tutorial has been helpful. Use your new kneading knowledge to make my whole wheat bread if you haven’t already!
How to Knead Dough Recipe
Description
Use this tutorial to guide you through a key step in yeast bread baking: kneading dough.. If you’re new to working with yeast, reference my Baking with Yeast Guide for simple answers to common yeast FAQs.
Ingredients You’ll Need
Instructions
- Lightly flour your hands, work surface, and dough. Using the heels of your hands, gently push the dough away from you in a rocking motion, alternating hands as you go. You want to put some energy into it, to really stretch out the dough. The dough may get sticky as you knead, and that’s fine. Just sprinkle a little more flour on your hands. Do not add any more flour than you really need—use just enough to prevent it from sticking too much to your hands and work surface. Dough should still feel a little tacky.
- As you knead, you’ll start to feel the texture of the dough change; it will begin to smooth out and feel softer and more elastic. The length of time a dough requires kneading depends on the recipe. Some doughs take just 3–5 minutes, while others can take up to 10–15 minutes. For those longer knead times, if your arms are getting tired and you have a stand mixer, feel free to pop the dough into your stand mixer bowl and use the mixer’s dough hook attachment for a few minutes to give your hands a break.
- There are 2 ways to check whether the dough has been kneaded enough and is ready to rise, and you can use either or both. The first way to check is to simply poke the dough with your finger. If the dough bounces back without sticking to your finger, it’s been kneaded enough. If it doesn’t, you need to keep kneading. The second way to check is something called the “windowpane test.” Tear off a small (roughly golfball-size) piece of dough and gently stretch it out until it’s thin enough for light to pass through it. Hold it up to a window or light. Does light pass through the stretched dough without the dough tearing first? If so, your dough has been kneaded long enough and is ready to rise per your recipe’s instructions (such as sandwich bread). If not, keep kneading.
You may also like...