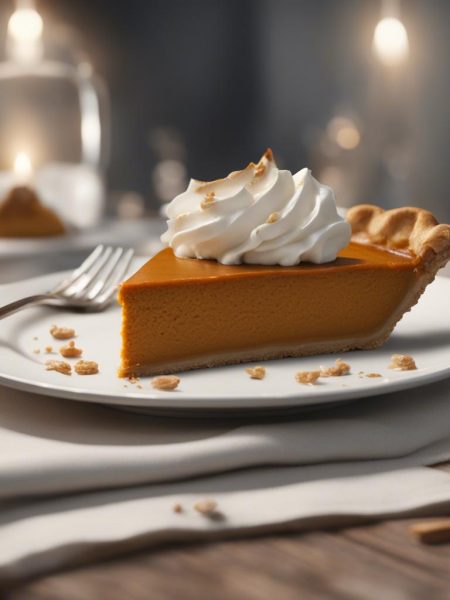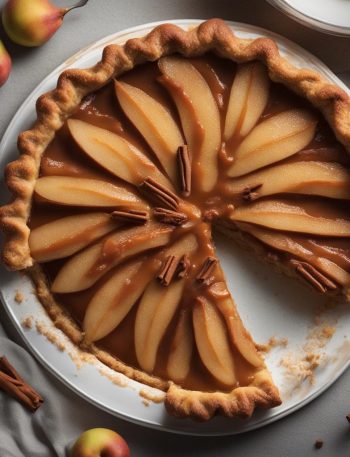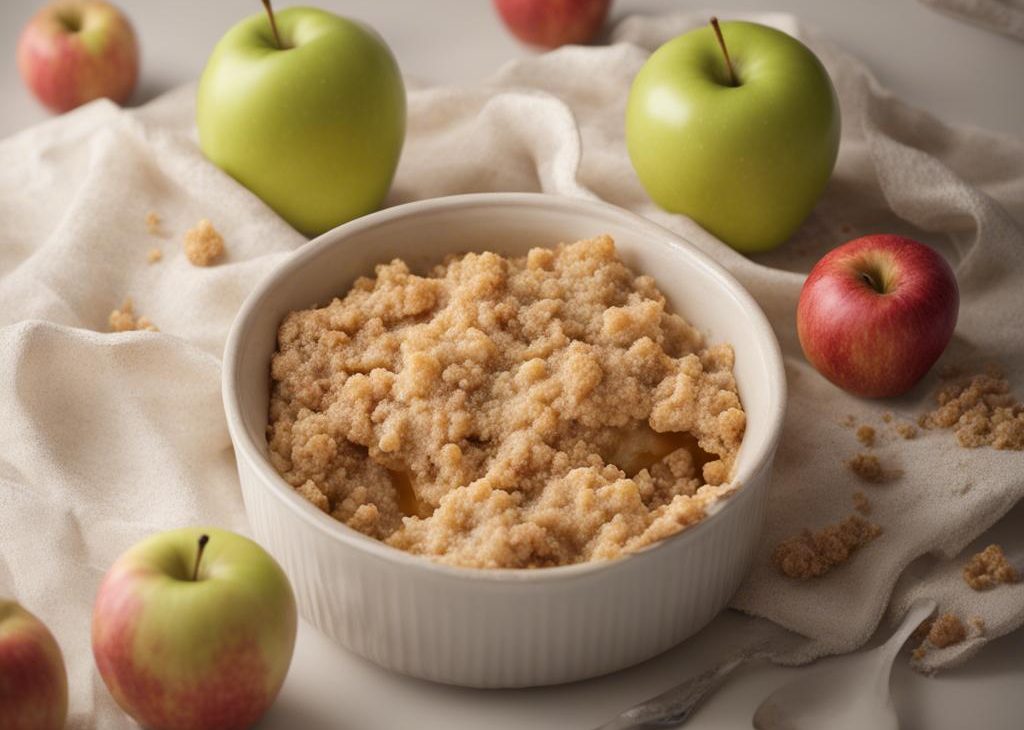

I make Individual Apple Crumbles when I want a bake that feels considered but still comes from normal pantry work. The batch has the kind of smell that pulls me back to the oven door before the timer finishes: warm sugar, butter or oil, and whatever fruit, spice, or chocolate is doing the heavy lifting.
I do not treat this as a fussy showpiece. I treat it as a recipe that needs a steady hand: measure, scrape the bowl, chill or cool when the directions say to, and cut only when the texture is ready. The first impatient slice is usually the messy one.
Why I keep this recipe in my notes
- It gives clear texture cues.I know what the dough, batter, or filling should look like before it goes into the oven.
- It is make-ahead friendly.Most sweet recipes improve when they cool fully, and I build that patience into the method.
- The flavors are familiar.Fruit, spice, chocolate, vanilla, and butter or oil do not need much explaining when they are balanced.
- It slices or scoops better with rest.I would rather wait than serve a warm collapse that tastes good but looks tired.
- It fits a real kitchen.I use bowls, pans, parchment, and timers I already own.
- Leftovers are useful.A covered slice or cookie is a very good future coffee companion.
What I use and why it matters
- 1 Tablespoon melted butter.
- 3 large apples (cut into 1-inch chunks, about 4 cups or 480g).This is where the fresh flavor comes from. I cut it evenly so the pieces cook or season at the same pace.
- 3 Tablespoons brown sugar.
- 1/4 teaspoon ground cinnamon.This is the background note.
- 1/8 teaspoon ground nutmeg.This is the background note.
- 2/3 cup brown sugar.
- 1 cup all-purpose flour.This is the structure. I mix it in carefully so the finished texture stays tender instead of heavy.
- 1 teaspoon ground cinnamon.This is the background note.
- salt (small pinch, about 1/16 teaspoon).
- 6 Tablespoons melted butter.
- ice cream and salted caramel (optional for serving).
How I make it
Step 1 — Preheat and prepare
I preheat oven to 350°F (177°C). Line six 6-ounce ramekins on a baking sheet. I first, brush the 1 Tablespoon of melted butter into ramekins to grease them. In a large bowl, stir the apples, brown sugar, cinnamon, and nutmeg together. Divide apples between ramekins.
Step 2 — Mix the base
I use a fork to mix this crumb topping. Mix the brown sugar, flour, cinnamon, and salt together in a medium bowl. Fold in the melted butter. Keep the mixture as large crumbles and do not over-mix. (If over-mixed, this will turn into a thick paste.) Sprinkle evenly over apples, pressing down into the apples if necessary so it fits. (It’s fine if crumble topping is still piled high on the apples because it bakes down.) I bake for 32-36 minutes or until topping is lightly toasted and apples appear softened.
Step 3 — Shape or fill
I remove from the oven and serve warm. If desired, serve with ice cream and salted caramel on top. I cover and store leftover crumbles in the refrigerator for up to 2 days. Reheat in the microwave or oven if desired before enjoying. (See next for reheating in oven instructions.)
The cues I watch for
I watch the edges first. Cookies and small bakes usually tell the truth there before the middle does; pale edges mean wait, deep brown edges mean I waited too long.
Cooling is part of the recipe, not a polite suggestion. Warm sugar and butter are fluid, and they need time to settle before the crumb, filling, or icing behaves.
Tips from my kitchen
- Measure before heat.I line up the ingredients first so I am not hunting for salt while something is already browning.
- Trust the texture.If the mixture looks too loose, too dry, or uneven, I fix that before moving to the next step.
- Season in small moves.I add a little, taste when safe, and adjust. Big last-minute fixes rarely taste as clean.
- Use the pan size called for.Changing depth changes cook time, browning, and how the center sets.
- Cool before cutting.I know it is tempting, but warm bakes tear, smear, and crumble. A short wait gives cleaner pieces.
Variations I have actually tried
- Citrus note:I add a little orange or lemon zest when the main flavor can handle brightness.
- Nutty finish:Toasted almonds, walnuts, or pecans add crunch without changing the base method.
- Chocolate version:A handful of chips or a thin drizzle works when the recipe already leans buttery or vanilla.
- Less sweet:I reduce only the add-on glaze or topping first; changing the batter sugar can affect texture.
- Fruit swap:I use the same volume of a similar fruit and keep an eye on extra moisture.
Storing and reheating
I cool it completely before covering. Trapped steam is the fastest way to turn a crisp edge soft or make icing slide.
For most bakes, I keep leftovers airtight at room temperature for a short stretch or in the refrigerator if there is fruit, dairy, or a soft filling. I freeze wrapped portions when I know I will not finish them quickly.
What I serve with it
I usually serve this with coffee, tea, or a spoonful of something creamy if the bake is fruit-heavy. If it is already iced or glazed, I keep the plate simple and let the texture do the work.
Frequently asked questions
Can I make Individual Apple Crumbles ahead?
Yes. I prep what I can early and store it covered, then finish the step that protects texture right before serving.
Can I change the main ingredient?
I keep the same quantity and choose a similar ingredient in size and moisture. Big swaps can change timing, so I watch the pan or oven closely.
How do I know it is done?
I look for set edges, a center that no longer looks wet, and the doneness cue in the instructions. If meat is involved, I use a thermometer.
How should I store leftovers?
I cool leftovers first, then refrigerate them in an airtight container. For crisp foods, I reheat uncovered so steam does not soften the surface.
What if the flavor tastes flat?
I add a small pinch of salt or a little acid, then taste again. Rich dishes often need acid; sweet bakes often need salt.
If you make Individual Apple Crumbles, tell me what you changed or what cue helped most; I read those notes before I make the next batch.
Individual Apple Crumbles
Description
I make Individual Apple Crumbles with the source quantities kept intact and the method rewritten around the cues I use in my own kitchen. The source timing is 20 min prep, 35 min cook, and I keep those numbers while watching the food instead of the clock alone. Expect practical steps, storage notes, and swaps that stay close to the original dish.
Ingredients You’ll Need
Instructions
- I preheat oven to 350°F (177°C). Line six 6-ounce ramekins on a baking sheet.
- I first, brush the 1 Tablespoon of melted butter into ramekins to grease them. In a large bowl, stir the apples, brown sugar, cinnamon, and nutmeg together. Divide apples between ramekins.
- I use a fork to mix this crumb topping. Mix the brown sugar, flour, cinnamon, and salt together in a medium bowl. Fold in the melted butter. Keep the mixture as large crumbles and do not over-mix. (If over-mixed, this will turn into a thick paste.) Sprinkle evenly over apples, pressing down into the apples if necessary so it fits. (It's fine if crumble topping is still piled high on the apples because it bakes down.).
- I bake for 32-36 minutes or until topping is lightly toasted and apples appear softened.
- I remove from the oven and serve warm. If desired, serve with ice cream and salted caramel on top.
- I cover and store leftover crumbles in the refrigerator for up to 2 days. Reheat in the microwave or oven if desired before enjoying. (See next for reheating in oven instructions.).
Nutrition Facts
Servings 6
- Amount Per Serving
- Calories 119kcal
- % Daily Value *
- Total Fat 2g4%
- Saturated Fat 1g5%
- Trans Fat 0.1g
- Cholesterol 5mg2%
- Sodium 3mg1%
- Potassium 33mg1%
- Total Carbohydrate 22g8%
- Dietary Fiber 1g4%
- Sugars 6g
- Protein 2g4%
- Calcium 11 mg
- Iron 1.0 mg
* Percent Daily Values are based on a 2,000 calorie diet. Your daily value may be higher or lower depending on your calorie needs.
Note
Measure first. I set out every ingredient before heat or mixing starts so I can move calmly.
Watch texture. The source timing matters, but I trust color, set, sizzle, and tenderness too.
Season late if needed. I taste near the end and adjust salt, pepper, acid, or sweetness in small amounts.
Rest when the recipe allows. A short pause keeps slices cleaner, sauces smoother, and juices in place.
Frequently Asked Questions
Yes. I prep what I can early and store it covered, then finish the step that protects texture right before serving.
I keep the same quantity and choose a similar ingredient in size and moisture. Big swaps can change timing, so I watch the pan or oven closely.
I look for set edges, a center that no longer looks wet, and the doneness cue in the instructions. If meat is involved, I use a thermometer.
I cool leftovers first, then refrigerate them in an airtight container. For crisp foods, I reheat uncovered so steam does not soften the surface.
I add a small pinch of salt or a little acid, then taste again. Rich dishes often need acid; sweet bakes often need salt.
You may also like...