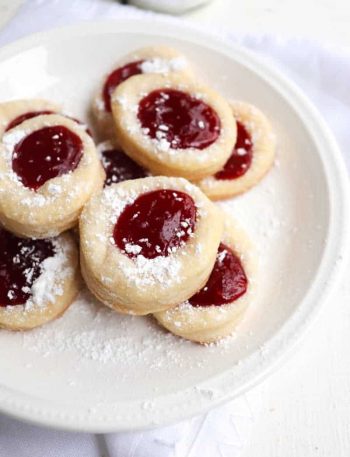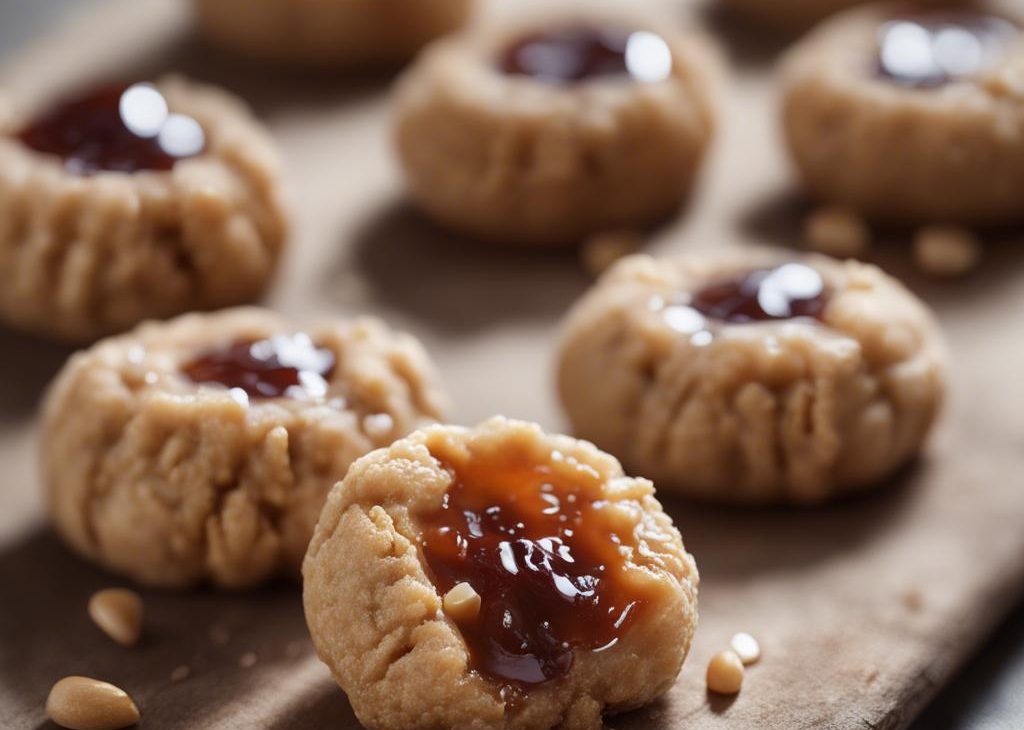
These peanut butter jam thumbprints combine extra soft peanut butter cookies, salty peanuts, and a sweet jam filling. Use your favorite jelly flavor like strawberry, grape, or raspberry. Add a simple drizzle of peanut butter white chocolate for extra flair. Chilling this cookie dough is imperative, so make sure you follow the recipe closely.
First, I know chocolate is supposed to be “the best” with PB, but give me raspberry jam and peanut butter any time of day, any day of the year. (No offense, peanut butter filled brownie cookies.)
Why You’ll Love These Peanut Butter Jam Thumbprints
Today’s recipe is my super soft peanut butter cookies recipe only with jam in the center. (Note that the plain version uses *slightly* more flour.) They’re melt-in-your-mouth soft and what I use when making peanut butter blossoms, and peanut butter chocolate swirl cookies, too.
Here’s why you’ll love them:
- Extremely soft
- Irresistible peanut butter flavor
- Sweet jam filling
- Salty crushed peanuts
- Peanut butter white chocolate topping that sets
How to Make Peanut Butter Jam Thumbprints
Chill the Cookie Dough for 3 Hours
I wrote a post on how to prevent cookies from spreading. If you have trouble with your cookies spreading, I highly recommend reviewing it. My #1 tip is to chill the cookie dough. This is imperative with many of my cookie recipes, like chocolate chip cookies. Since this cookie dough (and the baked cookies) is so soft, you actually need to chill the cookie dough twice. It sounds more dreadful than it actually is.
3 hours total chill time isn’t so bad, it’s just that you need to break it up. I’ve tested this cookie recipe numerous times, both when I was writing my manuscript and again last month. At least three hours of chilling is the ONLY WAY to guarantee your beautiful PB&J thumbprint cookies hold their shape.
If you’re making multiple batches of Christmas cookies this season, you can use this time to make a quick no-chill recipe like shortbread cookies or spritz cookies.
Best Peanut Butter & Jam to Use
- PB: The best peanut butter to use is processed peanut butter, Jif or Skippy are my preferred brands for baking, just like when you make peanut butter chocolate chip cookies. It’s dessert, you’re allowed to use the processed stuff. Natural-style is my choice for eating, but it doesn’t produce the same type of cookie as its processed counterpart. Natural peanut butter lends dry, crumbly cookies.
- Jam: No rules here! Use your favorite flavor jam, jelly, or preserves. I usually use raspberry preserves and/or strawberry jelly because we always have both on hand. Anything goes—grape, blueberry, blackberry, peach, you name it.
Peanut Butter White Chocolate Topping
This is totally optional, but if you want to dress up your peanut butter jam thumbprints, add a drizzle of peanut butter white chocolate. Melt 4 ounces of pure white chocolate, then stir in a heaping Tablespoon of creamy peanut butter. Drizzle all over the cookies. I always use a squeeze bottle for drizzling, but a spoon or fork works, too.
‘Tis the season to be… jelly!

Peanut Butter Jam Thumbprints Recipe
Description
These peanut butter jam thumbprints combine extra soft peanut butter cookies, salty peanuts, and a sweet jam filling. Use your favorite jelly flavor like strawberry, grape, or raspberry. Chilling this cookie dough is imperative, so make sure you follow the recipe closely.
Ingredients You’ll Need
Instructions
- Whisk the flour, baking soda, and salt together in a medium bowl. Set aside.
- In a large bowl using a hand mixer or a stand mixer fitted with a paddle attachment, beat the butter on medium-high speed until smooth, about 1 minute. Add the brown sugar and granulated sugar and beat on medium-high speed until creamed, about 2 minutes. Add the egg and beat on high speed until combined, about 1 minute. Scrape down the sides and up the bottom of the bowl and beat again as needed to combine. On medium-high speed, beat in the peanut butter and vanilla until combined.
- Add the dry ingredients to the wet ingredients and mix on low until combined. Dough will be thick and soft. Cover and chill the dough for at least 1 hour (and up to 2-3 days) in the refrigerator.
- Remove dough from the refrigerator and roll into balls, 1 scant Tablespoon (5/8 ounce or 18g) of dough each. Roll each ball into crushed peanuts. Indent your thumb or the bottom end of a silicone spatula or wooden spoon into the center of each dough ball to make a crevice. Place each on 1 or 2 large plates or a lined large baking sheet. Loosely cover the dough balls and chill for 2 hours (and up to 2 days).
- Preheat oven to 350°F (177°C). Line 2-3 large baking sheets with parchment paper or silicone baking mats.
- Remove dough balls from the refrigerator and arrange on the baking sheets 3 inches apart. Spoon heaping 1/2 teaspoon of jam into each indent.
- Bake for 11-13 minutes or until lightly browned on the sides. The jam won’t look completely set, but will set as the cookies cool. Mine usually take the full 13 minutes.
- Remove from the oven. Allow cookies to cool on the baking sheet for 5 minutes before transferring to a wire rack to cool completely.
- You can melt the white chocolate in a double boiler or the microwave. If using the microwave: place the chopped white chocolate in a medium heat-proof bowl. Melt in 20 second increments in the microwave, stirring after each increment until completely melted and smooth. Stir in peanut butter and drizzle lightly over cookies. Allow the drizzle to set completely at room temperature for about 30 minutes or in the refrigerator for 15 minutes.
- Cookies stay fresh covered at room temperature for 2 days or in the refrigerator for up to 1 week.

