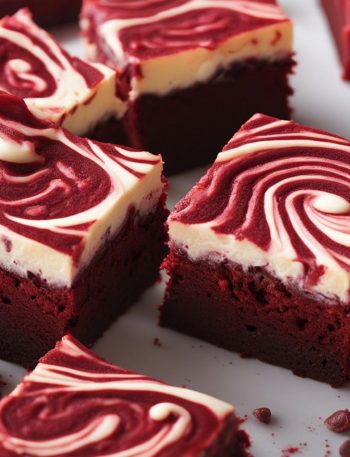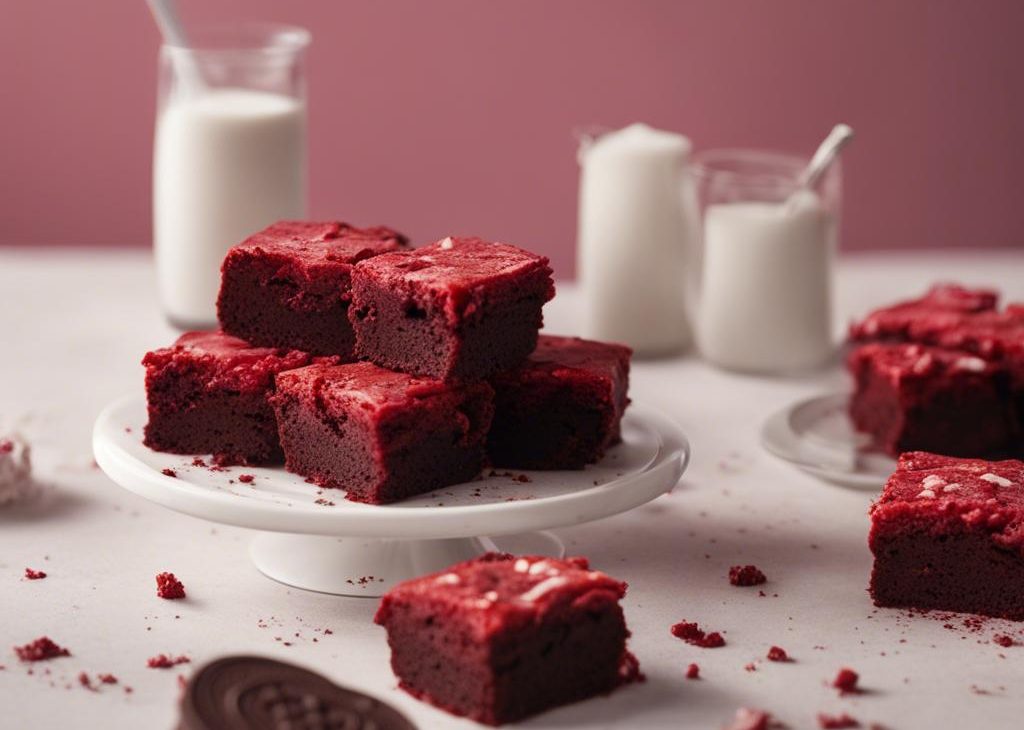
Dense red velvet brownies layered with Oreo frosting, fudgy chocolate ganache, and topped with Oreos.
Do you like red velvet? It’s taken some time for me to warm up to the flavor. I never really enjoyed red velvet anything until I tasted my friend’s wedding cake a couple years ago. It was so luxuriously moist! Layered with white chocolate buttercream and completely melt-worthy on my tastebuds.
Red velvet is magical. It’s not quite chocolate and not quite vanilla. Just a wonderful medley of the two paired together. Ever since that slice of red velvet cake, I’ve been dreaming of fun ways to dress up this scarlet red, lush flavor.
One way to dress up red velvet? Cheesecake. These Red Velvet Cheesecake Brownies completely blow my mind. I made them twice in one weekend earlier this year. Yes, they were that good.
I took that moist, chewy, flavor-packed brownie recipe and remixed it yesterday. Added a thick layer of cookies ‘n cream frosting, a little chocolate ganache, and crushed Oreos.
Pinch me! This dessert is seriously a dream come true.
So what exactly is this over-the-top red velvet dessert made of?
Well, we’ve got four tempting layers of goodness:
- Moist red velvet brownies
- Thick cookies ‘n cream frosting
- Chocolate ganache (that tastes like fudge)
- Crushed Oreos
Let’s start with the brownies. The bottom layer is a fudgy chocolate brownie with lots of buttery vanilla flavor. The brownie batter is dyed red with food coloring and a touch of white vinegar to make the red stand out against all the cocoa powder. (Don’t worry, you can’t taste it.) The brownies are quite dense; they’re not cakey in the slightest, which is exactly how I prefer my chocolate brownies.
It’s a standard brownie recipe. Just butter, sugar, eggs, flour, and cocoa powder. Line your baking pan with foil and spoon the batter inside. Bake for a quick 22-24 minutes. Try not to overbake the brownies. We all know what dry brownies taste like, right? Well, you don’t want dry red velvet brownies! An easy way to see if the brownies are done is to stick a toothpick into the center. Look for a few moist crumbs on your toothpick. Not wet at all, just a couple small moist crumbs.
An important note: lining your baking pan with aluminum foil will make your life much easier! Make sure there is enough overhang on the sides to lift the brownies out of the pan as a whole. This makes frosting and cutting the brownies a cinch. Allow the red velvet brownies to cool completely before moving onto the next layer.
Now, the second layer: cookies ‘n cream frosting. Swooooon! Standard frosting recipe—butter, confectioners (powdered) sugar, and cream. It’s a rather thick frosting, so I don’t recommend using it to frost a cupcake or cake unless you add more butter and/or cream. Beat the ingredients together and fold in 6 crushed Oreos. Not too difficult, right?
Don’t you just want to eat it with a spoon? Try hard to resist! You’ll need every last bit of frosting to spread on top of the cooled brownies. Once frosted, chill the brownies in the refrigerator until your ganache is ready.
There’s only 3 ingredients required to make the chocolate ganache. Chocolate ganache is usually made with pure cream and chocolate, but we’re adding butter to this layer. You’ll need 4 ounces of pure semi-sweet chocolate. I always use 1 Ghirardelli Semi-Sweet Baking Bar (or Baker’s brand—both found in the baking aisle). Any pure, sweetened chocolate would be fine. I never have luck making ganache from chocolate chips, so avoid using them since they do not melt into the proper texture.
Pour 1/2 cup of boiling heavy cream over the chocolate. Stir until the chocolate is melted, then add 2 Tablespoons of butter. That’s it! You just made silky, smooth chocolate ganache. Easy, right?
Spread the rich chocolate ganache over the frosted brownies (which had been in the refrigerator chilling). It doesn’t have to be completely neat because you’ll be covering the top with crushed Oreos. Crumble up 3 Oreos and crumble onto the wet ganache.
Chill the layered brownies in the refrigerator for at least 30 minutes before cutting. This will allow the ganache to set so you aren’t left with a huge mess. Make sure you wipe your knife off with a wet paper towel as you cut into the brownies. That’s how my layers stayed clean and neat.
While these brownies are timely to make, each step is quite simple. Work through one layer at a time, making sure to chill the layers as you go—as instructed in the recipe below. Each bite is completely worth it!
Both red velvet lovers and non-red velvet lovers will go crazy for these decked out brownies. Each layer is completely over the top in the best way possible.
While these are an obvious choice for Valentine’s Day dessert, they’re also a perfectly festive addition to any platter of Christmas cookies!

Red Velvet Oreo Brownies Recipe
Description
Dense red velvet brownies layered with Oreo frosting, fudgy chocolate ganache, and topped with Oreos.
Ingredients You’ll Need
Instructions
- Set out the butter you’ll need for the frosting and the ganache, so they come to room temperature as you prepare the brownies.
- Preheat the oven to 350°F (177°C). Line an 8-inch square baking pan with aluminum foil, leaving enough overhang on the sides to lift the brownies out of the pan. Set aside.
- In a small bowl, beat the 2 eggs together. Set aside. Melt the butter in a large microwave safe bowl in 30 second increments until melted. Stir in 1 cup sugar, 2 teaspoons vanilla extract, cocoa powder, salt, food coloring, and vinegar. Mix each of those ingredients into the batter in that order. Whisk in the eggs, then fold in the flour until completely incorporated. Do not overmix. Pour the brownie batter into prepared baking pan. Bake the brownies for 22-24 minutes or until a toothpick inserted in the middle comes out mostly clean, with a few small moist crumbs. Allow the brownies to cool at room temperature for 30 minutes, then transfer to the refrigerator to cool completely.
- With a handheld or stand mixer fitted with a paddle attachment, beat the butter on medium-high until light and creamy—about 1 minute. Add the confectioners’ sugar and 2 Tbsp cream, beating on medium until creamy. Add 1 more Tbsp cream until the frosting is spreadable consistency. You want it to be thick so that the frosting layer stays neat when you cut into the brownies. Fold in the crushed Oreos. Lift the cooled brownies out of the pan and spread them with the frosting. Stick them into the refrigerator as your prepare the ganache. You want the frosting to slightly chill on the brownies.
- Break up the chocolate into small pieces in a medium bowl. Heat the heavy cream until boiling, either in the microwave or on the stovetop. Pour boiling cream over the chocolate and stir until the chocolate is melted and smooth. Cut in the butter, one small piece at a time, and stir until smooth. Spread over frosted brownies. Chill for at least 30 minutes before cutting.
- Cut the brownies into squares, wiping your large knife off with a wet paper towel between cuts so that the layers stay neat. Cover brownies tightly and keep chilled in the refrigerator for up to 5 days.

