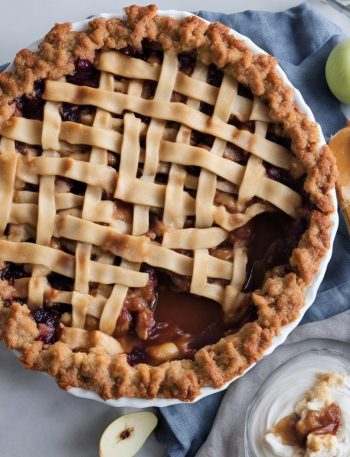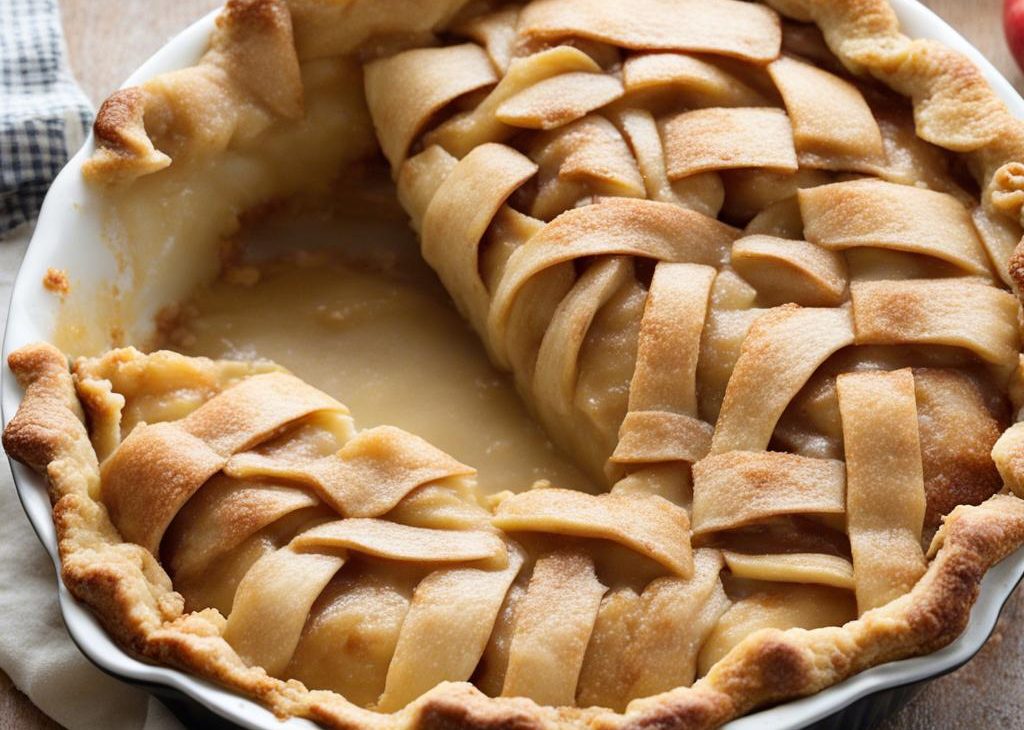
With a mountain of gooey cinnamon apples nestled under a perfectly buttery and flaky pie crust, this is most certainly my favorite apple pie recipe. To bring out the best apple flavor and texture, pre-cook the filling for about 5 minutes on the stove. Bake and cool the pie, and then top with vanilla ice cream for the ultimate homestyle dessert.
. I also added an optional pre-cook step for the apple filling.
I’m a published cookbook author, and I bake as a profession. So you can imagine I’m often asked about my *favorite* dessert. And, without hesitation, my answer is ALWAYS homemade pie.
In particular, apple pie. Below you’ll find my favorite pie… and baking recipe… on the planet. It’s my #1 choice out of all the Thanksgiving pies, but I certainly don’t limit it to the fall season. I’ve been making this recipe for years, and after testing multiple different fillings, spices, apple varieties, and other little tweaks, I consider the recipe below to be my very best apple pie.
Here’s what a few more readers are saying:
Here’s Why You’ll Love This Apple Pie, Too
- Classic recipe, without any complicated ingredients
- Golden flaky double pie crust provides a crisp contrast to the soft and juicy filling
- Caramelized filling peeking through the lattice
- Deliciously sweet, cinnamon-spiced filling
- Tall slices with oodles of tender apples that aren’t overly mushy
- Comforting, nostalgia-filled flavor
- Completely out-of-this-world with a scoop of vanilla ice cream on top
This pie is deep-dish style, but you don’t need a super special pie dish to get started. Any 1.5- to 2-inch-deep pie dish works here. You’ll simply pile those apple slices nice and high!
Let’s get started.
Begin With Quality Pie Crust
You need a sturdy crust to hold in the mountain of apples. Whether you’re a pie crust beginner or pro, I encourage you to read through my pie crust recipe. There’s nothing quite like homemade pie crust and my grandmother’s recipe has consistently proven its authority over the past several decades. It’s our family’s favorite, and I’ve been using it ever since I could lift a rolling pin.
This recipe uses both butter and shortening to provide a quality combination of sturdy, flaky, and buttery. I also have an all butter pie crust if you’re interested. But for best taste and texture, I swear by using both shortening and butter. You can taste the difference.
Key Ingredients You Need
Once you have your pie dough ready, you can gather the rest of the ingredients. My apple pie recipe has a deliciously gooey, sweet, and spiced apple filling. The ingredients in the filling are my go-to choices for most apple pie recipes including my apple cheddar pie and salted caramel apple pie, too.
Do you crave extra flavor? You’ll love this apple cranberry pie or chai-spiced apple pie.
Roll out the bottom pie dough. Tuck the dough into a deep-dish pie plate. Refrigerate as you prepare the filling. Remember, cold pie dough is key to pie-making.
Make the filling. Stir all of the filling ingredients together in a large bowl. An optional step, and something I’ve been doing more recently, is to pre-cook the filling on the stove for just a few minutes. This begins to soften the apple slices, and helps to meld the flavors together. I find it makes for a juicier, and even more flavorful filling!
Pile the filling into the pie dish. Don’t just pour in the apples. Instead, make sure the slices are compact inside. Tuck them in tightly so there’s hardly any air pockets. The filling is already so juicy:
Add the top pie crust.. You’ll need a pastry wheel, pizza cutter, or sharp knife to make the lattice strips. A pair of kitchen shears is also handy for trimming any excess pie dough overhang.
Alternatively, you can make a double-crust pie by laying the second rolled-out pie crust on top. Slit some vents on top with a sharp knife.
Don’t want to mess with a top crust? Try my apple crumble pie, apple cranberry crumble pie, or make an apple galette.
Flute the edges…
Brush with egg wash. Egg wash is a combination of egg and milk, and it’s what gives the pie crust its golden sheen. Pie crust looks very dull without the egg wash. For a little crunch and sparkle, I always add a sprinkle of coarse sugar on top, too.
Bake: Bake the apple pie until the crust is golden brown, and the filling is bubbling through the vents, about 1 hour. Baking the pie at an initial high temperature helps set the crust. After about 25 minutes, reduce the oven temperature as the recipe card instructs below.
When I lower the oven temperature, I add a pie crust shield. You can buy one, or you can make a DIY pie crust shield out of aluminum foil. Tear off a large square of aluminum foil, fold it in half, and then cut a half-circle in the center of the folded edge. Unfold it and place it on the pie. This will protect the edges, to ensure the crust doesn’t burn.
How Do I Know When Apple Pie Is Done?
A visual cue is helpful when determining the pie’s doneness. If the crust is golden, and the filling is bubbling around the edges, the apple pie is done. If you want to be precise, the internal temperature of the filling taken with an instant read thermometer should be around 200°F (93°C) when done.
Cool the pie: The longer you let apple pie cool, the more the filling will set. I recommend cooling for at least 3 full hours before slicing and serving. I know, it’s nearly impossible to wait!
4 Apple Pie Success Tips
Top the slices with vanilla ice cream and, if desired, a drizzle of salted caramel… because we don’t mess around when it comes to dessert. A dollop of whipped cream would be excellent here, too!
If you’re looking for individual-portion desserts, you may love these apple turnovers, apple pie baked apples, individual apple crumbles, or my apple hand pies. No shortage of apples around here.
And if you have an abundance of apples on your hands, whip up a batch of my honeycrisp apple sangria!
Homemade apple pie—with its combination of sweet, juicy apples and warm, comforting spices all encased in a buttery, golden crust—is such a quintessential American dessert. Every delicious bite evokes a sense of home, nostalgia, and tradition, and I know you’ll love it as much as I do!

My Favorite Apple Pie Recipe
Description
With a mountain of gooey, cinnamon-kissed apples nestled under a perfectly buttery and flaky pie crust, this is most certainly my favorite apple pie recipe. To bring out the best apple flavor and texture, pre-cook the filling for only about 5 minutes on the stove. Bake and cool the pie, and then top with vanilla ice cream for the ultimate homestyle dessert.
Ingredients You’ll Need
Instructions
- Prepare either pie crust recipe through step 5.
- In a large bowl, stir the apple slices, sugar, flour, lemon juice, cinnamon, allspice, and nutmeg together until thoroughly combined.
- Pour the apple filling into a greased very large skillet, or dutch oven, and place over medium-low heat. Stir and cook for 5 minutes until the apples begin to soften. Remove from heat and set aside. This step is optional, but I’ve found it makes for a juicier, more flavorful filling because it helps begin to soften the apples. If you can, take the few extra minutes to do this, because the flavor is worth it!
- Preheat oven to 400°F (204°C).
- On a floured work surface, roll out one of the discs of chilled dough (keep the other one in the refrigerator). Turn the dough about a quarter turn after every few rolls until you have a circle 12 inches in diameter. Carefully place the dough into a 9-inch pie dish that’s 1.5 to 2 inches deep. Tuck the dough in with your fingers, making sure it is smooth. Spoon the filling into the crust. It’s ok if it is still warm from the precooking step. It will seem like a lot of apples; that’s ok. Pile them high, and tightly together.
- Remove the other disc of chilled pie dough from the refrigerator. Roll the dough into a circle that is 12 inches diameter. Using a pastry wheel, sharp knife, or pizza cutter, cut strips of dough;, I cut 12 1-inch-wide strips. Carefully thread the strips over and under one another, pulling back strips as necessary to weave. (Here’s a lattice pie crust tutorial if you need visuals.) Use a small paring knife or kitchen shears to trim off excess dough. Fold the overhang back towards the center of the pie, and pinch the edges to adhere the top and bottom crusts together. Crimp or flute the pie crust edges to seal.
- Lightly brush the top of the pie crust with the egg wash. Sprinkle the top with coarse sugar, if using.
- Place the pie onto a large baking sheet and bake for 25 minutes. Then, keeping the pie in the oven, reduce the oven temperature down to 375°F (190°C). Place a pie crust shield (see Note for homemade shield) on the edges to prevent them from over-browning. Continue baking the pie until the filling is bubbling around the edges, 35–40 more minutes. This sounds like a long time, but under-baking the pie means an unfinished filling with firm apples with paste-like flour. If you want to be precise, the internal temperature of the filling taken with an instant read thermometer should be around 200°F (93°C) when done. Tip: If needed towards the end of bake time, remove the pie crust shield and tent an entire piece of foil on top of the pie if the top looks like it’s getting too brown.
- Remove pie from the oven, place on a cooling rack, and cool for at least 3 hours before slicing and serving. Filling will be too juicy if the pie is warm when you slice it.
- Cover and store leftover pie at room temperature for up to 1 day or in the refrigerator for up to 5 days.
Frequently Asked Questions
You don't have to pre-cook the filling before spooning it into the pie crust, but it's a quick step I recommend. Just 5 minutes on the stove begins the softening process, and also helps the flavors start to mingle. I've never regretted taking this step, and it's certainly catapulted my apple pies from good to great.
You don't have to pre-bake the bottom pie crust for this pie. There's simply no need to take this extra step because the apple pie bakes for a really long time in the oven. If your pies have soggy crusts, you may not be baking them long enough. See How Do I Know When Apple Pie Is Done above. Additionally, and this is important, I strongly recommend using a glass pie dish. Glass conducts heat slowly and evenly, and you can literally *see* if the bottom crust is done.

