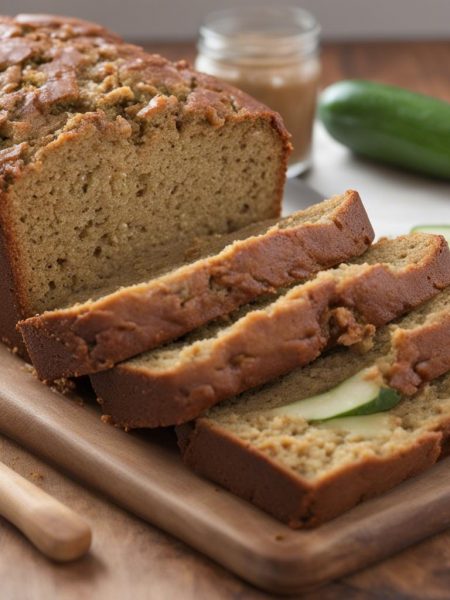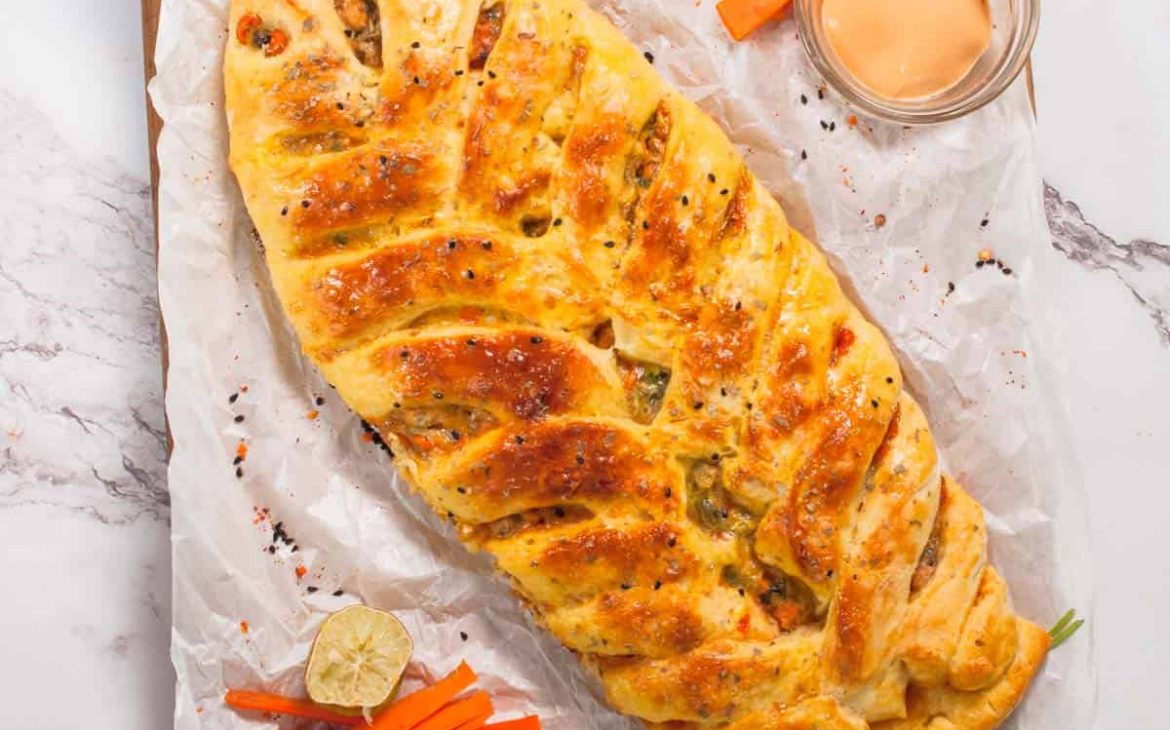

Chicken bread is the one I make when I want a dependable batch without fussing over extra dishes. My usual timing is 90 minutes of prep, 30 minutes of cooking, and 2 servings. That lets me cook by the clock at first, then finish by what I can see and smell.
The first batch taught me where this recipe needs attention. It is not difficult, but it does reward patience: scraping the bowl, watching the heat, and letting the finished breakfast settle before I serve it. Those little pauses make it taste deliberate instead of rushed.
I wrote the method below the way I actually use it, with the small signs I watch for along the way. I keep the measurements steady and focus on the small cues that make the batch come out the same way twice.
Why I keep coming back to this
- I can get the active work done in about 90 minutes, which matters on a normal day.
- The ingredient list stays practical; I do not need a specialty run before I start.
- The texture gives me clear signs as it cooks, so I am not guessing at the finish line.
- It holds up after resting, which is how I know the method is doing its job.
- Small changes work without rebuilding the whole recipe.
- The leftovers are still worth eating, not just tolerated.
What you need (and what each one is doing)
- 4 cups plain flour. I use it because it gives the base enough structure.
- 1 teaspoon salt. I use it because it makes the rest of the flavors clearer.
- 2 tablespoon powdered milk. I use it because it adds moisture and softens the texture. I keep it optional.
- 1 tablespoon instant yeast. I use it because it handles the lift.
- 2 eggs. I use it because it binds everything so it slices or scoops cleanly.
- 4 tablespoon oil. I use it because it keeps the crumb or sauce from tasting flat.
- 1 teaspoon castor sugar. I use it because it sweetens and helps with browning.
- 1/4 teaspoon baking powder. I use it because it handles the lift. I keep it It helps to reduce yeasty smell.
- 2 cups boiled chicken or shredded chicken.
- 2 small size chooped onion. I use it because it builds the savory backbone.
- 1 teaspoon salt. I use it because it makes the rest of the flavors clearer.
- 1 teaspoon black pepper. I use it because it builds the savory backbone.
- 4 medium green chillies. I use it because it rounds out the recipe. I keep it chopped.
- 1 teaspoon garam masala powder.
- 2 tablespoon coriander leaves.
- 2 tablespoon flour. I use it because it gives the base enough structure.
- 2 tablespoon butter.
- 1 cup milk. I use it because it adds moisture and softens the texture.
- sesame seeds as required.
How I make it
Step 1 — Melt the butter
Take a non-stick frying pan and set the heat to medium-low. Place two tablespoons of butter on it and let it melt. Then add the chopped onion to the pan. Stir gently with a silicone or wooden spatula for one minute or until soft. Finally, add 2 tbsp flour, 1 tsp salt, 1 tsp black pepper, and 1 tsp garam masala to the pan and stir thoroughly for one minute at low heat.Now pour the. I know waiting is annoying, but this is the difference between a clean serving and a messy one.
Step 2 — Knead the dough
In a mixing bowl, combine 4 cups flour, 1 teaspoon salt, 1 teaspoon castor sugar, 2 tablespoons milk powder, 1 tablespoon yeast, 1/4 teaspoon baking powder, 4 tablespoon oil, and 1 egg. Knead the ingredients together until they form a soft dough. You can add warm water slightly if necessary. Now set the bowl with a cover at room temperature. Allow rising for about one hour before proceeding with the rest of the recipe. Continue.
Tips from my kitchen
- Do not overmix. Once the flour is in, I stop as soon as the batter looks even.
- Use the pan size listed. Changing the pan changes the timing more than it seems.
- Check early. I start checking a few minutes before the timer because ovens drift.
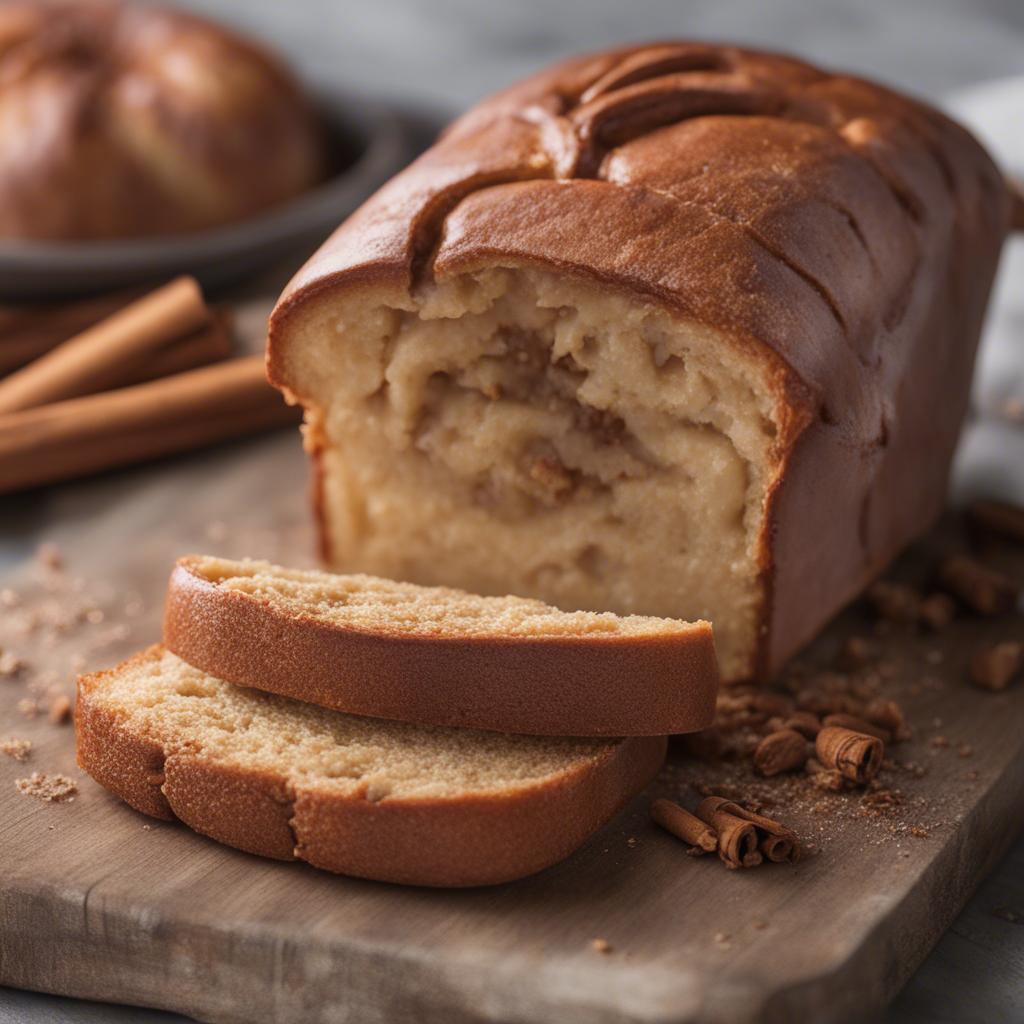
- Let it rest. The texture firms as it cools, so cutting too early gives a messy result.
- Write down swaps. If I change a milk, flour, or add-in, I note it so I can repeat the good batch.
Variations I have actually tried
- Add. Add chocolate chips or chopped nuts if the batter can handle it.
- Use. Use a different milk with the same measurement.
- Swap. Swap in a warm spice blend for part of the cinnamon or vanilla.
- Make. Make smaller portions and start checking the oven early.
- Serve. Serve with yogurt or fruit to make it feel less sweet.
Storing and reheating
I let the pan or loaf cool before covering it. Most sweet bakes keep 2-3 days at room temperature if the kitchen is cool, or about 1 week in the refrigerator. I wrap individual portions before freezing so I can thaw only what I need.
What I serve with it
I keep the serving simple. For sweet recipes, I like coffee, milk, yogurt, fruit, or a not-too-sweet whipped cream. For savory recipes, I reach for something fresh or acidic on the side so the plate does not feel heavy. The goal is balance, not a crowded plate.
Frequently asked questions
Can I make this ahead?
Yes. I usually make it ahead when I can because the flavor settles after resting. Keep it covered, and if it is baked, cool it fully before storing so condensation does not soften the edges.
Does it need to cool before serving?
I give it at least a short rest. Hot sugar, starch, or sauce can seem loose at first, and a few minutes makes the serving cleaner.
How do I know it is done?
I start checking near the listed 30-minute cook time. The center should look set for baked dishes, and a tester should come out clean or with only a few moist crumbs.
Can I change the pan size?
I try not to unless I have to. A wider pan cooks faster and a deeper pan needs more time, so I watch the center and edges rather than trusting the timer alone.
Can I reduce the sugar?
Usually a small reduction works, but I avoid cutting it too much because sugar affects moisture and browning, not just sweetness.
How long do leftovers keep?
Most batches keep 3-5 days covered in the refrigerator, though cookies and some cakes can stay at room temperature if the kitchen is cool. I freeze extras when I know I will not finish them quickly.
If you make this Chicken bread, leave a comment with what you changed. I always want to know which little swaps work in another kitchen.
Chicken bread
Description
Chicken bread is the version I make when I want a dependable homemade batch. It uses plain flour, salt, powdered milk, instant yeast, keeps the timing straightforward, and gives me clear cues for mixing, cooking, and resting.
Ingredients You’ll Need
Instructions
- Take a non-stick frying pan and set the heat to medium-low. Place two tablespoons of butter on it and let it melt. Then add the chopped onion to the pan. Stir gently with a silicone or wooden spatula for one minute or until soft. Finally, add 2 tbsp flour, 1 tsp salt, 1 tsp black pepper, and 1 tsp garam masala to the pan and stir thoroughly for one minute at low heat.Now pour the. I know waiting is annoying, but this is the difference between a clean serving and a messy one.
- In a mixing bowl, combine 4 cups flour, 1 teaspoon salt, 1 teaspoon castor sugar, 2 tablespoons milk powder, 1 tablespoon yeast, 1/4 teaspoon baking powder, 4 tablespoon oil, and 1 egg. Knead the ingredients together until they form a soft dough. You can add warm water slightly if necessary. Now set the bowl with a cover at room temperature. Allow rising for about one hour before proceeding with the rest of the recipe. Continue.
Note
Do not overmix. Once the flour is in, I stop as soon as the batter looks even.
Use the pan size listed. Changing the pan changes the timing more than it seems.
Check early. I start checking a few minutes before the timer because ovens drift.
Let it rest. The texture firms as it cools, so cutting too early gives a messy result.
Frequently Asked Questions
Yes. I usually make it ahead when I can because the flavor settles after resting. Keep it covered, and if it is baked, cool it fully before storing so condensation does not soften the edges.
I give it at least a short rest. Hot sugar, starch, or sauce can seem loose at first, and a few minutes makes the serving cleaner.
I start checking near the listed 30-minute cook time. The center should look set for baked dishes, and a tester should come out clean or with only a few moist crumbs.
I try not to unless I have to. A wider pan cooks faster and a deeper pan needs more time, so I watch the center and edges rather than trusting the timer alone.
Usually a small reduction works, but I avoid cutting it too much because sugar affects moisture and browning, not just sweetness.
You may also like...