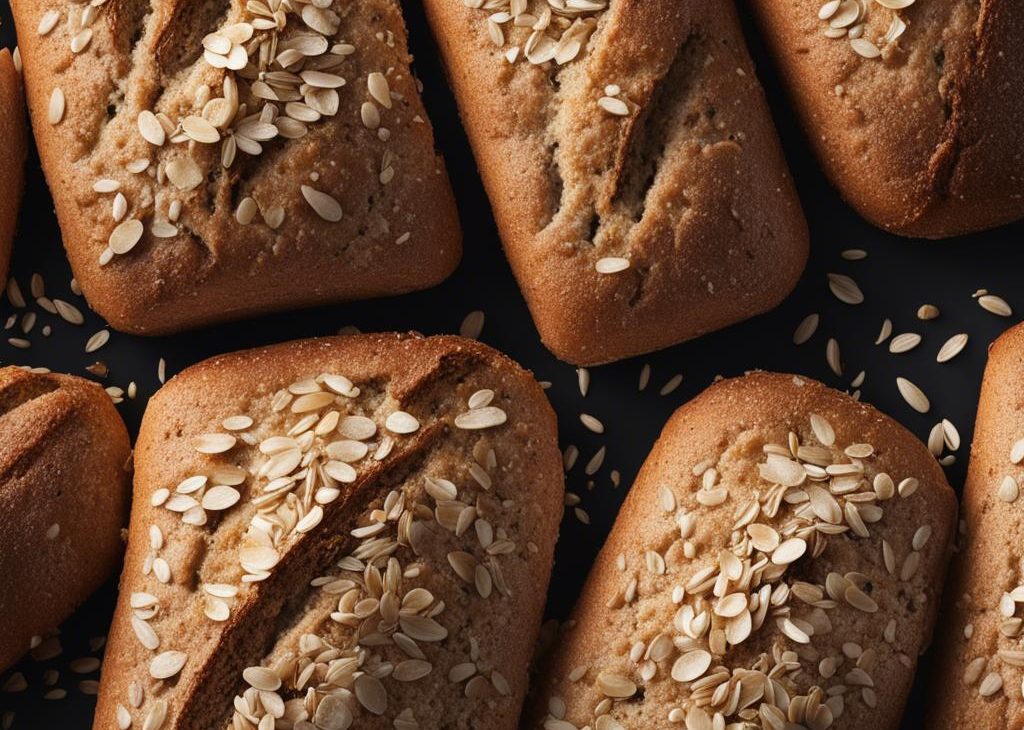
This seeded oat bread is crusty on the outside, chewy on the inside, and has the most delicious crunch in every bite, thanks to all the seeds. This is a hearty loaf that can stand up to any meal, from thick and chunky stews to delicate poached eggs. You’ll use an easy no-knead method to make this yeast bread, which produces a beautiful homemade loaf with minimal hands-on work.
This recipe is brought to you in partnership with Red Star Yeast.
You know those gorgeous seed-encrusted loaves of bread you see in bakery windows?
The kind that look like they took ages to make, and you wonder how much kneading, shaping, and work went into just 1 loaf? Well, you can make those same beautiful seeded loaves right at home, with hardly any work involved. No kneading, no complex shaping, no mixer needed.
Yes, this crusty, chewy, golden-brown, seed-speckled oat bread doesn’t require any complicated work.
This bread, like my homemade cranberry nut no-knead bread, asiago-crusted skillet bread, and olive bread, will convince anyone that you either bought it from a bakery or spent all day in the kitchen making it—which, of course, you didn’t. Don’t feel like you have to let them in on our little secret. 😉
Hearty Homemade Bread for Beginners
This texture-lover’s seeded oat bread recipe is based off of my homemade artisan bread, a wonderfully easy and widely popular no-knead bread that’s used by both beginners and experts.
If you’re nervous to try homemade bread, this recipe is a great introduction. Even though the recipe is easy, the bread does NOT skimp on flavor. It’s just a simple way of baking homemade bread inspired by the no-knead technique originating from bread expert Jim Lahey.
Grab These Ingredients:
Let Me Show You How to Make This Seeded Bread
. Bring the dough ingredients together as instructed in the recipe. At first the dough will seem very dry and shaggy and you’ll question if it will even come together. It will. In fact, the dough is a little sticky after it has been thoroughly mixed:
Let it rise. Cover the dough and let it rise at room temperature for about 3 hours. Notice that the dough rises OUT more than it rises UP. That’s ok.
You can move on to shaping and baking the dough, but for best flavor, I strongly recommend refrigerating the risen dough, even if it’s just for a couple hours. I usually refrigerate it for 12 hours.
After the dough rises and rests in the refrigerator, use generously floured hands to shape the dough into a round boule or ball-like shape.
Use a Baking Sheet or Dutch Oven
Baking the seeded oat bread in a covered dutch oven traps steam inside the pot, creating that perfect crispy crust. If you plan to bake a lot of bread in the future, you won’t regret buying a dutch oven. If you don’t have a dutch oven, a nonstick baking sheet is best.. And even have a trick for creating a steamy oven!)
Whichever baking method you use, don’t forget to add seeds/oats to the exterior of the dough (I usually just press them on). And make sure you score the dough with a bread lame or sharp knife before baking. Scoring allows the wet, airy dough to “breathe” as it expands and bakes.
Baking sheet method:
Dutch oven method:
The bread is unbelievable when it’s fresh from the oven—warm, crispy, crusty, soft, and loaded with texture inside and out!
What Do I Serve With Seeded Bread?
Honestly, it’s fantastic plain, with a swipe of butter or a dip-dish of olive oil. The bread would also be delicious paired with homemade pesto or homemade honey butter.
But I especially love serving this seeded oat bread alongside a soup, like this creamy chicken noodle soup or homemade alphabet soup. It also gives phenomenal texture to grilled cheese sandwiches, and makes a hearty base for creamy smashed avocado and soft eggs.
If you manage to have any leftover, make use of the stale bread in this easy breakfast casserole!

Seeded Oat Bread Recipe
Description
Follow this easy no-knead recipe for a hearty loaf of homemade seeded oat bread. Review Notes before beginning. If you’re new to working with yeast, reference my Baking with Yeast Guide for answers to common yeast FAQs.
Ingredients You’ll Need
Instructions
- .
- In a large un-greased mixing bowl, whisk the flour and yeast together. Add the oats, pumpkin seeds, sunflower seeds, flax seeds, and salt and whisk to combine. Mix the honey and water together, and then pour over the dry ingredients. Using a silicone spatula or wooden spoon, gently mix together. The dough will seem dry and shaggy, but keep working it until all the flour is moistened. If needed, use your hands to work the dough ingredients together. The dough will be very sticky. Shape into a ball in the bowl as best you can. (Tip: Stir dough by hand. Dough is too sticky for a mixer.)
- Keeping the dough in the bowl, cover the dough tightly with plastic wrap or aluminum foil and set on the counter at room temperature (honestly any normal room temperature is fine). Allow to rise for 3 hours. The dough will just about double in size, stick to the sides of the bowl, and have a lot of air bubbles.
- You can continue with step 5 immediately, but for absolute best flavor and texture, I strongly recommend letting this risen dough rest in the refrigerator for at least 12 hours and up to 3 days. (Even just a couple hours is good!) Place covered dough in the refrigerator for up to 3 days. The dough will puff up during this time, but may begin to deflate after 2 days. That’s normal and nothing to worry about.
- Lightly dust a large nonstick baking sheet (with or without rims, and make sure it’s nonstick) with a little flour and/or cornmeal. Using generously floured hands and gentle pressure so as to not deflate the dough too much, shape the risen dough into a ball. (I just do this right inside the bowl it’s in, or you can do this on a lightly floured work surface.) Dough is very sticky.
- Transfer ball to prepared baking sheet. Mix topping ingredients together. Sprinkle on top of dough, and if the seeds aren’t sticking, press them into the dough as best you can. Loosely cover and allow dough to rest for 45 minutes. You will bake the dough on this prepared baking sheet. See recipe note if you want to use a pizza stone or dutch oven.
- During this 45 minutes, preheat the oven to 425°F (218°C).
- When ready to bake, using a very sharp knife or bread lame (you could even use kitchen shears), score the dough with a slash or X about 1/2 inch deep. (“Score” = shallow cut.) If the shaped loaf flattened out during the 45 minutes, use floured hands to reshape.
- Place the shaped and scored dough (on the flour/cornmeal-dusted pan) in the preheated oven on the center rack.
- Optional for a slightly crispier crust: Place a shallow metal or cast iron baking pan or skillet (I usually use a metal 9×13-inch baking pan) on the bottom oven rack. Carefully and quickly pour 3–4 cups of boiling water into the shallow pan. Quickly shut the oven to trap as much steam inside. The steam helps create a crispier crust.
- Bake for 40 minutes or until the crust is golden brown. If you notice the exterior browning too quickly, tent the bread with aluminum foil. How to test for doneness: Give the warm bread a light tap. If it sounds hollow, it’s done. For a more accurate test, the bread is done when an instant read thermometer reads the center of the loaf as 195°F (90°C).
- Remove the bread from the oven and allow to cool for at least 10–20 minutes before slicing and serving.
- Store leftovers loosely covered at room temperature for up to 3 days or in the refrigerator for up to 10 days.

