If you are a vegetarian and looking for the best eggless apple pie recipe that is simple, easy to make and has a sweet and tart taste, you’re in the right place!
We have used all the simple ingredients in this egg-free apple pie recipe that is perfect for those with egg allergies or who are simply looking for a delicious dessert that doesn’t require any eggs.
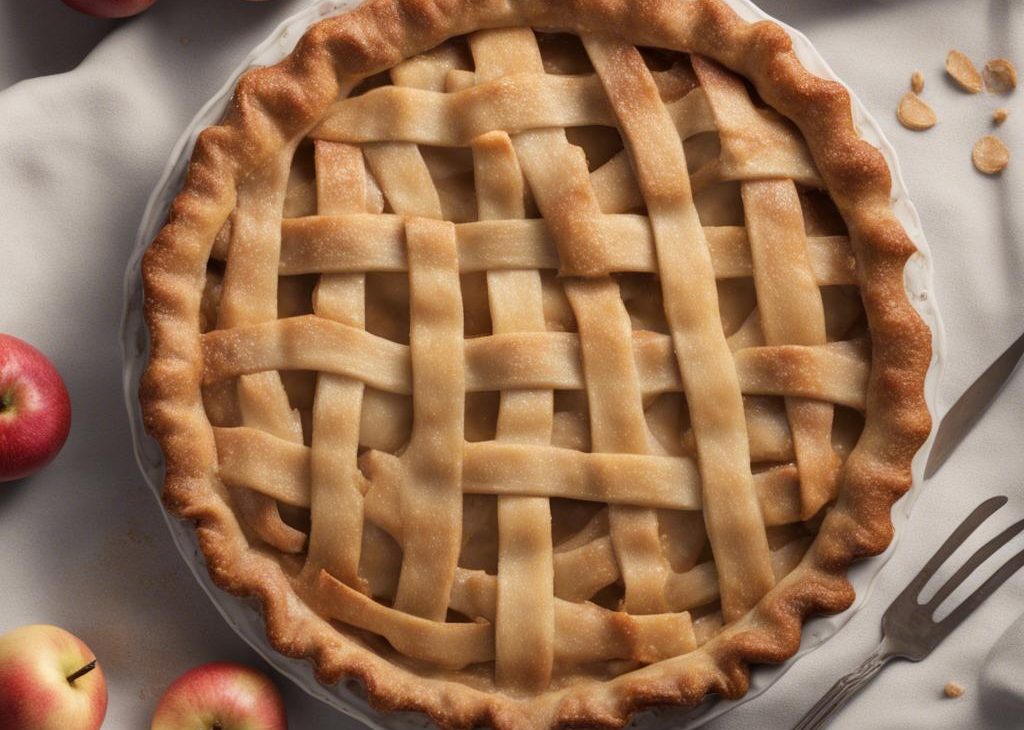
The filling is made with apples, sugar, flour and cinnamon. The crust is flaky and buttery. The pie is best served warm with eggless ice cream or whipped cream.
You can bake this homemade apple pie anytime and be sure your family will love this! The sweet and tart flavors of the filling are perfectly balanced, and the flaky crust is irresistible. They’ll be asking for seconds (or thirds)!
What is eggless apple pie?
Eggless classic Apple Pie is an all-time American favorite. A delicious pastry shell filled with a sweet apple filling, best served hot and topped with a scoop of vanilla ice cream. It is a classic American dessert that is made without using eggs.
I first came across this recipe when I was looking for eggless and dairy-free desserts. I was surprised at how easy it was to make, and the result was a delicious and flaky pie that my family loved. I’ve been making it ever since!
This eggless version of the dish is just as delicious as the traditional version and can be enjoyed by everyone, regardless of their dietary restrictions.
How to make eggless apple pie (Step by step instructions)?
To make the best eggless apple pie, you need some simple ingredients. Most of them are available in your kitchen. The ingredients are-
For making Dough:
For making the apple pie filling:
- 2 pcs thinly sliced peeled tart apples (about 2-1/4 pounds)
- 2 tablespoons brown sugar or white granulated sugar
- 2 tablespoons whole wheat flour
- 1/4 teaspoon ground cinnamon (cinnamon powder)
- 1/4 teaspoon ground nutmeg
- 1 to 2 teaspoons oil or vegan butter
For Topping:
- 1 tablespoon butter, melted
Instructions
Instructions for making dough:
Step 1: In a large bowl, whisk whole wheat flour, all-purpose flour and salt. Sift all these ingredients with a filter in another bowl.
Step 2: Add olive oil. Mix the olive oil and flour to make a bread crumbs like texture.
Step 3: Slowly add water until the desired dough consistency is achieved. Throughout this process, use your hands to mix everything together.
Step 4: Bring the dough into a sphere form and cover it with plastic wrap or a lid. Keep it aside.
Instructions for making Apple pie filling and the pie:
Step 1: Preheat your oven at 180 degrees Celsius or 356 degrees Fahrenheit.
Step 2: Take a large mixing bowl and place all the sliced apples.
Step 3: Add cinnamon, nutmeg, sugar and wheat flour.
Step 4: Combine using a spoon. Make sure all of the apple slices are adequately coated.
Step 5: Lightly flour a clean work surface, split the dough in half, and set aside one-half of the crust dough.
Step 6: Use a rolling pin to spread the dough out on a floured surface. The dough must be an even layer about 1/4 inch thick. Keep the rolling pin dusted with flour to avoid sticking.
Step 7: Once the dough is flattened on the surface, place it on the rolling pin and roll it up and over. When the dough no longer sticks to your fingers and is only faintly sticky, dust the dough with flour again.
Step 8: Grease your pie pan with butter. Carefully place the dough into the pie dish and gently press the crust with your fingertips. Once you’ve fit the dough into the pan, use a spoon to press evenly around the perimeter of the crust. Then, use a knife to cut away any excess dough hanging over the edge of the pan.
Step 9: Now it’s time to add your filling. Place a layer of coated apple filling on top of the crust. Spread a little olive oil or melted butter over the topping to prevent it from bubbling up during baking.
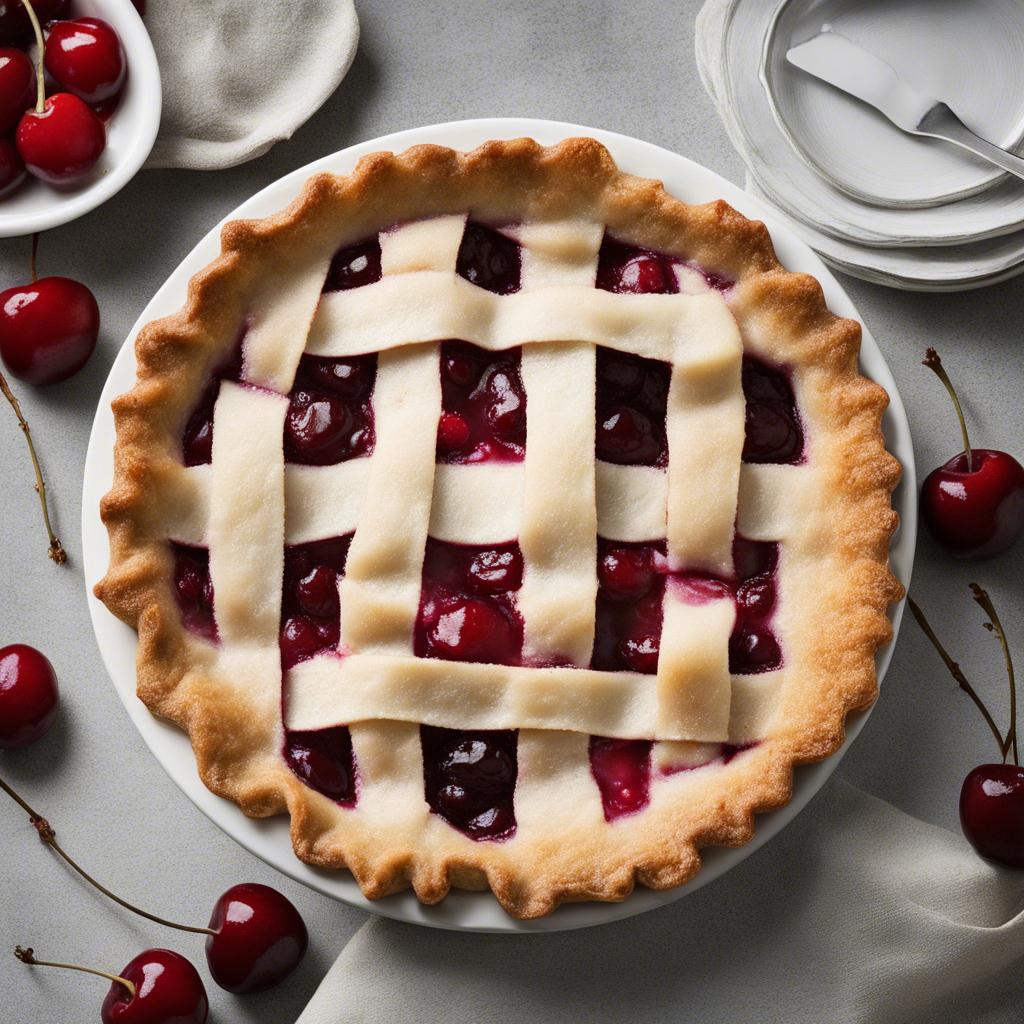
Step 10: Now roll the other half of the dough. After rolling, cut it into even slices. Then place it on top of the filling and then spread them out one by one across the pie.
Step 11: Sprinkle a little additional raw sugar and ground cinnamon on the pie crust.
Step 12: Bake the apple pie in your oven at 180 degrees Celsius (356 degrees Fahrenheit). It takes about one hour, and the crust will be golden brown.
It’s ready to serve. Serve this delicious apple pie to your family members when it is cool. You can serve this pie with vanilla ice cream. A simple scoop of ice cream makes the pie more appetizing.
Tip And Tricks
1. Preheat your oven to the required temperature before you start preparing the pie. This will ensure that your pie cooks evenly.
2. If you do not have fresh apples, you can use canned apples. However, make sure to drain the canned apples thoroughly before using them in the recipe.
3. You can use any type of sugar in this recipe, depending on your preference.
4. To decorate the top of your pie, you can use sliced almonds or other nuts, raisins, or even chocolate chips.
5. If you want a flakier crust, you can substitute half of the flour with ground oats.
6. This recipe can also be made in individual pie tins. Simply decrease the baking time accordingly.
Nutrition Information
Amount per serving And % Daily Values
Serving: 4 Calories: 342.4 kcal | Total Fat: 8.6 g | Saturated Fat: 0.9 g | Cholesterol: 0 mg | Sodium: 505 mg | Potassium: 376 mg | Total Carbohydrate: 64.7 g | Dietary Fiber: 6.3 g | Sugars: 15.2 g | Protein: 7.1 g
How to reheat apple pie?
If you have leftover eggless apple pie, there are a few ways you can reheat it, so it tastes just as good as when it was first made.
One way to reheat eggless apple pie is in the oven. Preheat your oven to 350 degrees Fahrenheit. Then place the pie on a baking sheet. Bake for about 10-15 minutes or until the pie is warmed through.
Another way to reheat eggless apple pie is in the microwave. Place the pie on a microwave-safe plate and heat for 30-60 seconds or until warm.
No matter how you reheat eggless apple pie, it will taste just as good as when it was first made. Enjoy!
How to store leftover apple pie?
To store leftover eggless apple pie, place it in an airtight container and refrigerate for up to 4 days. Alternatively, you can freeze the pie for up to 2 months.
Wrapping Up
Thanks for reading! We hope you found this guide helpful. If you have any tips or tricks on how to make the perfect eggless apple pie, be sure to let us know in the comments below. And don’t forget to share this article with your friends and family so they can enjoy a slice of pie, too!
Happy baking!

Eggless Apple Pie Recipe [Vegan]
Description
If you are a vegetarian and looking for the best eggless apple pie recipe that is simple, easy to make and has a sweet and tart taste, you’re in the right place!We have used all the simple ingredients in this egg-free apple pie recipe that is perfect for those with egg allergies or who are simply looking for a delicious dessert that doesn’t require any eggs.The filling is made with apples, sugar, flour and cinnamon. The crust is flaky and buttery.
Ingredients You’ll Need
Instructions
- For Making Dough
- In a large bowl, whisk whole wheat flour, all-purpose flour and salt. Sift all these ingredients with a filter in another bowl.
- Add olive oil. Mix the olive oil and flour to make a bread crumbs like texture.
- Slowly add water until the desired dough consistency is achieved. Throughout this process, use your hands to mix everything together.
- Bring the dough into a sphere form and cover it with plastic wrap or a lid. Keep it aside.
- For Making Apple Pie Filling And The Pie
- Preheat your oven at 180 degrees Celsius or 356 degrees Fahrenheit
- Take a large mixing bowl and place all the sliced apples
- Add cinnamon, nutmeg, sugar and wheat flour
- Combine using a spoon. Make sure all of the apple slices are adequately coated
- Lightly flour a clean work surface, split the dough in half, and set aside one-half of the crust dough
- Use a rolling pin to spread the dough out on a floured surface. The dough must be an even layer about 1/4 inch thick. Keep the rolling pin dusted with flour to avoid sticking
- Once the dough is flattened on the surface, place it on the rolling pin and roll it up and over. When the dough no longer sticks to your fingers and is only faintly sticky, dust the dough with flour again
- Grease your pie pan with butter. Carefully place the dough into the pie dish and gently press the crust with your fingertips. Once you’ve fit the dough into the pan, use a spoon to press evenly around the perimeter of the crust. Then, use a knife to cut away any excess dough hanging over the edge of the pan
- Now it’s time to add your filling. Place a layer of coated apple filling on top of the crust. Spread a little olive oil or melted butter over the topping to prevent it from bubbling up during baking
- Now roll the other half of the dough. After rolling, cut it into even slices. Then place it on top of the filling and then spread them out one by one across the pie
- Sprinkle a little additional raw sugar and ground cinnamon on the pie crust
- Bake the apple pie in your oven at 180 degrees Celsius (356 degrees Fahrenheit). It takes about one hour, and the crust will be golden brown
Frequently Asked Questions
The Granny Smith is a firm, tart apple that’s excellent for pie because it holds its shape. However, it isn’t as flavorful as other varieties of apples, so it’s best to use them in combination with sweeter and/or more flavorful apples.
The Honeycrisp apple is incredibly crisp and sweet. However, it turns to mush when cooked. If you would like to use the Honeycrisp for pie, add them near the end of the cooking process.
The Golden Delicious is another great option for pie. It’s not as tart as a Granny Smith, but it still has a good amount of acidity to balance out the sweetness. And like the Granny Smith, it holds its shape well during cooking.
While there are many different types of apples you could use for pie; these three are our favorites. Granny Smiths for their tartness, Golden Delicious for their sweetness and Honeycrisps for their flavor. So next time you’re at the store, pick up a few of each and bake the best damn apple pie you’ve ever had.
You’ll have the best apple pie results if you peel the apples. The skin adds color to the pie, but it can get tough when cooked–plus, no one wants a surprise bite of unpeeled apple in their dessert. So go for peeled apples for a more delicate soft filling.
There are various options to consider while thickening a fruit pie filling. Flour or cornstarch is frequently used, although tapioca, arrowroot, and potato starch can also assist with the desired consistency in certain cases.
The apple pie crust is flaky while it bakes since you blind bake it. If you want a flaky crust, blind bake the apple pie crust. Underdone, soggy pie dough can spoil an otherwise delicious dinner. Crusts become damp due to the fruit juice released by the filling, which prevents the dough from becoming crisp even as the pie cooks.
Before filling and baking, sprinkle dried breadcrumbs or crushed cornflakes on the bottom crust. This will keep the filling from making the crust soggy.
375°F preheated oven for 20 minutes. Take the pie out of the oven, then remove the paper and weights. Use a fork to prick all over the bottom of the crust to prevent bubbles. Put the crust back in the oven and bake for an additional 15-20 minutes until golden all over.
There is no need to bake pie crust before filling. But if you want to bake an empty pie crust or if your recipe calls for a pre-baked crust, this is okay. It helps to prevent the dreaded soggy bottom crust.

