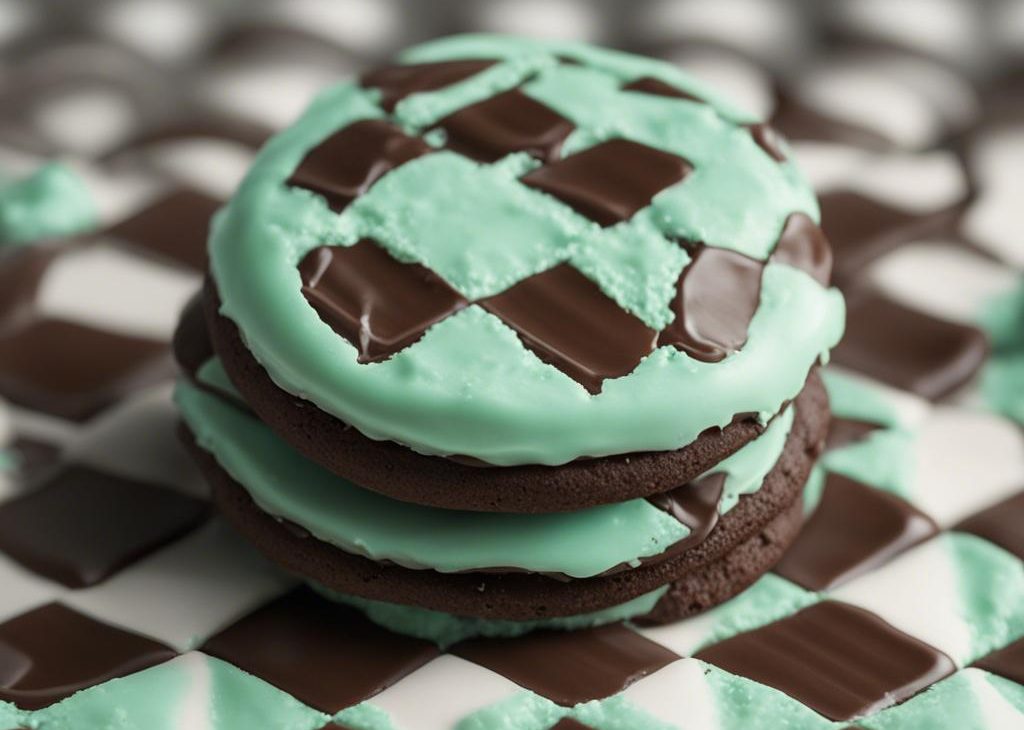
Developed from the same cookie dough used for my neapolitan cookies, these mint chocolate checkerboard cookies are shaped to resemble a fun checkerboard pattern. They’re soft butter cookies flavored with chocolate, mint, and topped with crisp sparkling sugar. It all starts from 1 basic cookie dough!
Oh what fun! We’re dressing up traditional vanilla and chocolate checkerboard cookies with a refreshing minty flair. These cookies are impressive and take a bit of precision. Nothing you can’t handle though. Let’s walk through the process together.
Tell Me About these Mint Chocolate Checkerboard Cookies
- Texture: These mint chocolate checkerboard cookies are slice and bake cookies, also known as icebox cookies. If you slice them thick enough—I recommend 1/2 inch thick—they’ll be wonderfully soft in the centers with crisp edges. The sparkling sugar on top is optional, but adds another layer of sparkly crunch.
- Flavor: Checkerboard cookies are typically vanilla and chocolate, but the addition of peppermint extract gives them a festive flavor. You could easily leave the mint dough plain or replace the peppermint extract with strawberry extract and a drop of pink/red food coloring instead. Cocoa powder adds the chocolate flavor, but I love adding a little espresso powder to the chocolate dough as well—deepens that chocolate flavor.. Take your time and make sure you chill the cookie dough for the recommended times.
- Yield: This recipe yields 24 cookies if you slice each to be 1/2 inch thick. For 36 cookies, you can slice each to be 1/4 inch thick. I prefer the thicker cookies because they’re a bit softer in the centers.
Start with 1 Dough
Compared to my plain butter cookies and chocolate butter cookies, these buttery cookies are a bit lighter (addition of baking powder) and sweeter (more sugar). And the dough is a bit firmer since there’s precise shaping involved (more flour).
Prepare the base cookie dough, then divide it in half. One is mint, one is chocolate.
. You’ll find this helpful when you begin.
Grab a ruler or measuring tape because precision is helpful.. Each block will be 2 inches tall and 2 inches wide.. Refrigerate for just 1 hour. The *key* is to only refrigerate until the dough is less sticky, but still pliable enough to bend and shape. Chilling any longer will make it difficult to form a neat checkerboard pattern.
Now let’s start the checkerboard pattern. Remove doughs from refrigerator and unwrap.. Then cut each strip into thirds again. You’ll have 9 thin strips from each dough block:
. Save your dough scraps because you can make extra cookies. See recipe note below.
Place 1 mint dough strip on your work surface. Line up a chocolate dough strip next to it. Line up a mint dough strip next to that. Top each with a row of alternating flavored dough strips, then top that with another row of alternating dough strips. Repeat with 2nd block, starting with a chocolate dough strip this time. As you’re working, press the strips tightly together to rid any gaps. This is why it’s important the doughs are still a bit soft and pliable.
If desired to keep the checkerboard pattern neat, trim off any rounded edges of your blocks. Cover or wrap your checkerboard blocks up tightly, then place back in the refrigerator for at least 2 hours. This chill time is imperative and helps (1) firm up the dough you just handled and (2) set the checkerboard design. A crucial step!
After that, all you have to do is slice and bake.
Brush with a little egg wash—1 egg white mixed with water (convenient because you use 1 extra egg yolk in the cookie dough)—then sprinkle with coarse sugar. The egg white/sugar topping is optional, but adds a glistening touch on these pretty cookies. I always use Wilton brand white sparkling sugar which is a product you can find online or in the baking aisle of most grocery stores. If you can’t find it, Sugar in the Raw works too!
Checkerboard Design Success Tips
Before I leave you with the detailed recipe, let me summarize my 3 best success tips:
- Use measuring tape or a ruler. It’s important that your blocks of dough are equal size in step 7 because it makes shaping the checkerboard blocks easier in step 8. Take the time to be precise.
- Trim edges. For squared off cookies, trim any rounded edges with a sharp knife. In steps 8 and 11 below, trim the dough strips, checkerboard blocks, and sliced cookies. This is all optional, but it helps create neat looking checkerboard cookies. Don’t stress though—the cookies still taste awesome even if your pattern is messy.
- Chill for the recommended times. 1 hour in step 7 and 2 or more hours in step 9.

Mint Chocolate Checkerboard Cookies Recipe
Description
Developed from the same cookie dough used for my neapolitan cookies, these mint chocolate checkerboard cookies are styled and shaped to resemble a checkerboard pattern. It all starts from 1 basic cookie dough! For best success, read through the recipe and notes before beginning because there are a couple chilling and shaping steps.
Ingredients You’ll Need
Instructions
- Whisk the flour, baking powder, and salt together in a medium bowl. Set aside.
- In a large bowl using a hand mixer or a stand mixer fitted with a paddle attachment, beat the butter and granulated sugar together on medium-high speed until creamed, about 2 minutes. Add the egg, egg yolk, and vanilla extract and beat on high speed until combined, about 1 minute. Scrape down the sides and up the bottom of the bowl and beat again as needed to combine.
- Add the dry ingredients to the wet ingredients and mix on low until combined. Dough will be thick and sticky. Remove from the mixing bowl. No need to rinse out the mixing bowl.
- There’s almost 4 cups of dough. Divide in half, a bit less than 2 cups each.
- Place half of the dough back into the mixing bowl. Add the mint dough ingredients. I recommend starting with 1 small drop of green food coloring. Beat on low speed until dough is combined. Add another small drop of food coloring if desired.. Remove from the mixing bowl. No need to rinse out the mixing bowl, but feel free to wipe clean.
- Place other half of dough back into the mixing bowl. Add all of the chocolate dough ingredients. Beat on low speed until dough is combined.
- Place doughs on a lightly floured work surface. It’s sticky, so do your best in this step. With lightly floured hands, carefully form both doughs into a 6 inch long rectangle block, 2 inches tall and 2 inches wide. Wrap both dough blocks up in plastic wrap or place on a plate and cover with aluminum foil. Refrigerate for just 1 hour. The *key* is to only refrigerate until the dough is less sticky, but still pliable enough to bend and shape. Chilling any longer will make it difficult to form a neat checkerboard pattern. If you need to chill it for longer than 1 hour, make sure you let it sit at room temperature for 15-30 minutes before continuing with the next step.
- . Remove doughs from refrigerator and unwrap. Using a sharp knife, cut each block lengthways into 3 even strips. Then cut each strip into thirds again. You’ll have 9 thin strips from each dough block. My strips are usually a little uneven and messy, so for a neat checkerboard pattern, I always trim off* any rounded edges. Place 1 mint dough strip on your work surface. Line up a chocolate dough strip next to it. Line up a mint dough strip next to that. Top each with a row of alternating flavored dough strips, then top that with another row of alternating dough strips. Repeat with 2nd block, starting with a chocolate dough strip this time. As you’re working, press the strips tightly together to rid any gaps. (This is why it’s important the doughs are still a bit soft and pliable.) If desired to keep the checkerboard pattern neat, trim off* any rounded edges of your blocks.
- Wrap each block of dough back up or cover and refrigerate for 2 more hours and up to 4 days.
- Preheat oven to 350°F (177°C). Line 2 baking sheets with parchment paper or silicone baking mats. Set aside.
- Slice each block into 12 1/2-inch thick cookies. For thinner cookies, slice each block into 18 cookies, about 1/3-inch thick. (Bake time will be about 1 minute shorter.) Trim the cookie edges* to make neat squares, if desired.
- Arrange cookies 2-3 inches apart on the baking sheets. If desired, brush each lightly with egg wash (see recipe note) and sprinkle with coarse sugar. Bake for 12-14 minutes or until very lightly browned around the edges.
- Remove from the oven and allow cookies to cool on the baking sheet for 5 minutes before transferring to a wire rack to cool completely.
- Cookies stay fresh covered at room temperature for 1 week.

